Using the App
Get Started with the App
- Click the icon to open the app.
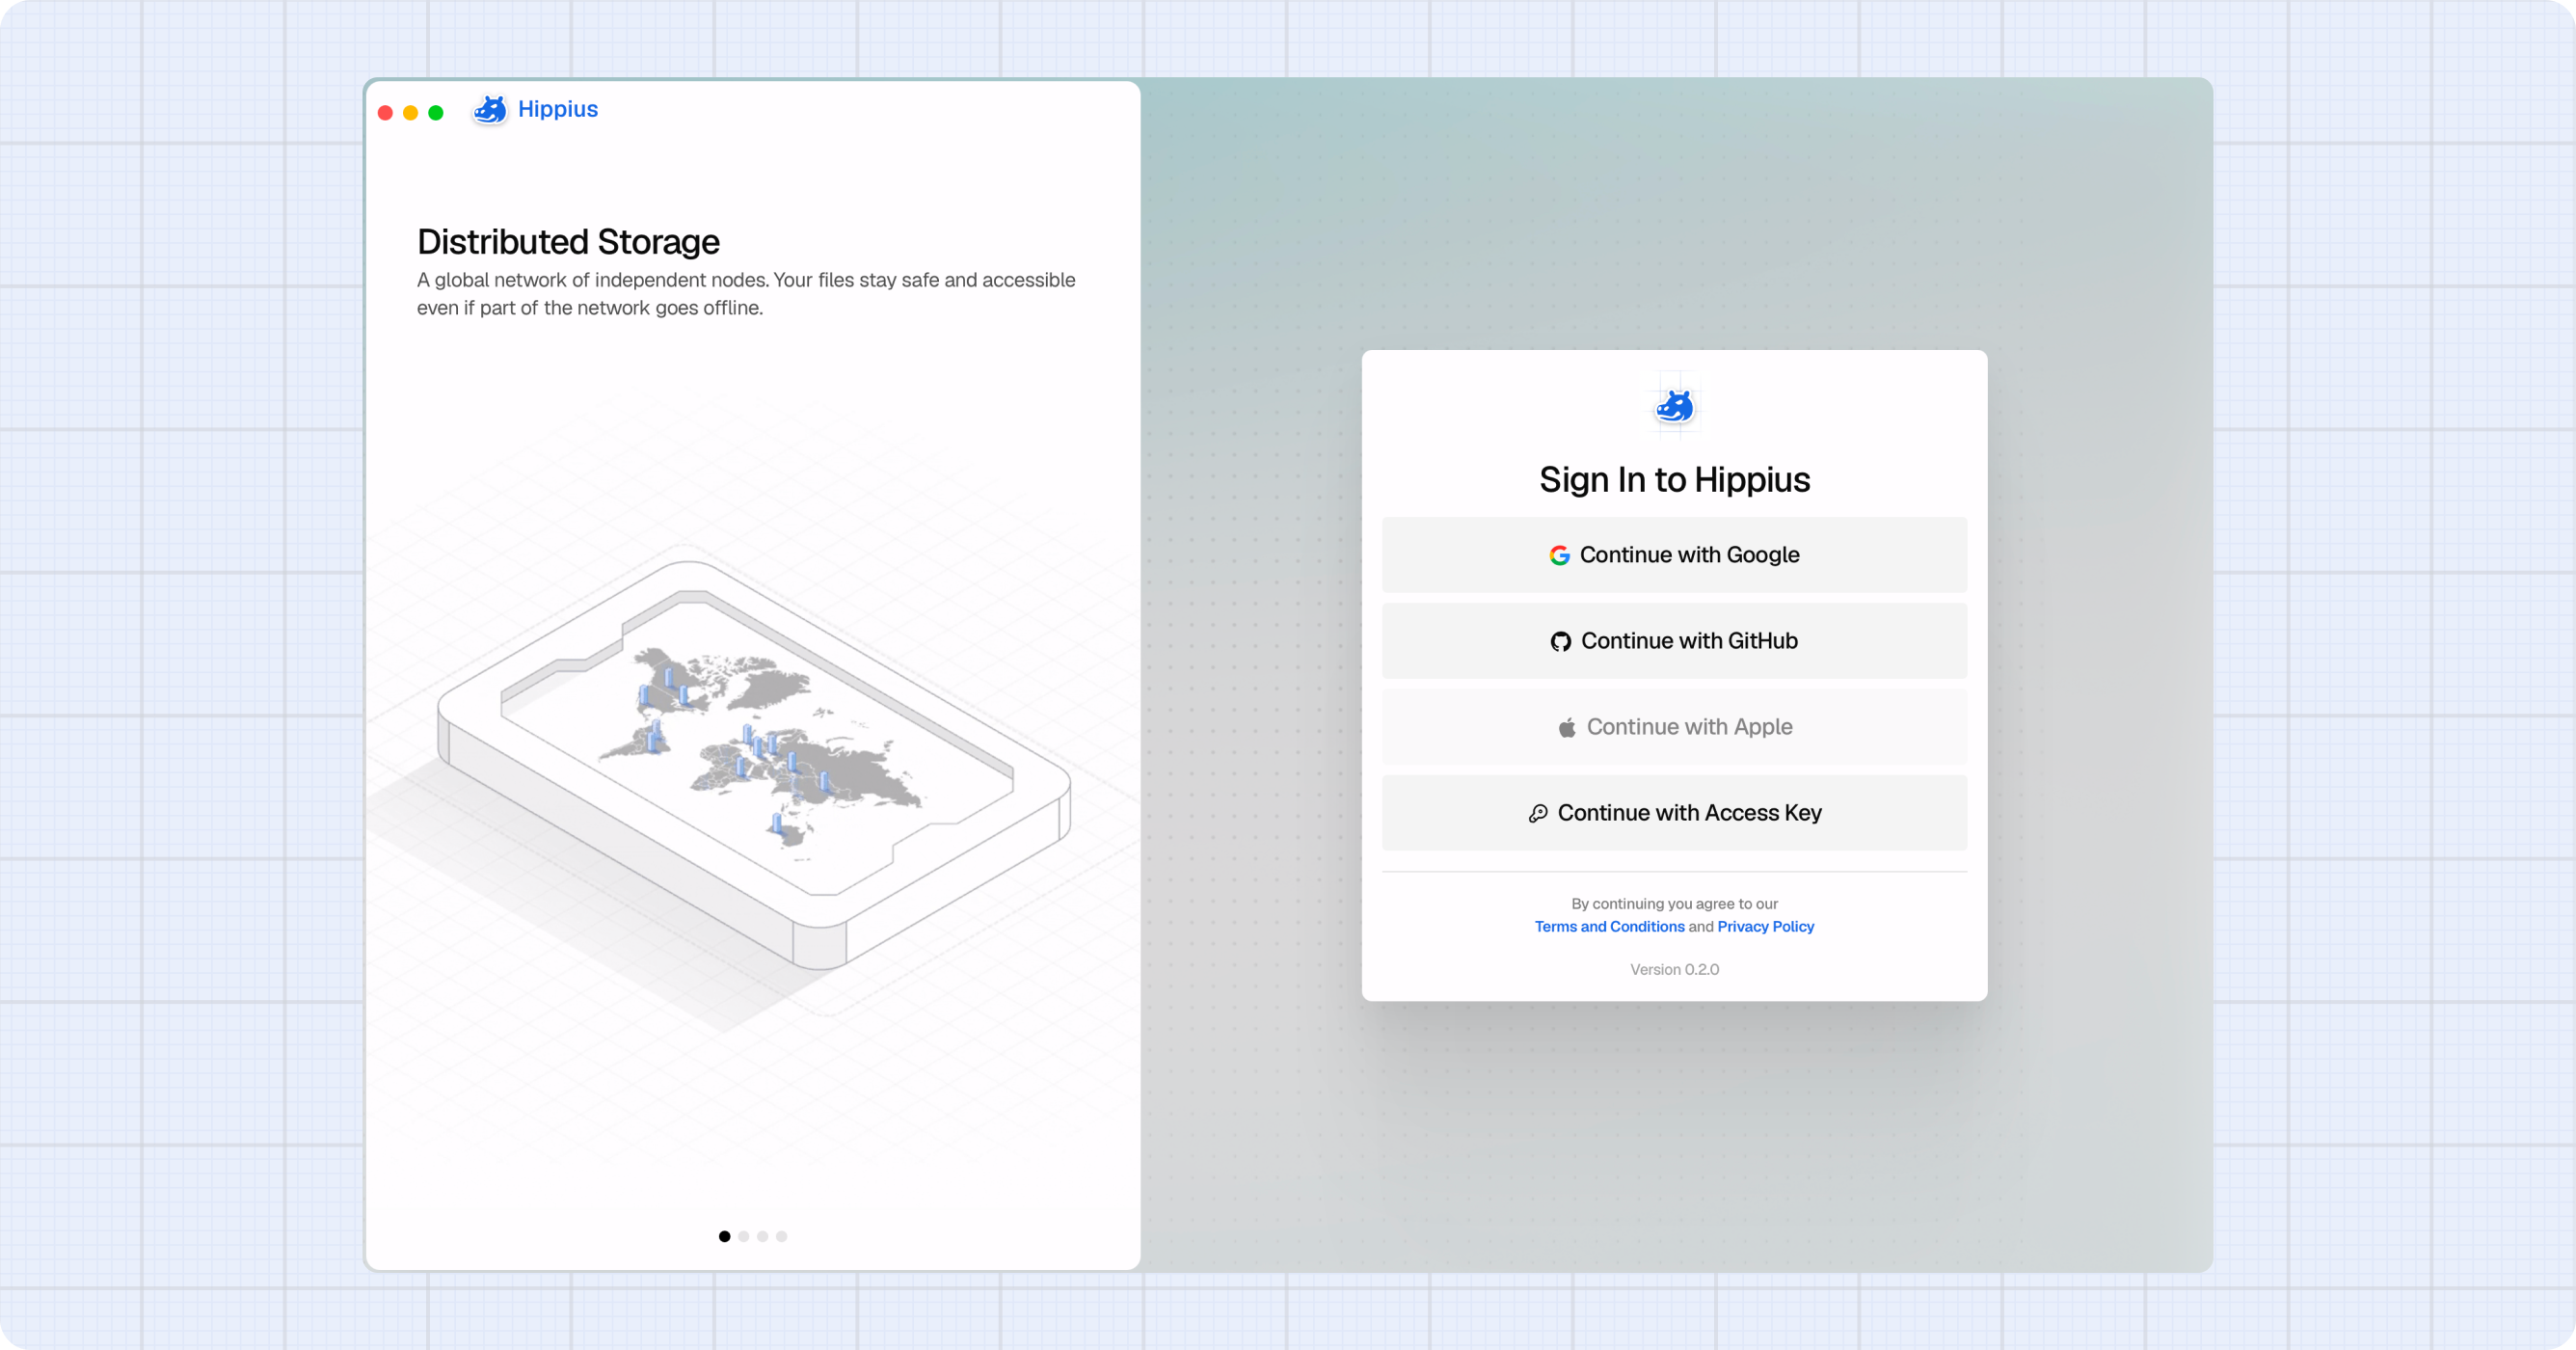
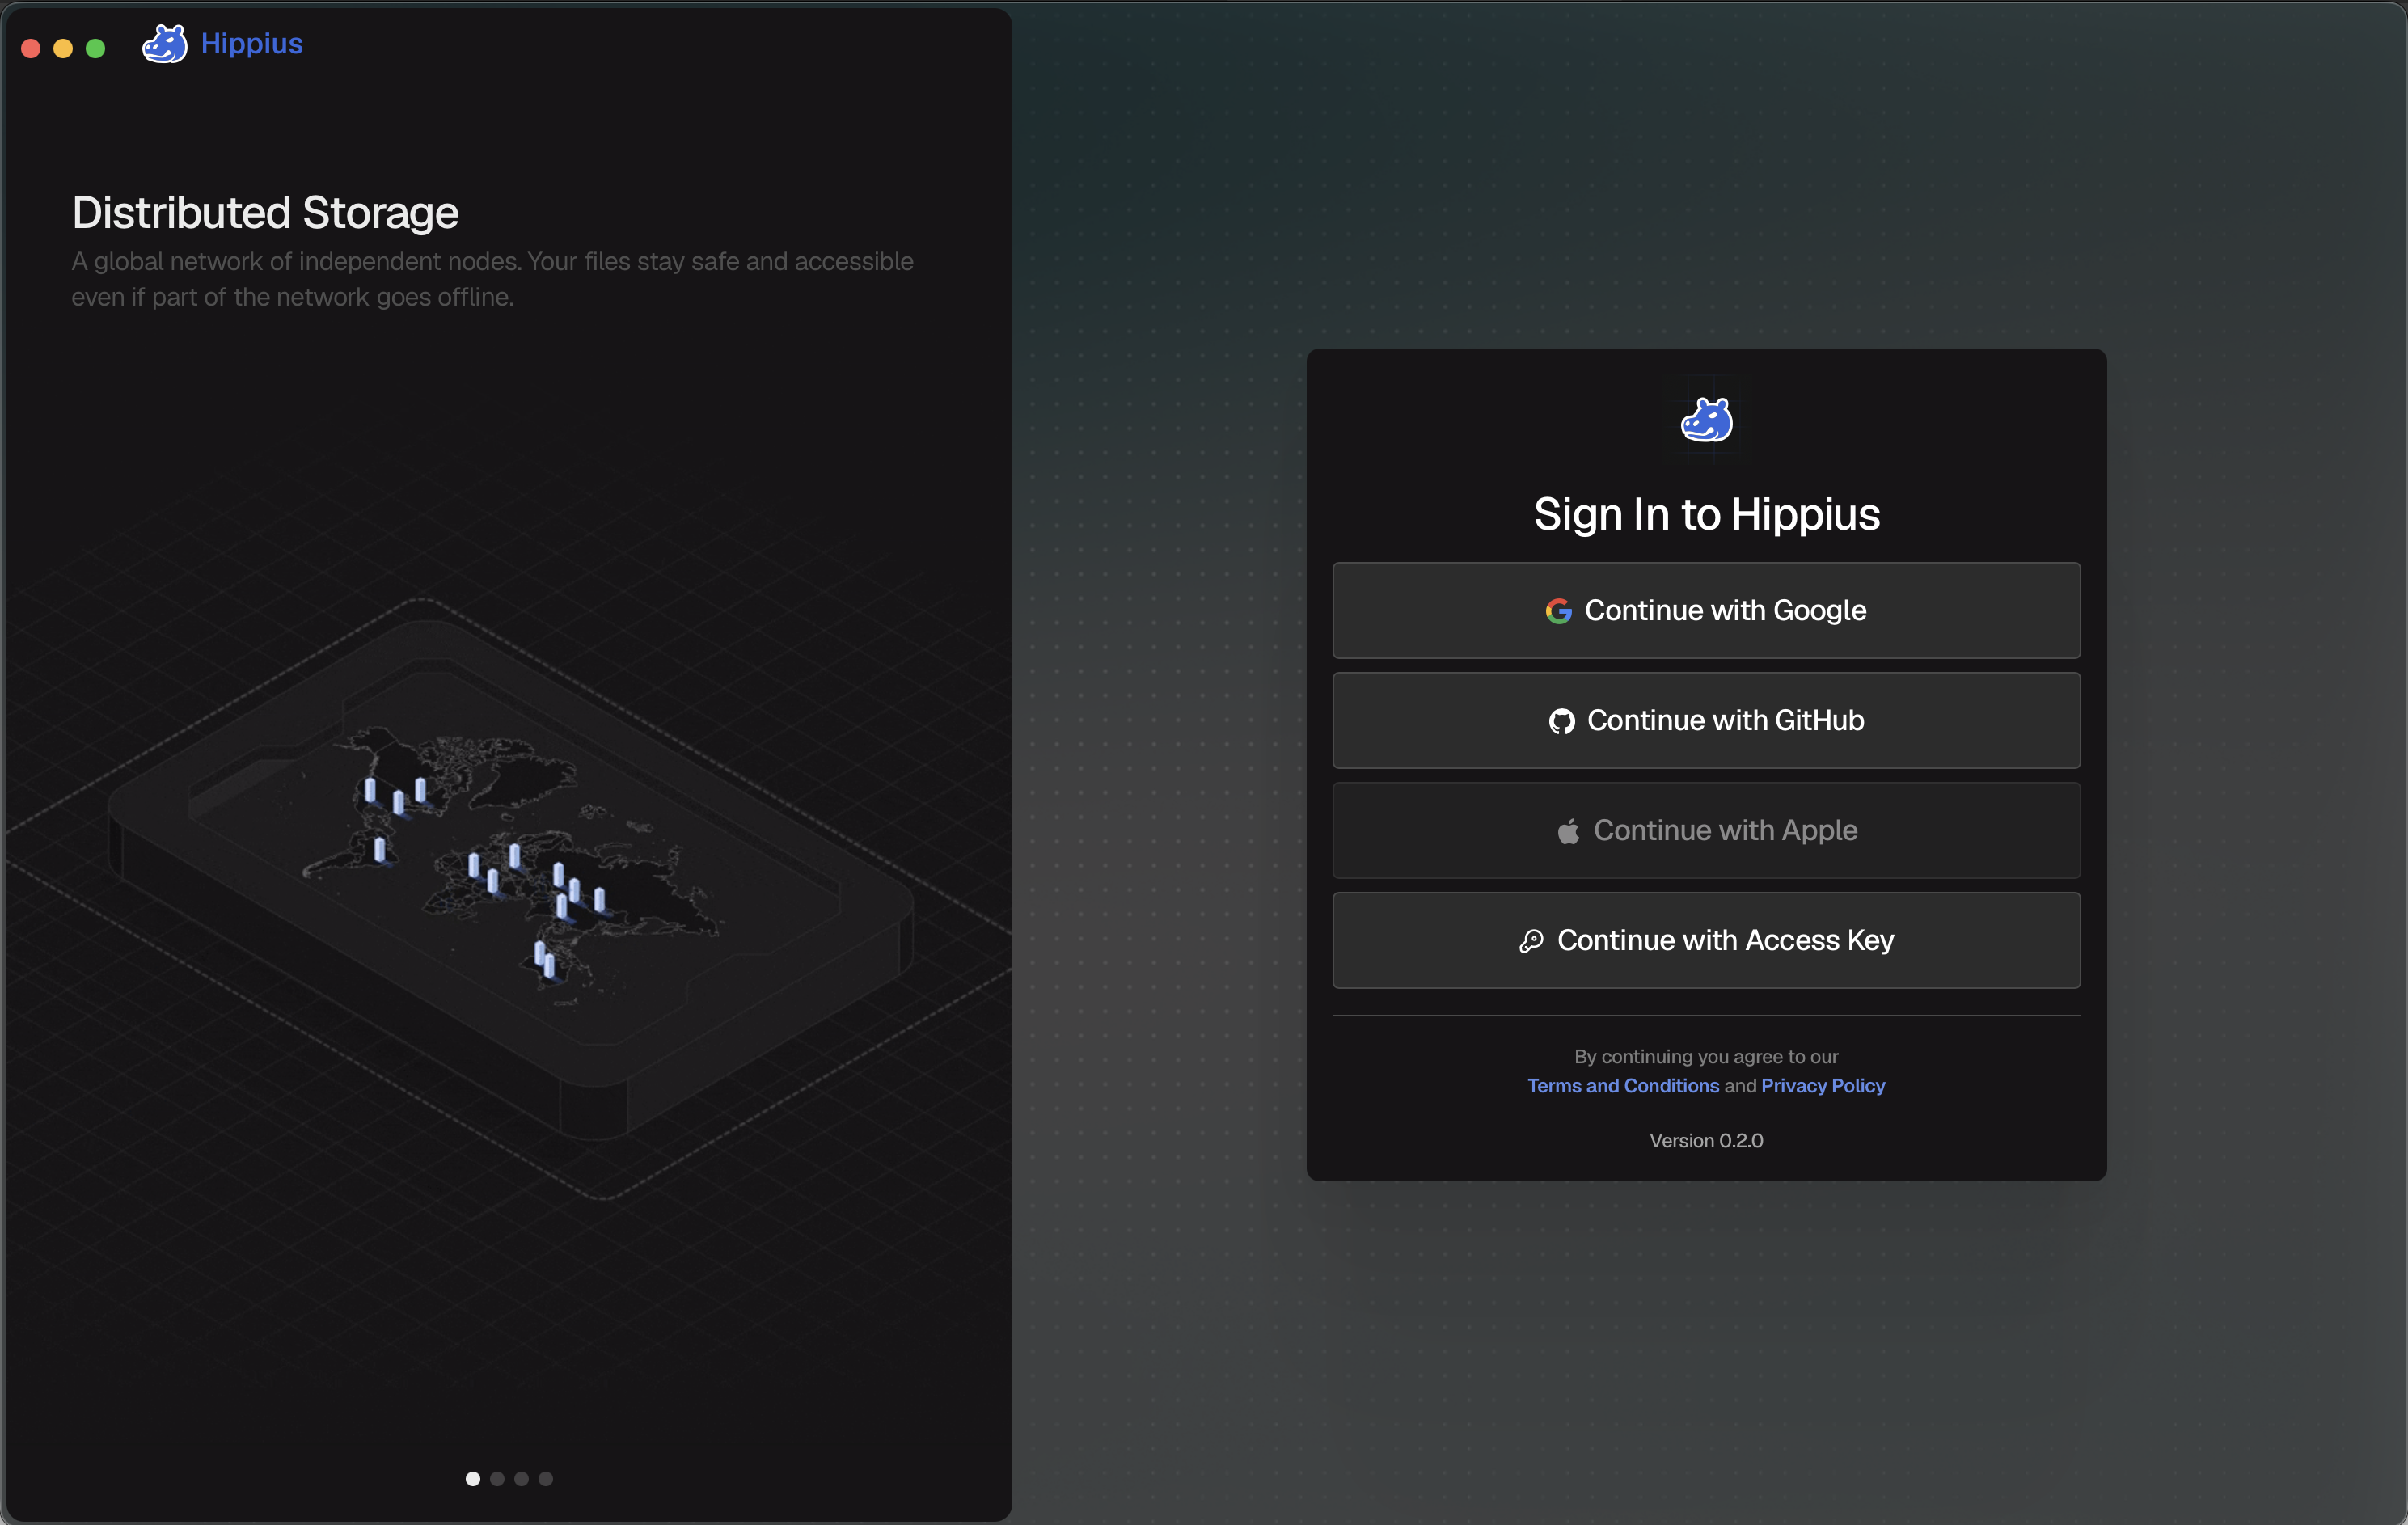
- On the login screen, choose one of the available login methods: Continue with Google, Continue with GitHub, Continue with Apple, or Continue with Access Key.
- For Google, GitHub, or Apple, you will be redirected to the provider's login page in your browser. Once authenticated, you will be returned to the app automatically.
- For Access Key, enter your 12-word recovery phrase and click Log In.
If you are a new user, your account will be created automatically when you sign in for the first time. No separate sign up step is required.
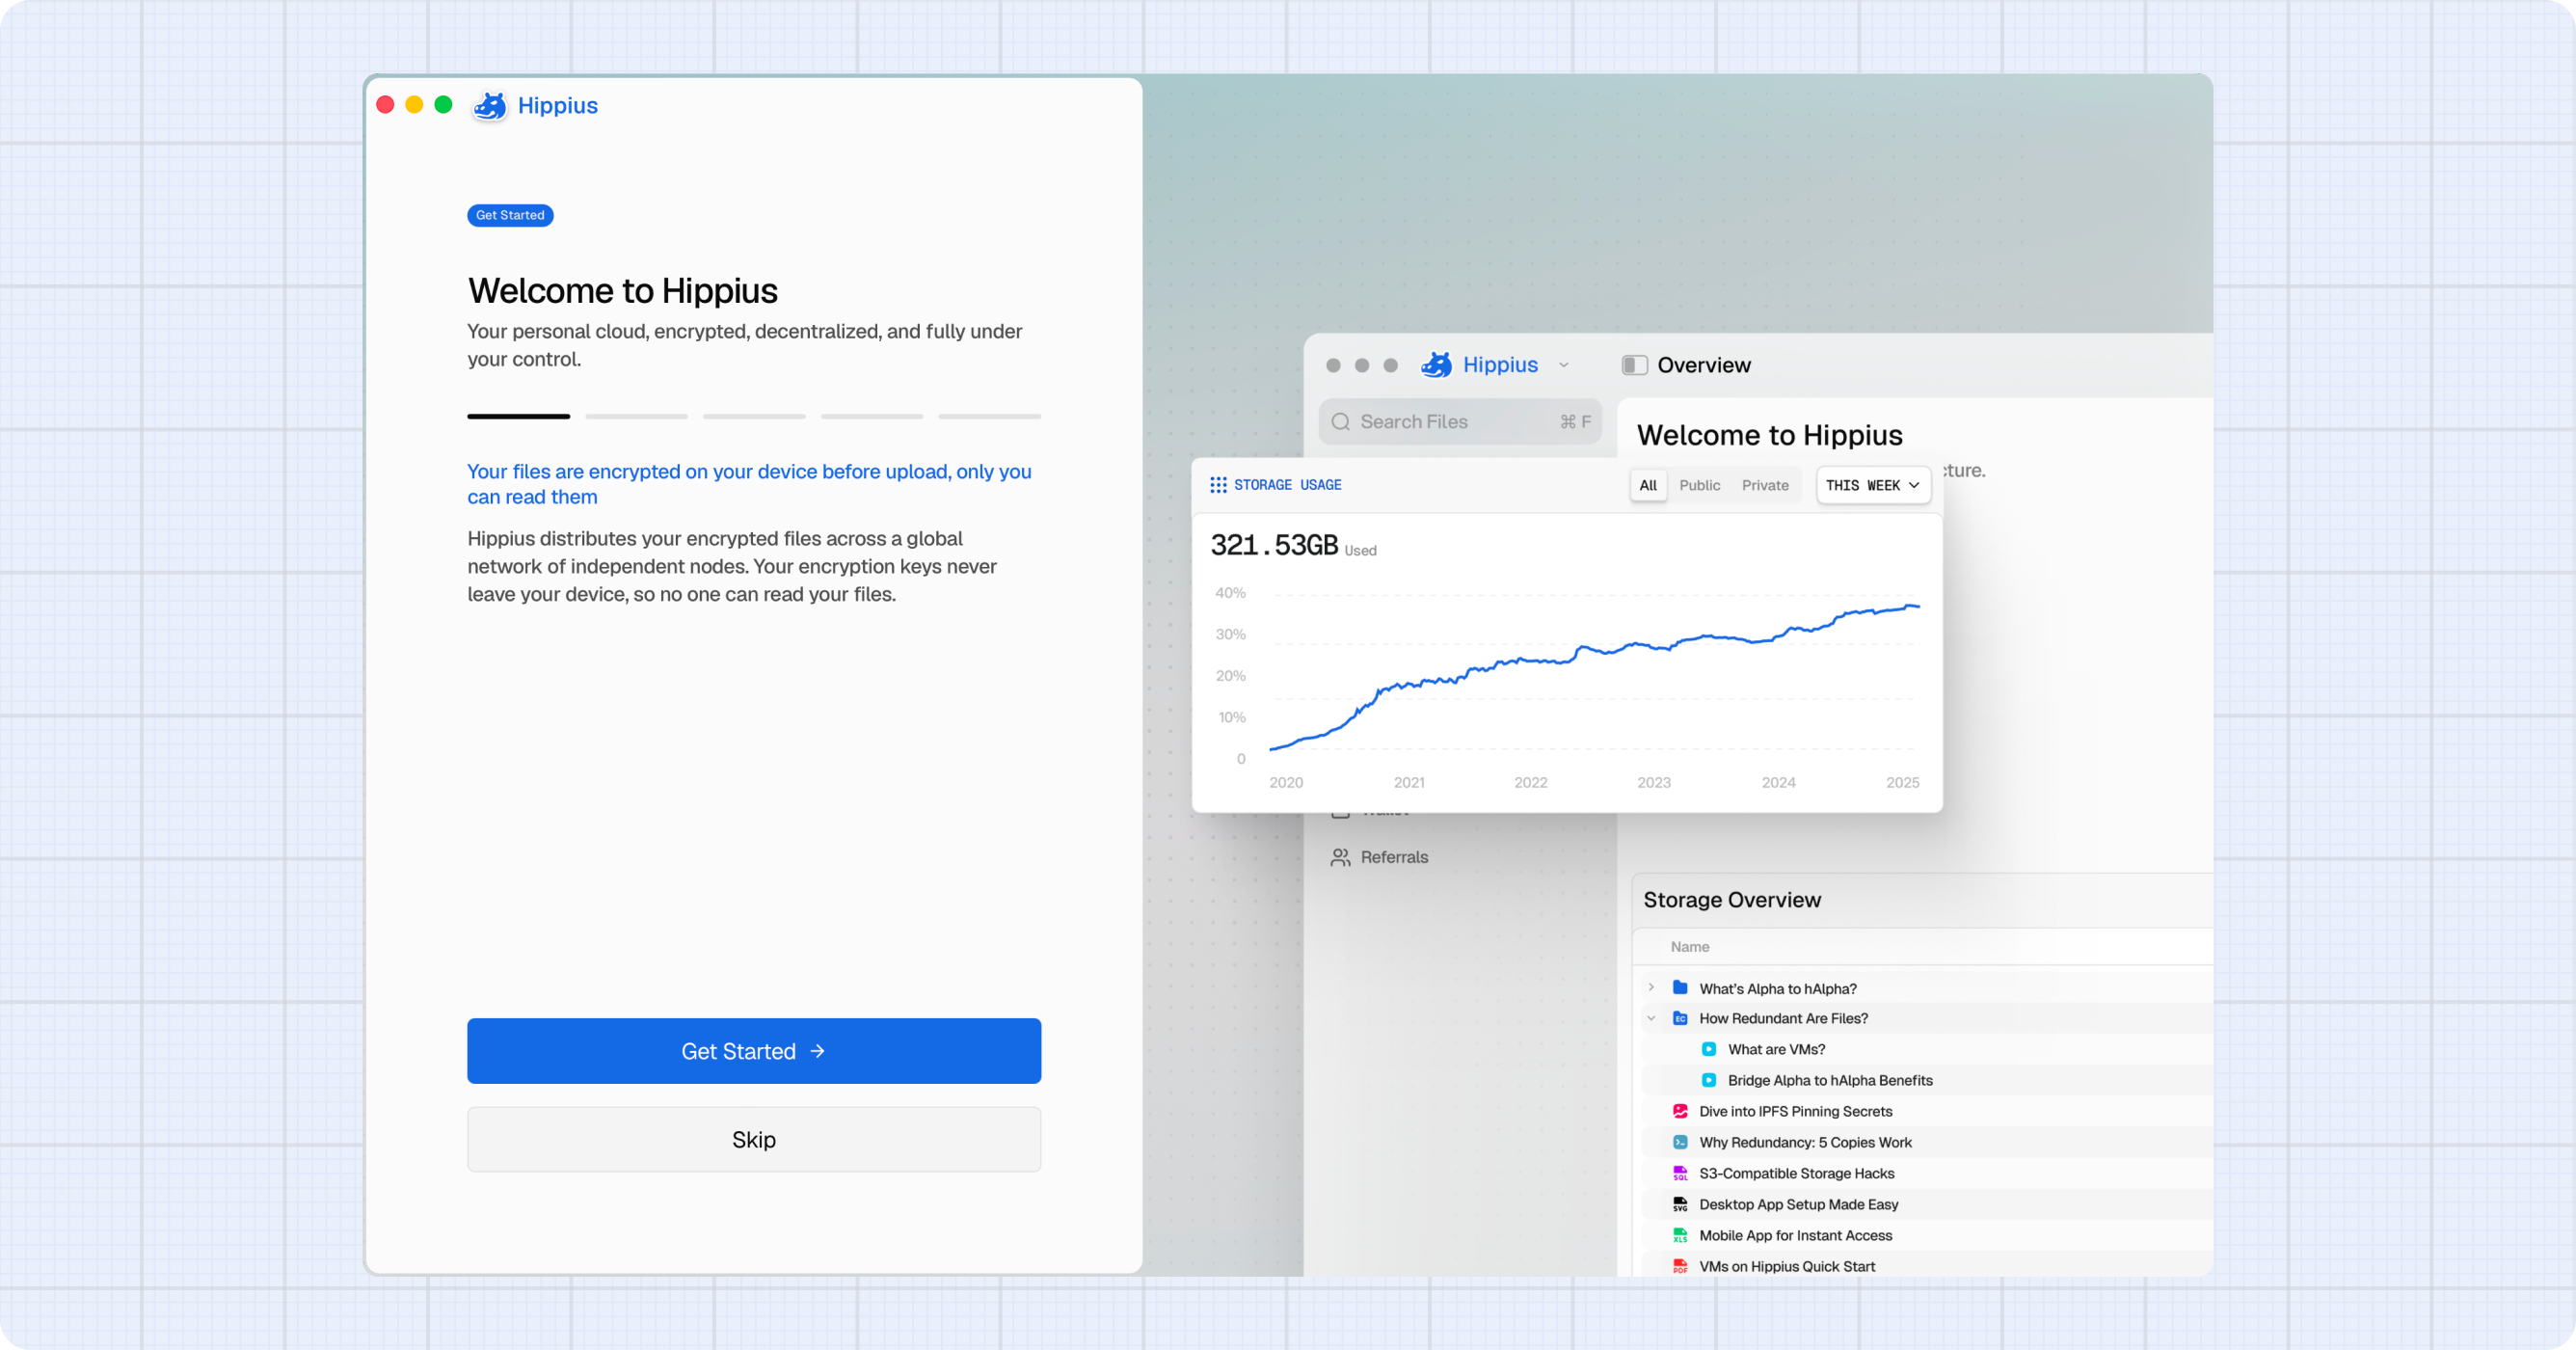
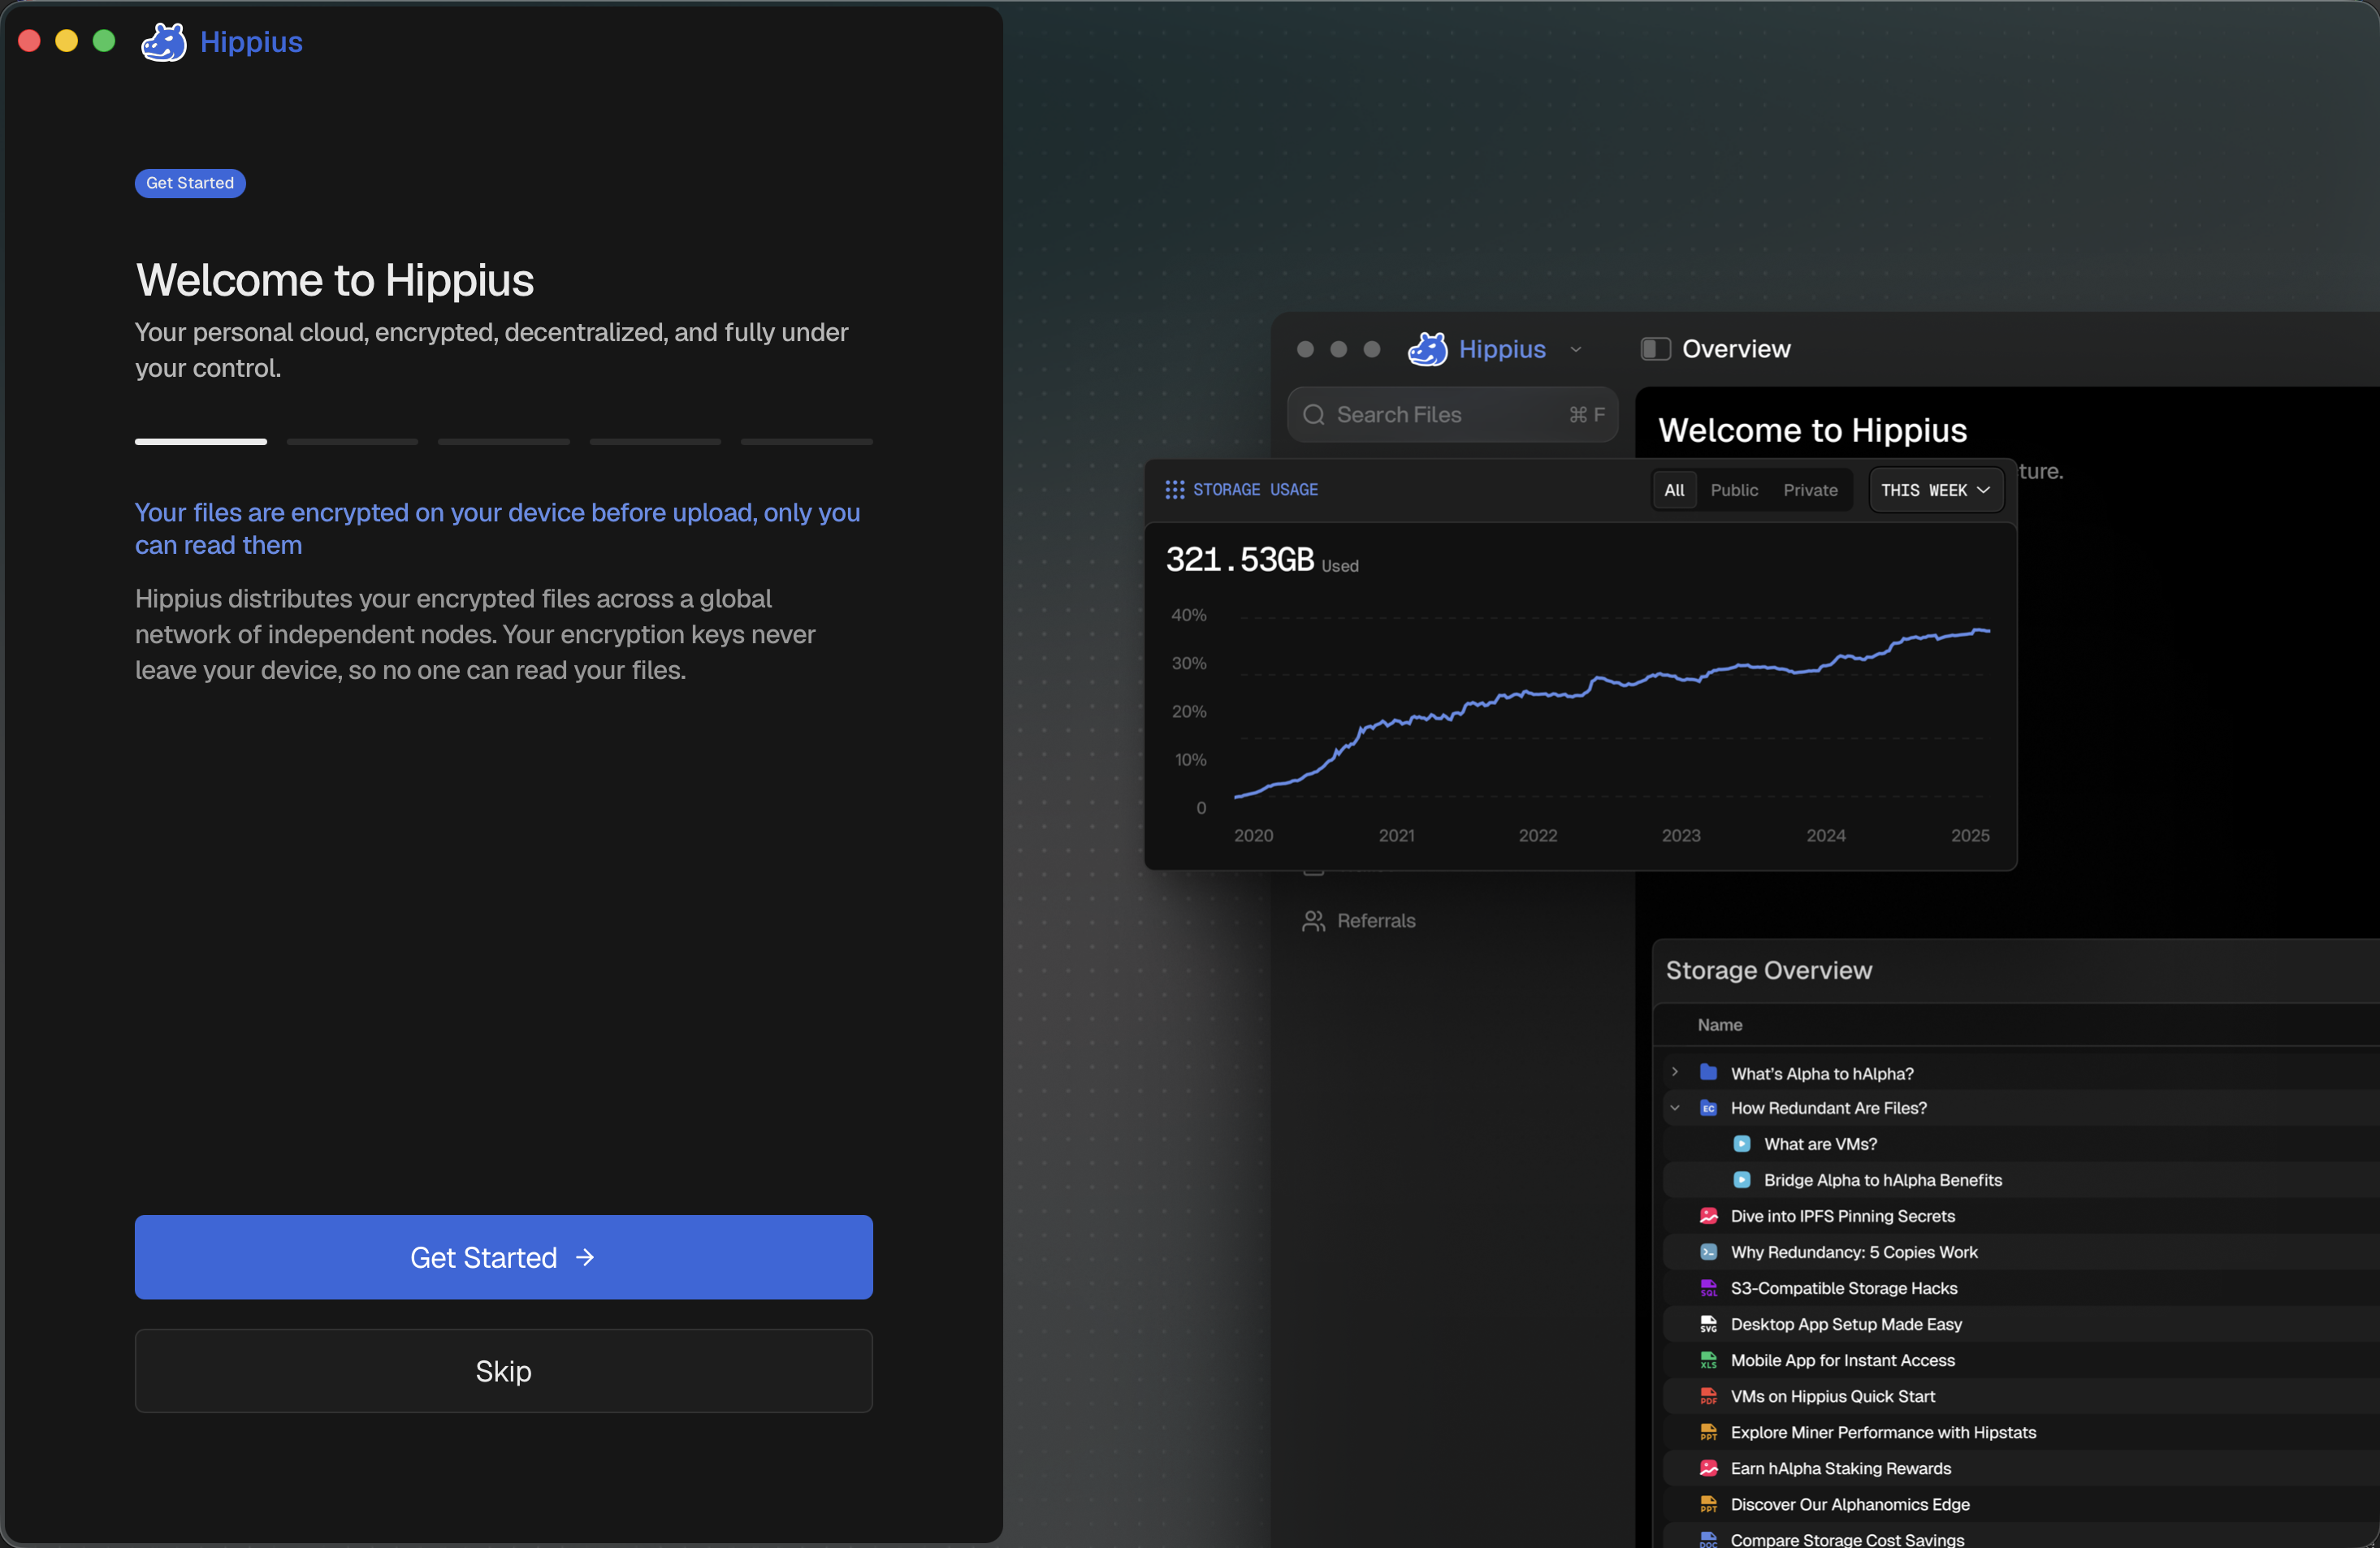
Onboarding
After signing in for the first time, you will be guided through a 5-step onboarding wizard that introduces the key features of Hippius Desktop:
- Welcome to Hippius: Overview of your personal cloud, with files encrypted on your device before upload and distributed across a global network of independent nodes.
- Credits & Billing: Learn how pay-as-you-go billing works, including top-ups via Stripe or TAO, subscription plans, and how sync simply pauses if you run out of credits.
- Files & Actions: Browse, preview, and manage files from one place, with right-click actions to download, reveal in Finder, view details, rename, or track files on the Hipstats explorer.
- Unlock Password: Understand how one unlock password encrypts your files locally and gives you access across all your devices and the web console.
- Mnemonic Seed: Understand the importance of your mnemonic seed and how to back it up securely. Tips include writing it on paper, storing it safely, never sharing it, and keeping copies in multiple places.
You can click Skip at any time to bypass the remaining onboarding steps. Use the Back and Next buttons to navigate between steps. On the final step, click Start Syncing to back up your mnemonic seed and enter the app.
Set Your Unlock Password
After your first sign-in, the app will prompt you to set an unlock password. This password protects your account and encrypts your files.
- Enter a strong password (minimum 8 characters).
- Confirm the password.
- Click Save password.
Once set, the app handles file encryption automatically. You can start adding sync folders without any additional setup. See Unlock Password for more details.
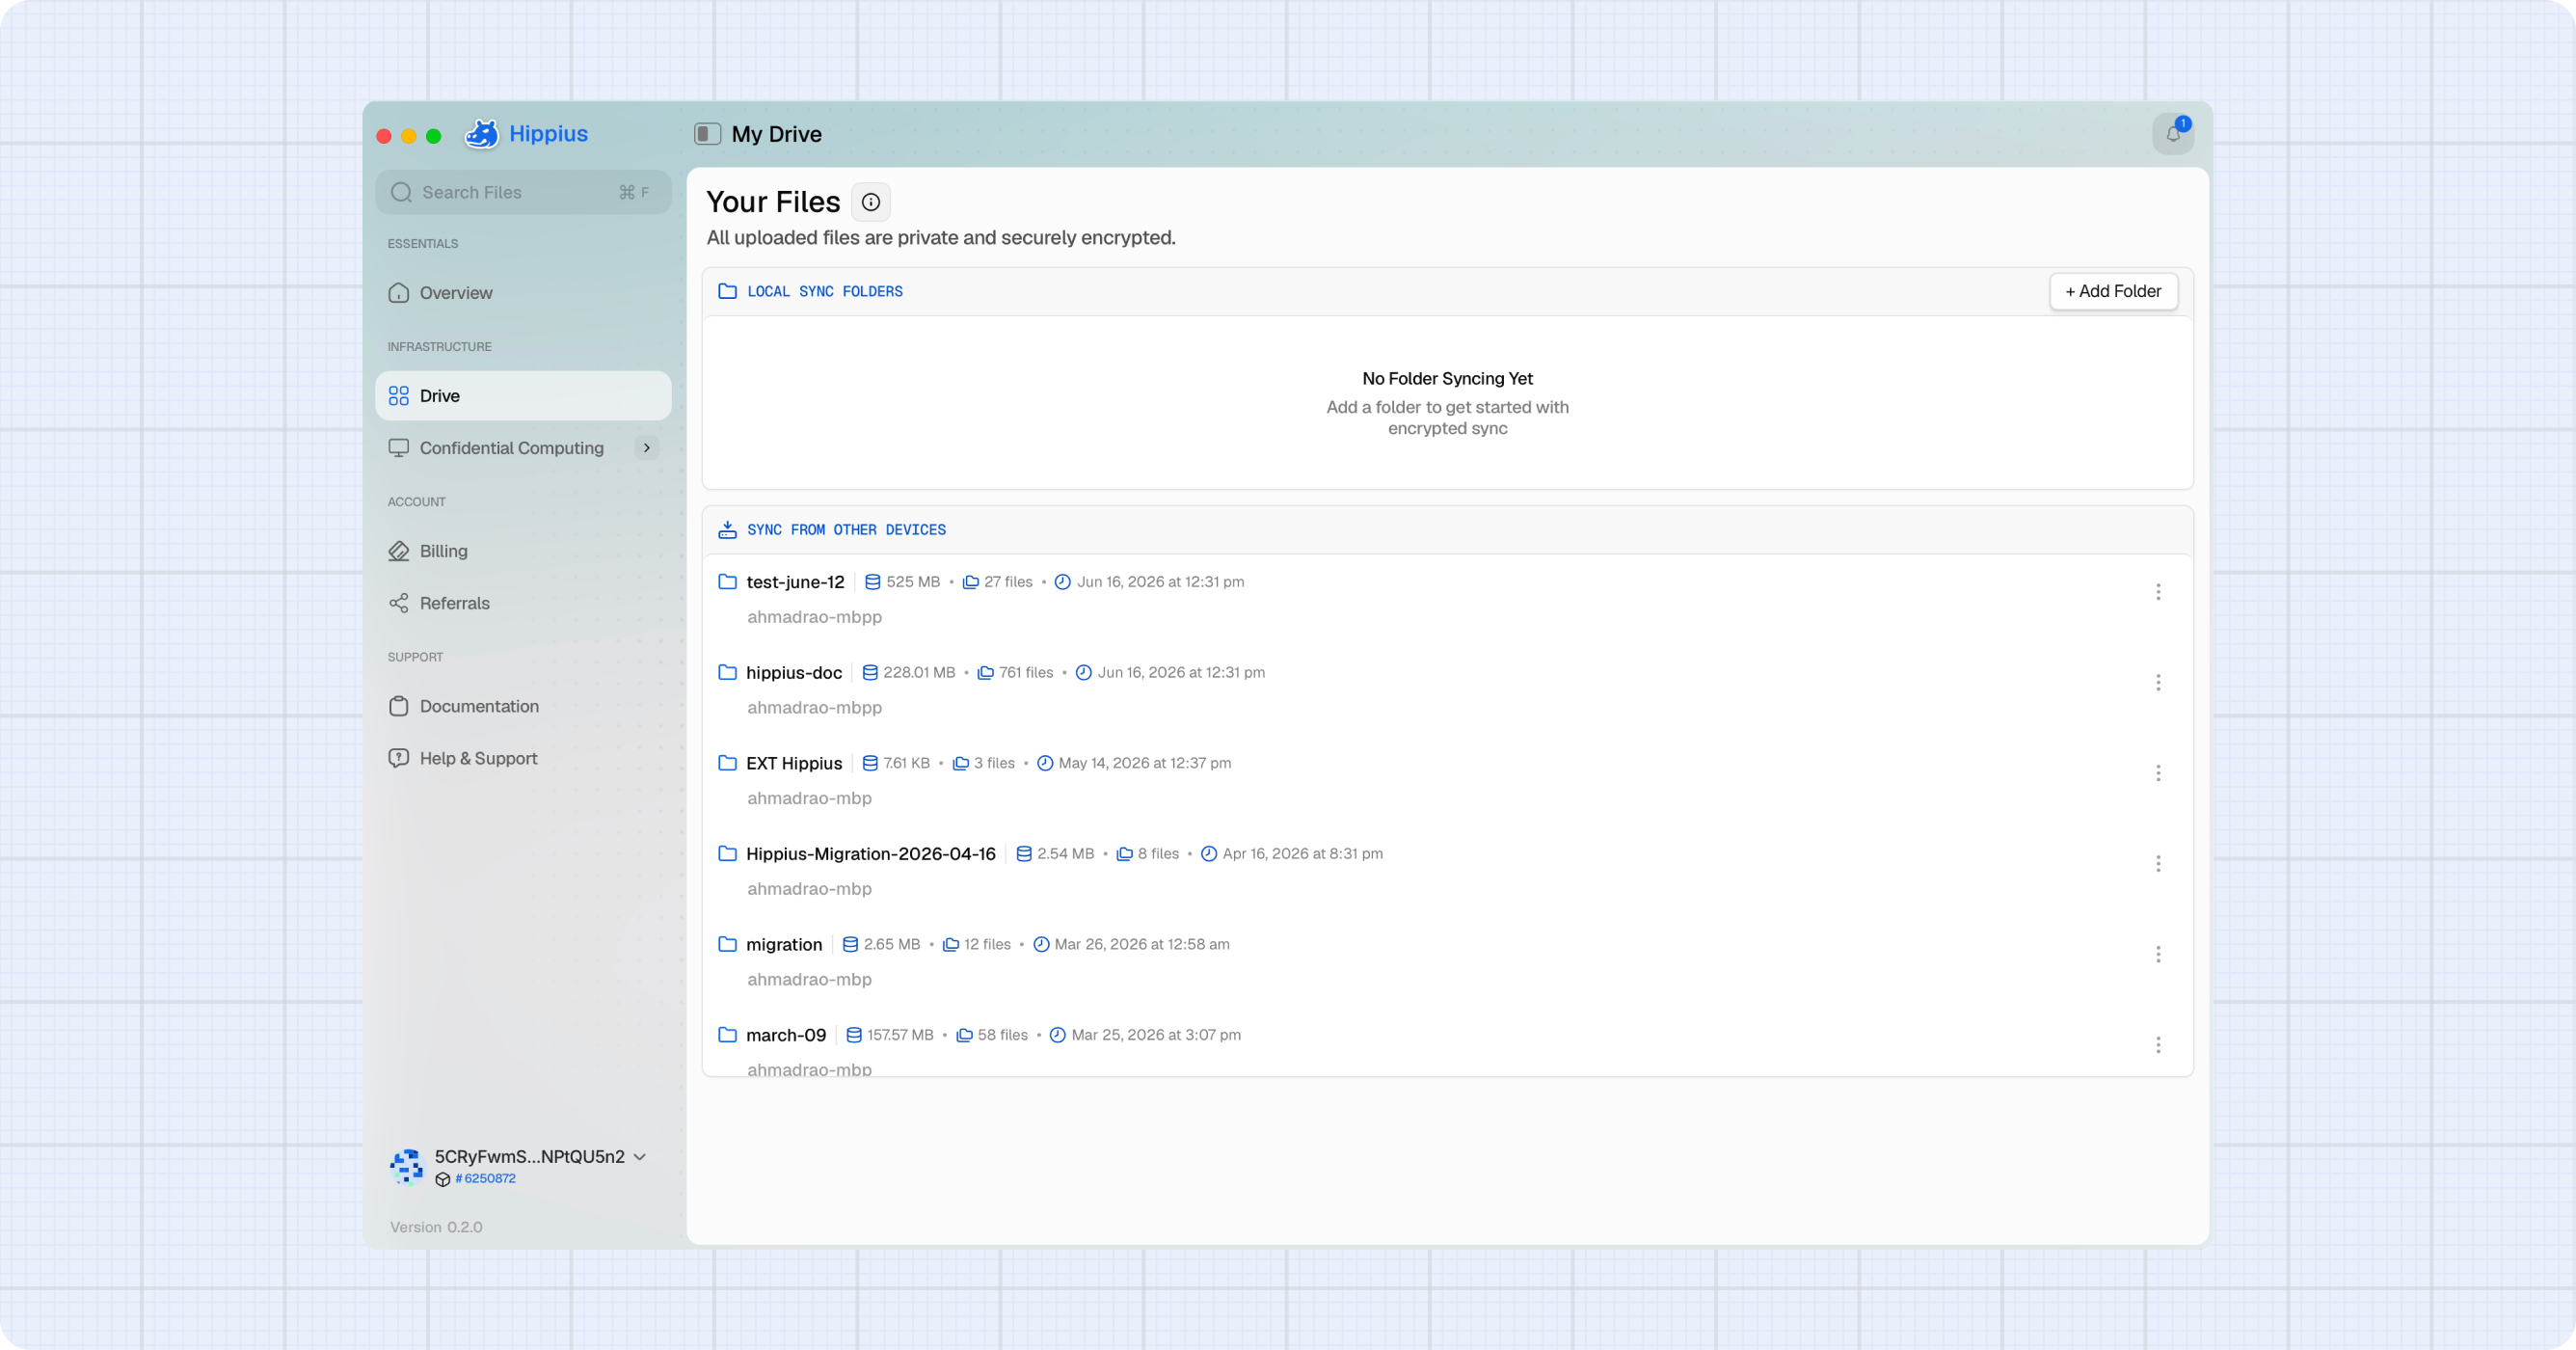
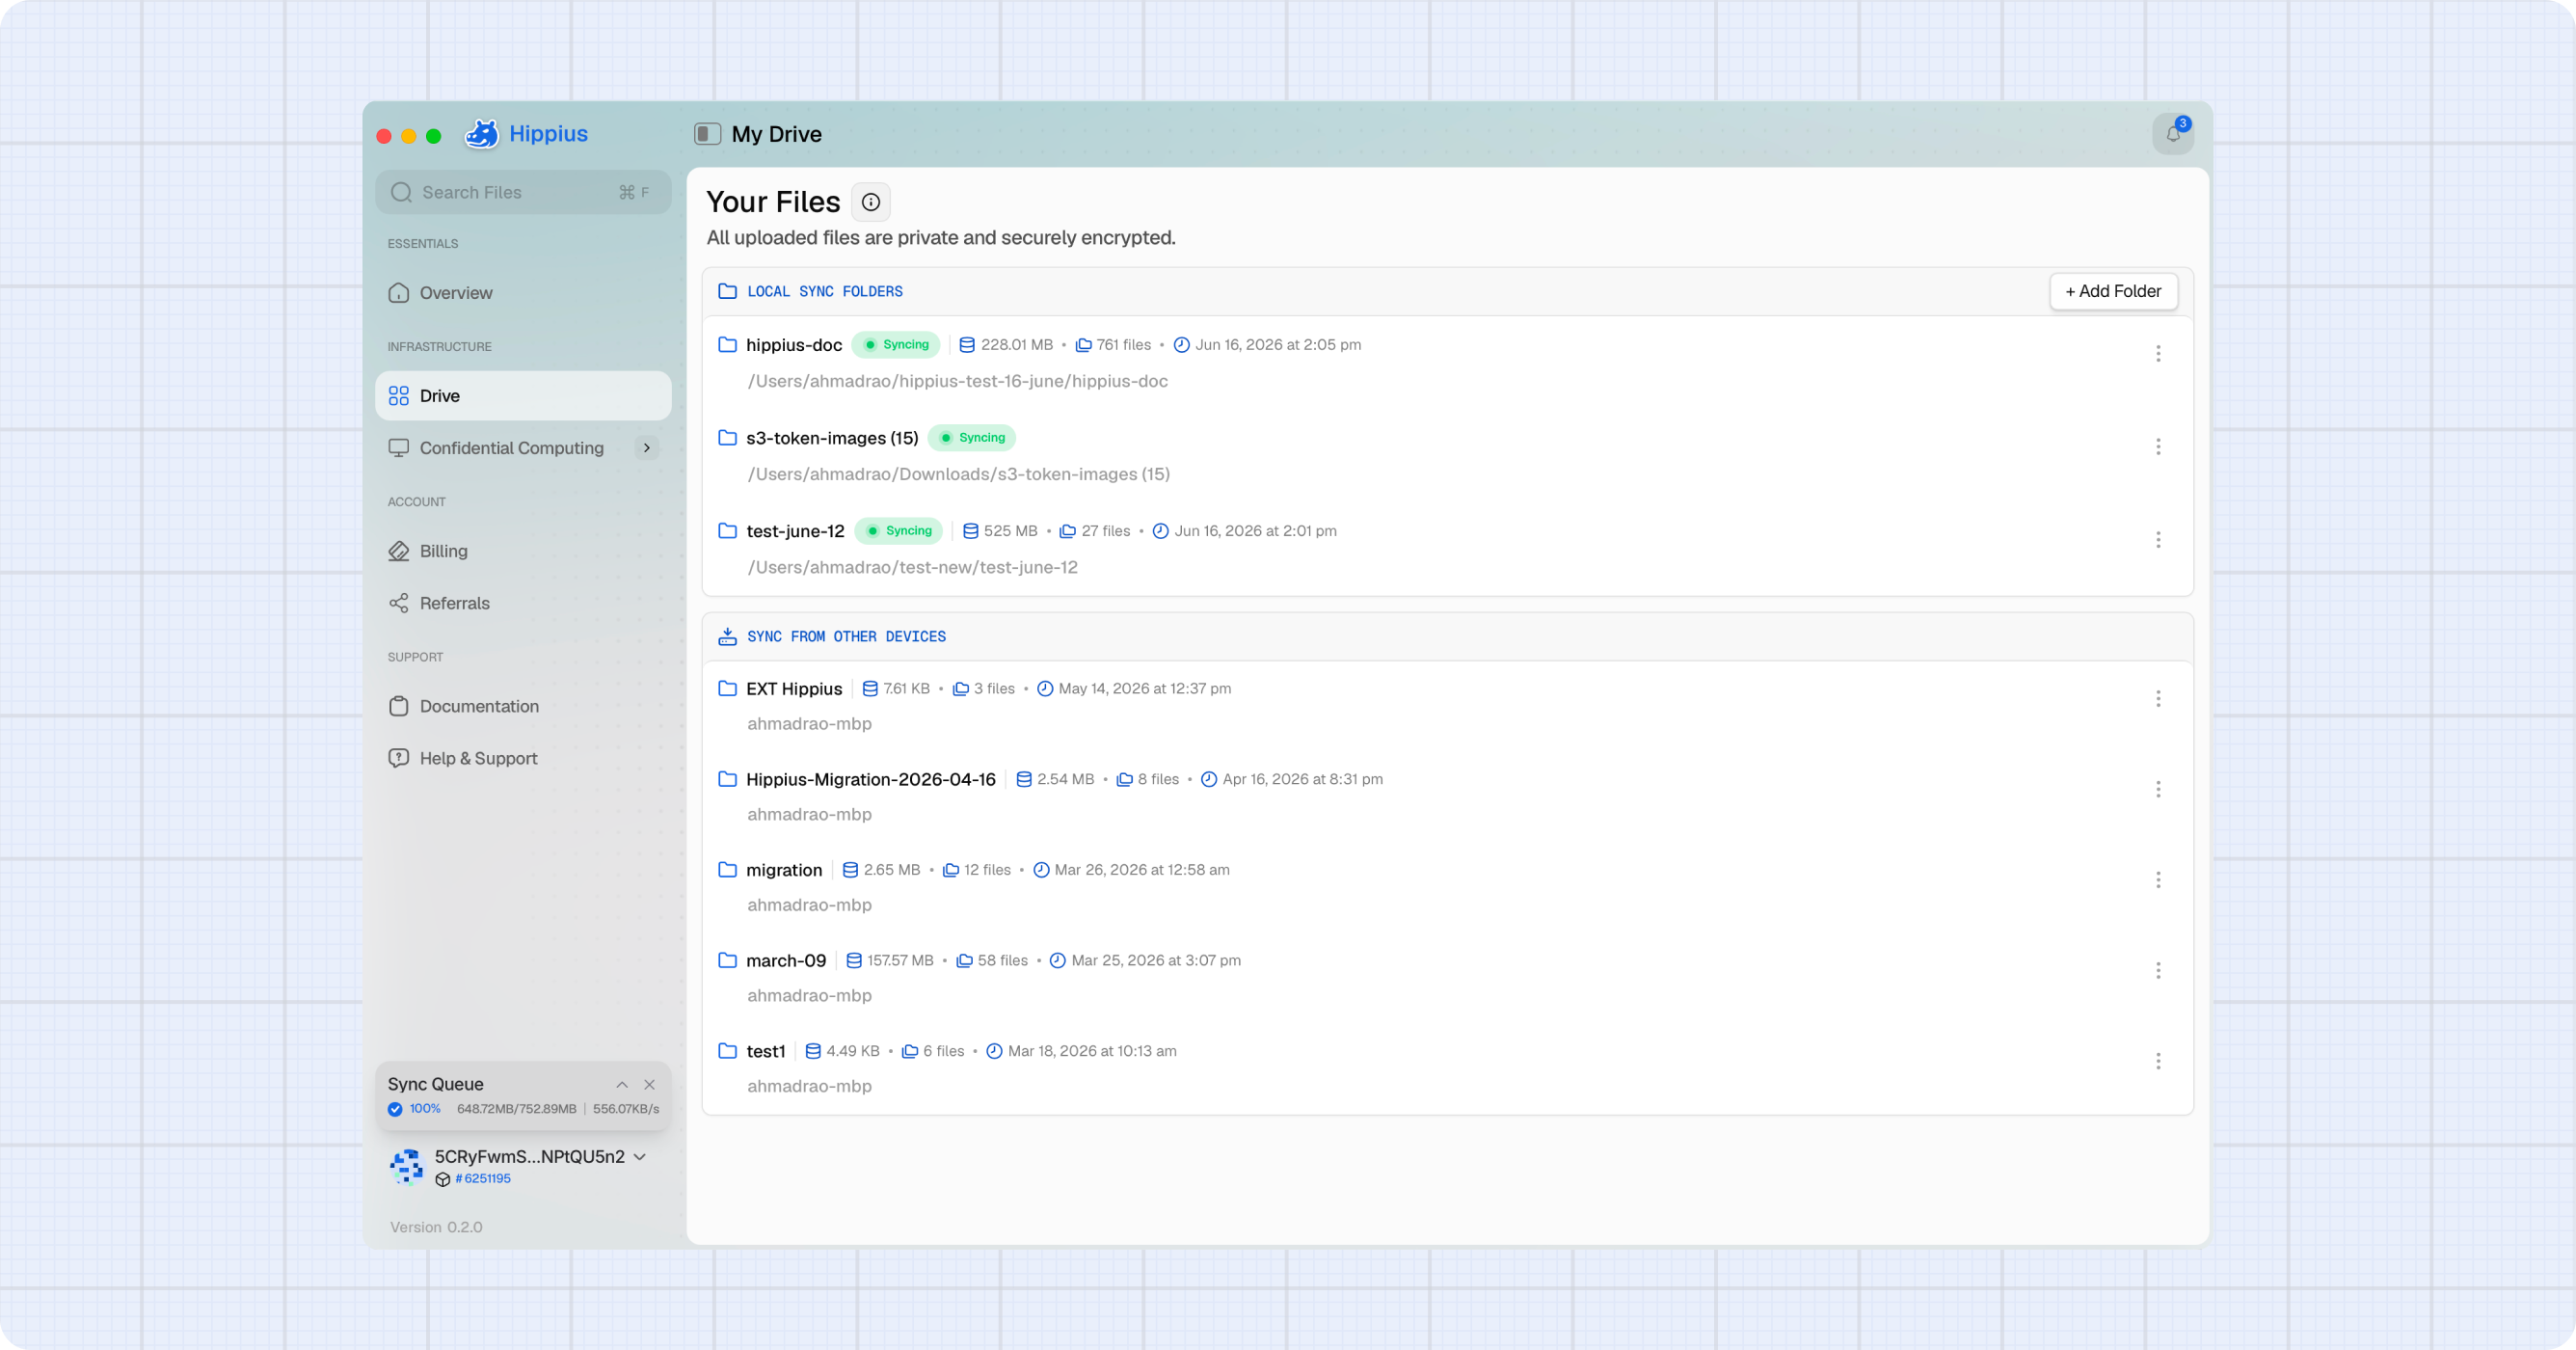
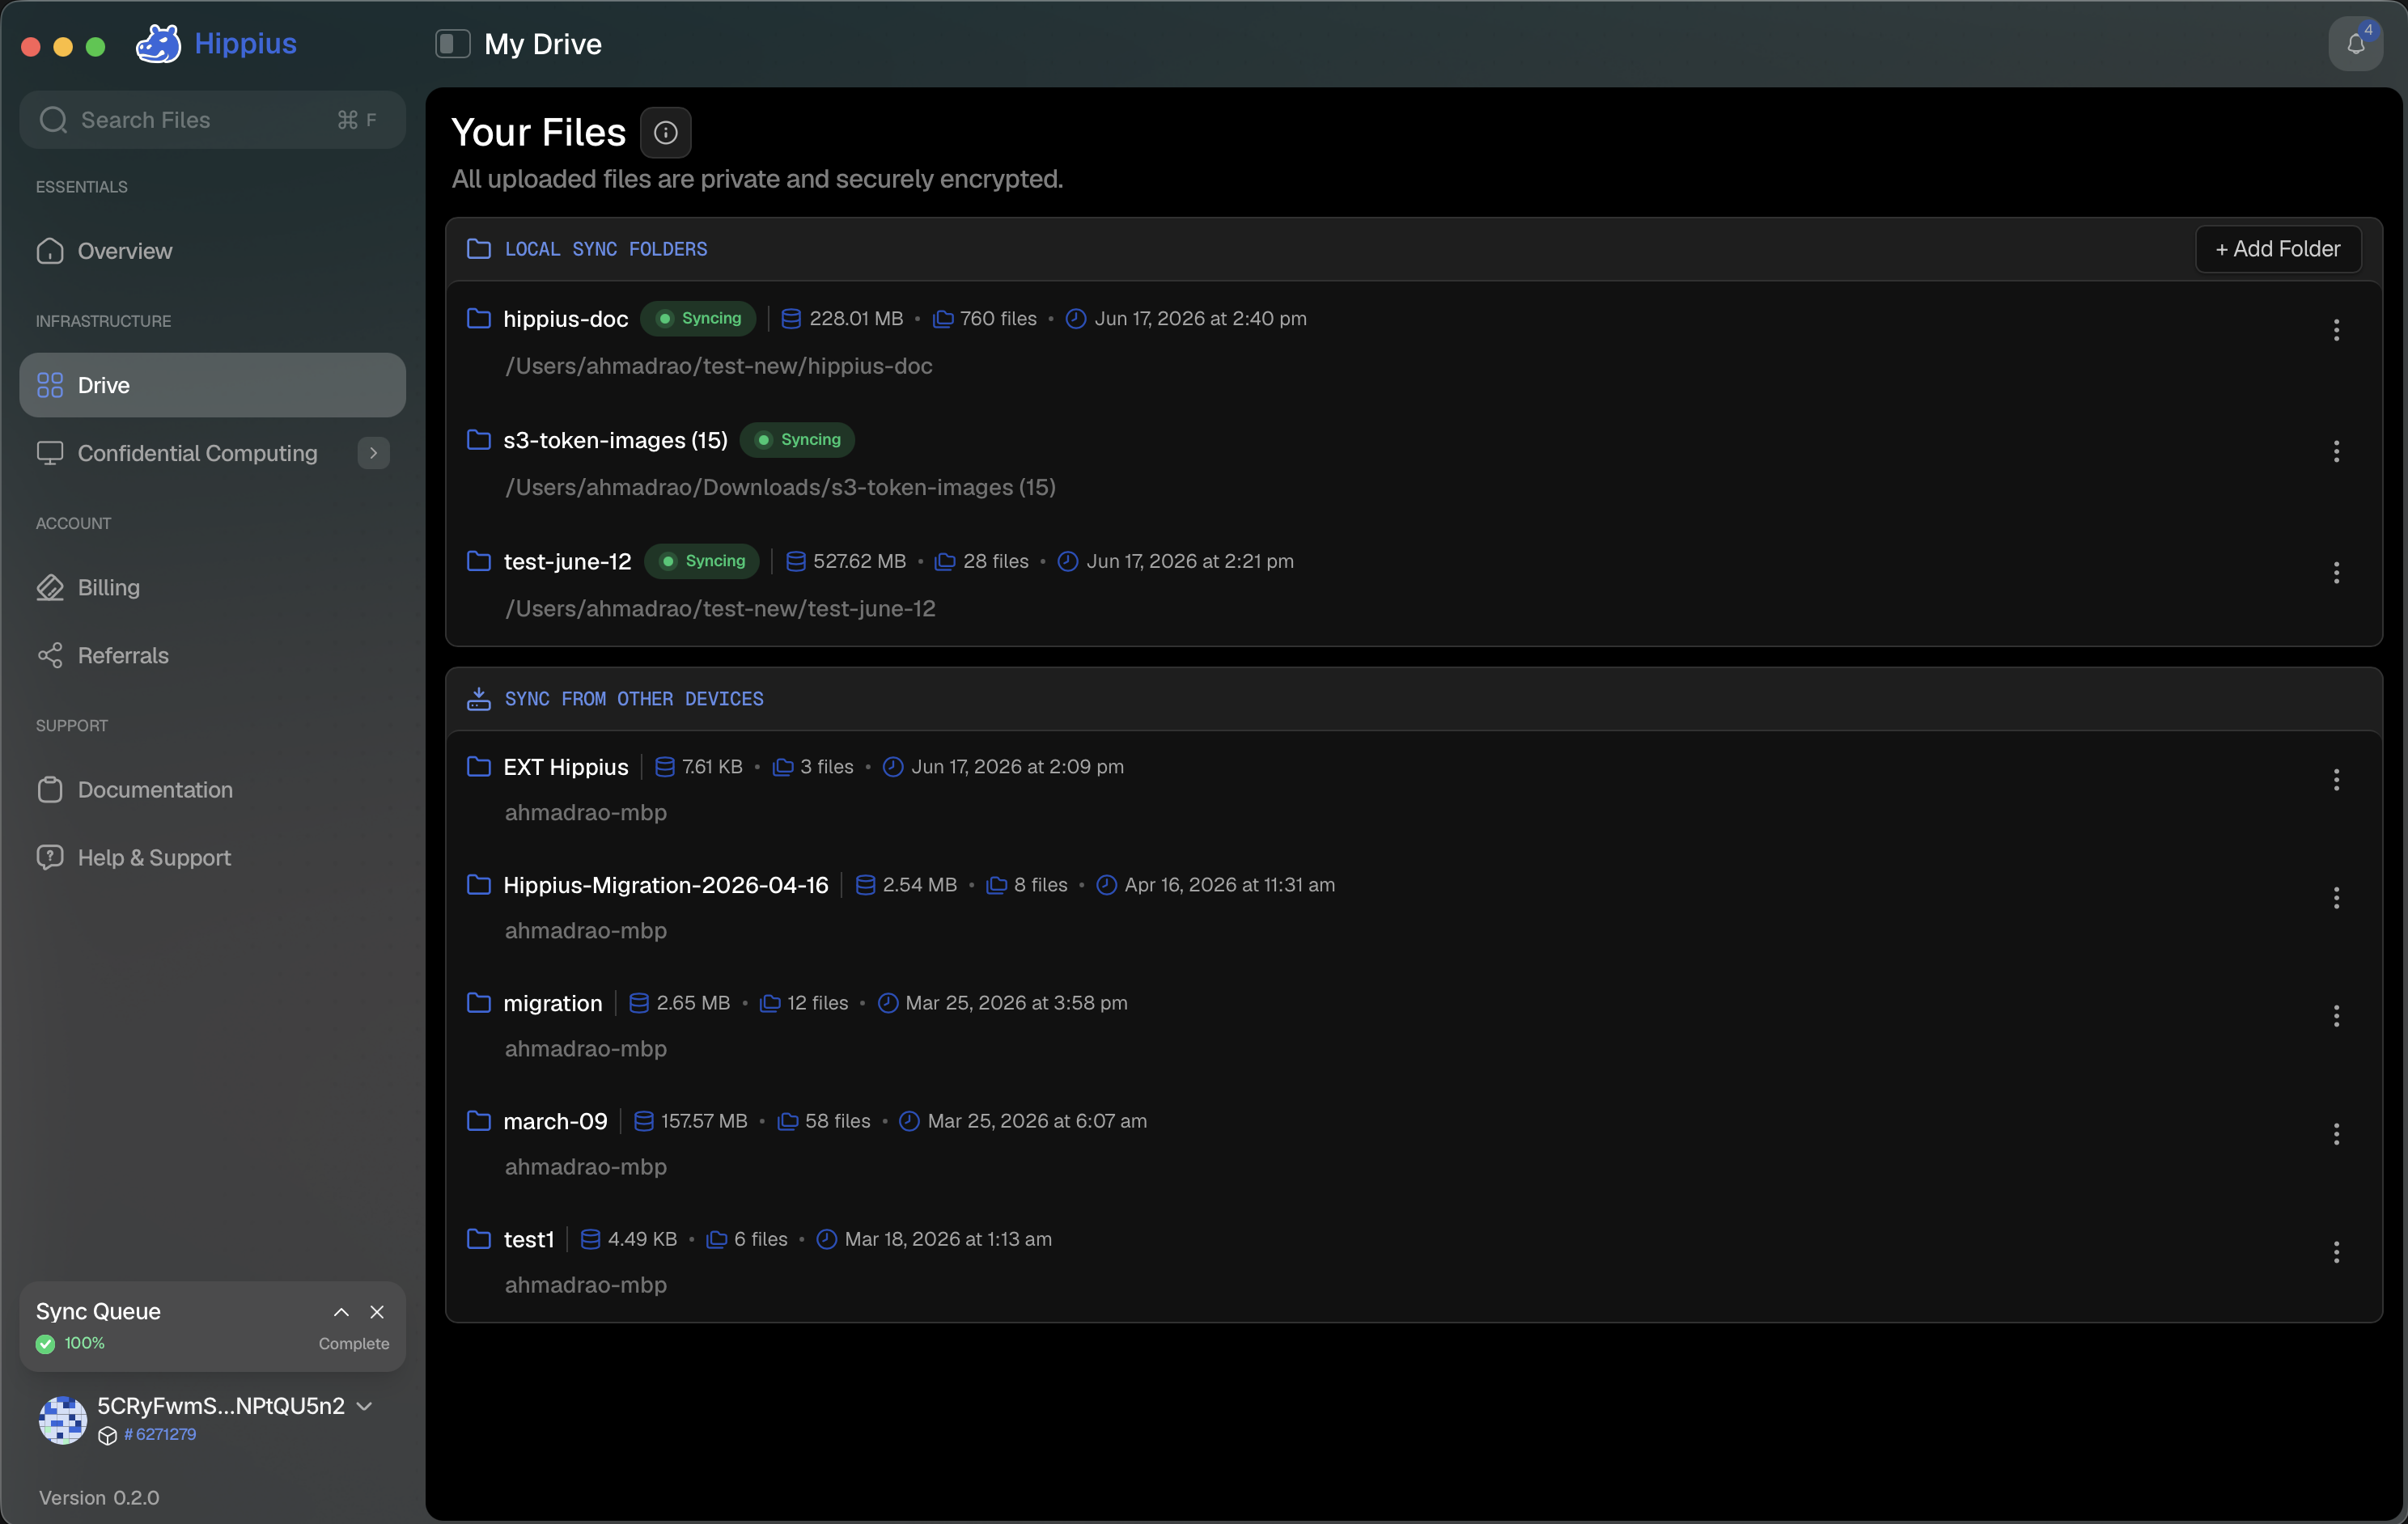
Set Up Your First Sync Folder
When you first open the Drive page, you will see the sync setup screen, known as the Local view. It is organized into two sections:
- Local Sync Folders: Folders on this device that sync to the Hippius network. This is where you add your first folder.
- Sync from Other Devices: Folders already synced from your other devices, which you can download and keep in sync on this device.
To add your first folder:
- Click the Add Folder button under Local Sync Folders.
- Select any folder from your device using the file picker.
- Your folder is added and syncing begins automatically.
Any files you add to this folder will be encrypted on your device and synced to the Hippius network. Setting up sync here is optional — you can add folders later from Settings or by returning to this screen at any time.
Your unlock password was set during first login, so file encryption is configured automatically. No additional password setup is needed when adding a sync folder.
Once a folder begins syncing, the Drive page opens directly into that folder's contents. To return to the sync setup screen, click Local in the breadcrumb at the top of the page.
From the Local view you can add more sync folders, sync folders from your other devices, and manage existing ones — the same actions available under Settings → Sync & Storage. You can therefore manage syncing in whichever way is more convenient: directly from the Drive page, or from Settings.
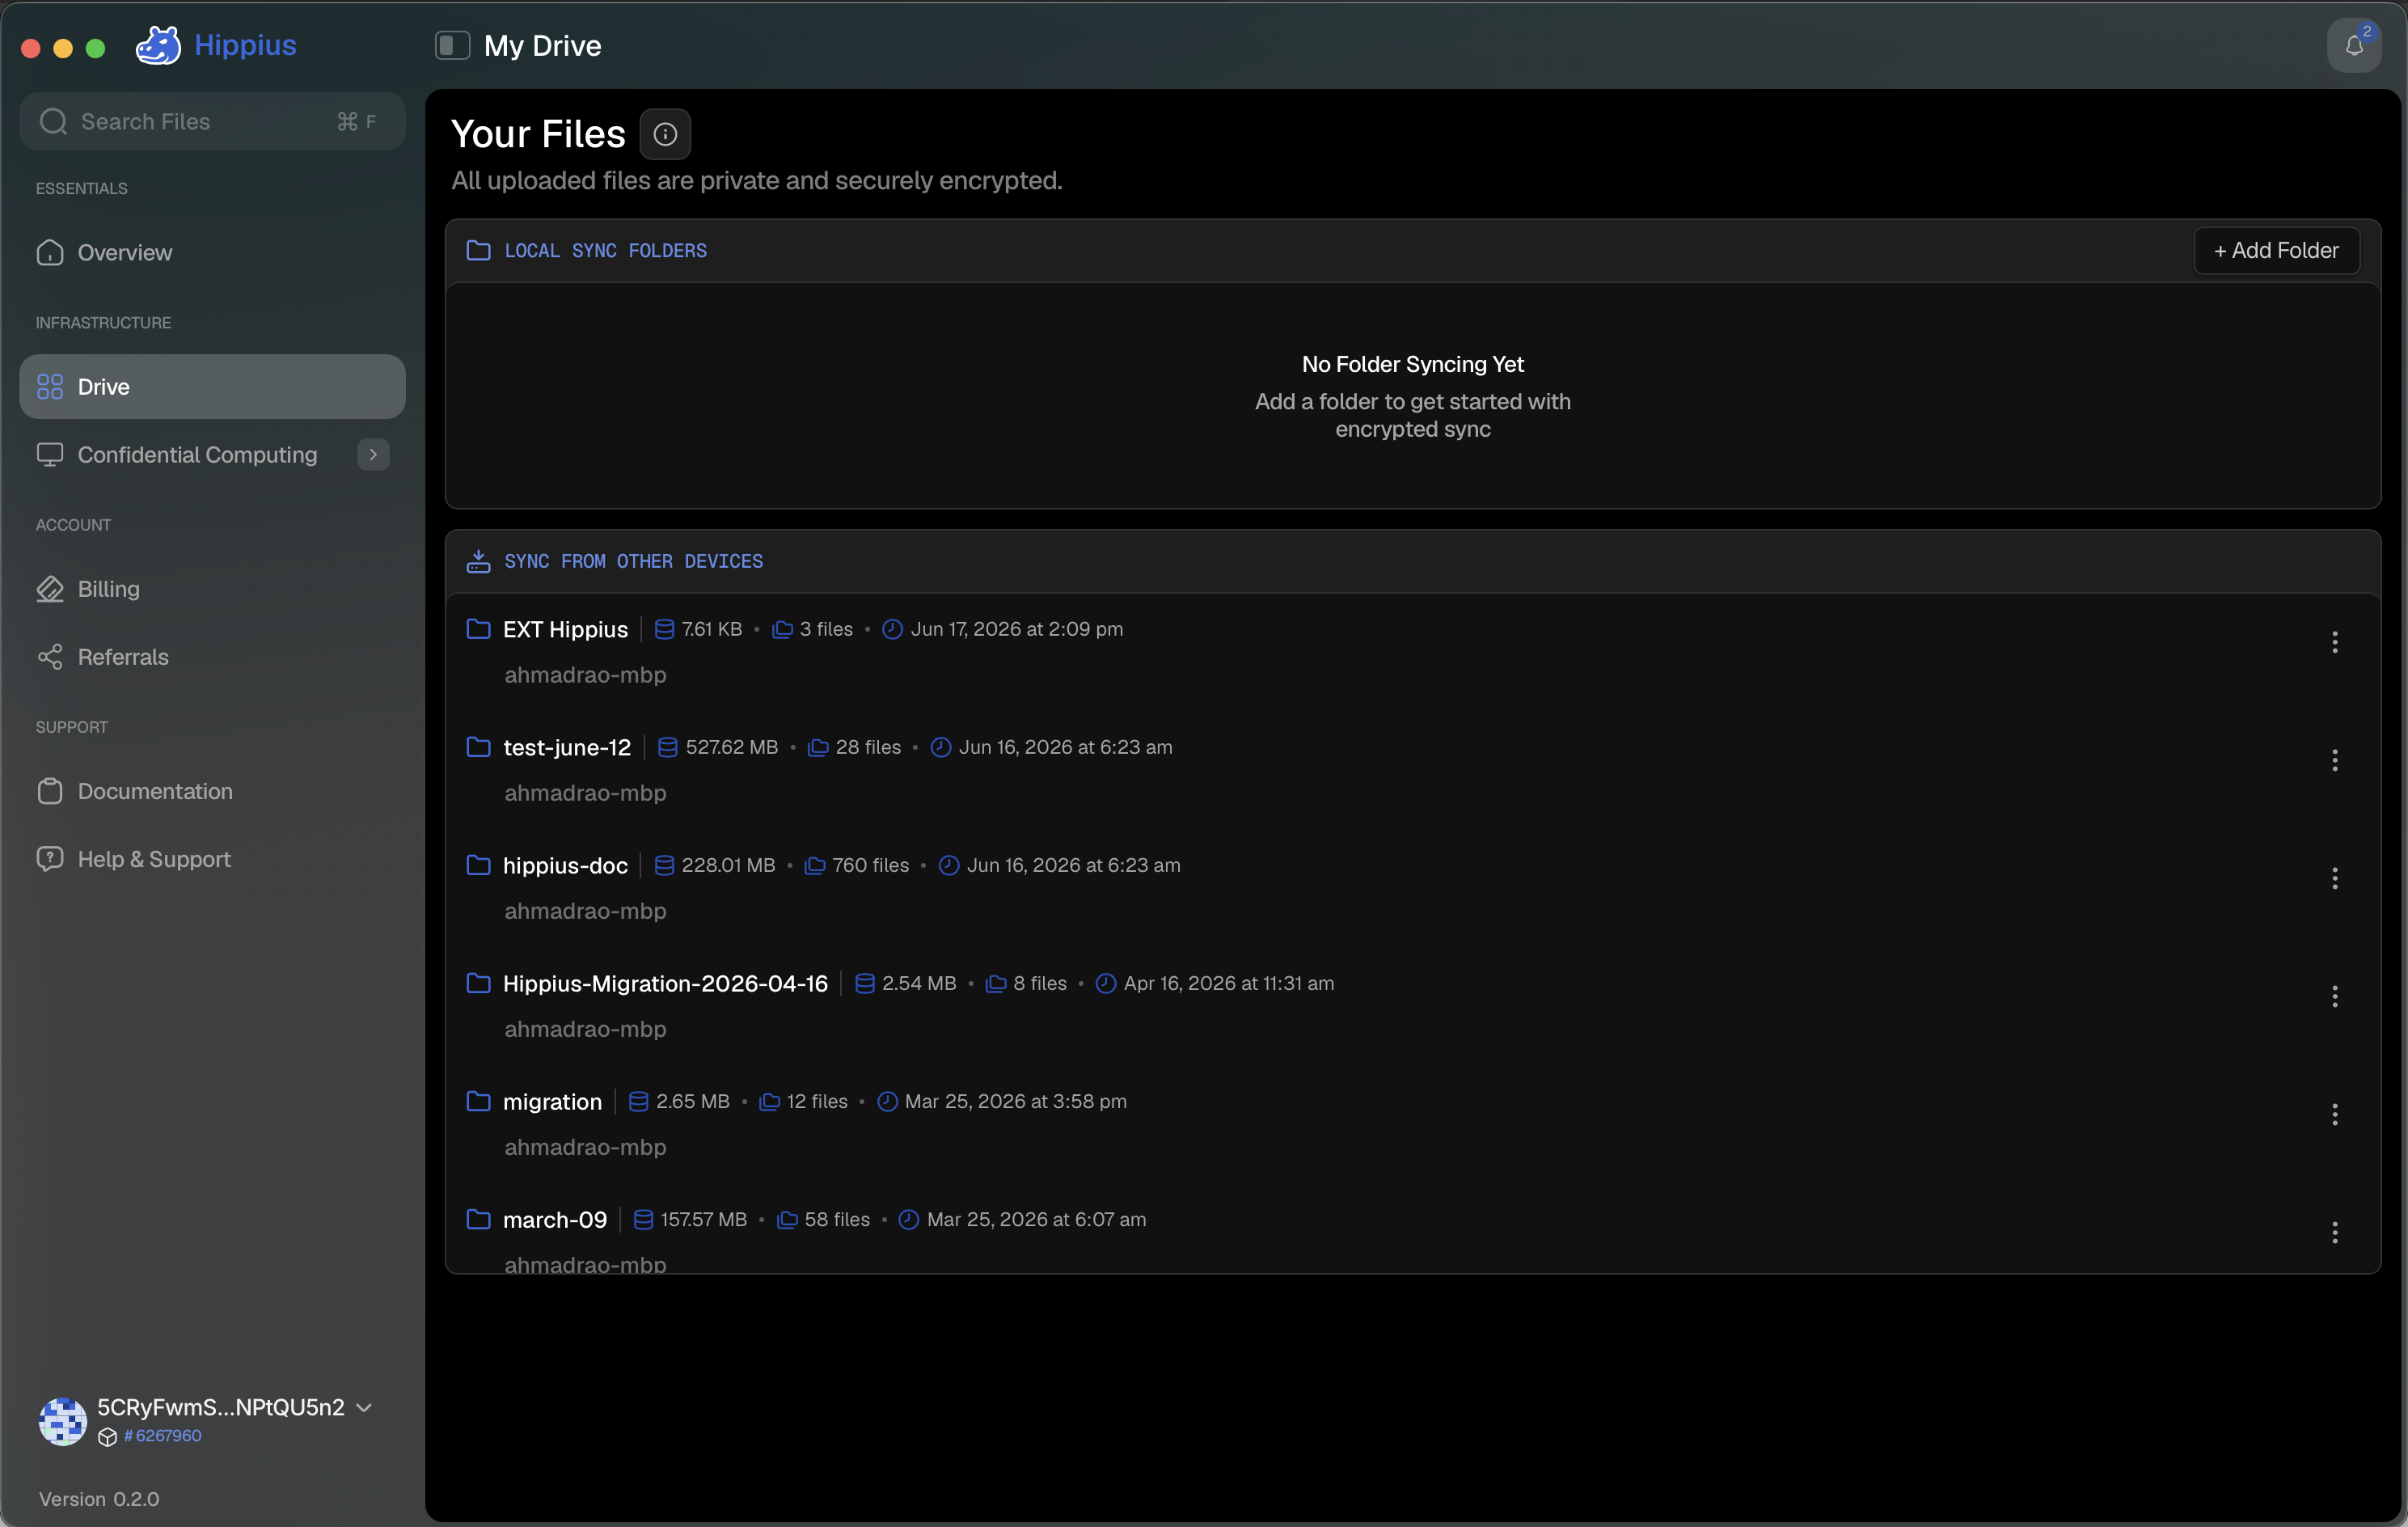
Adding More Sync Folders
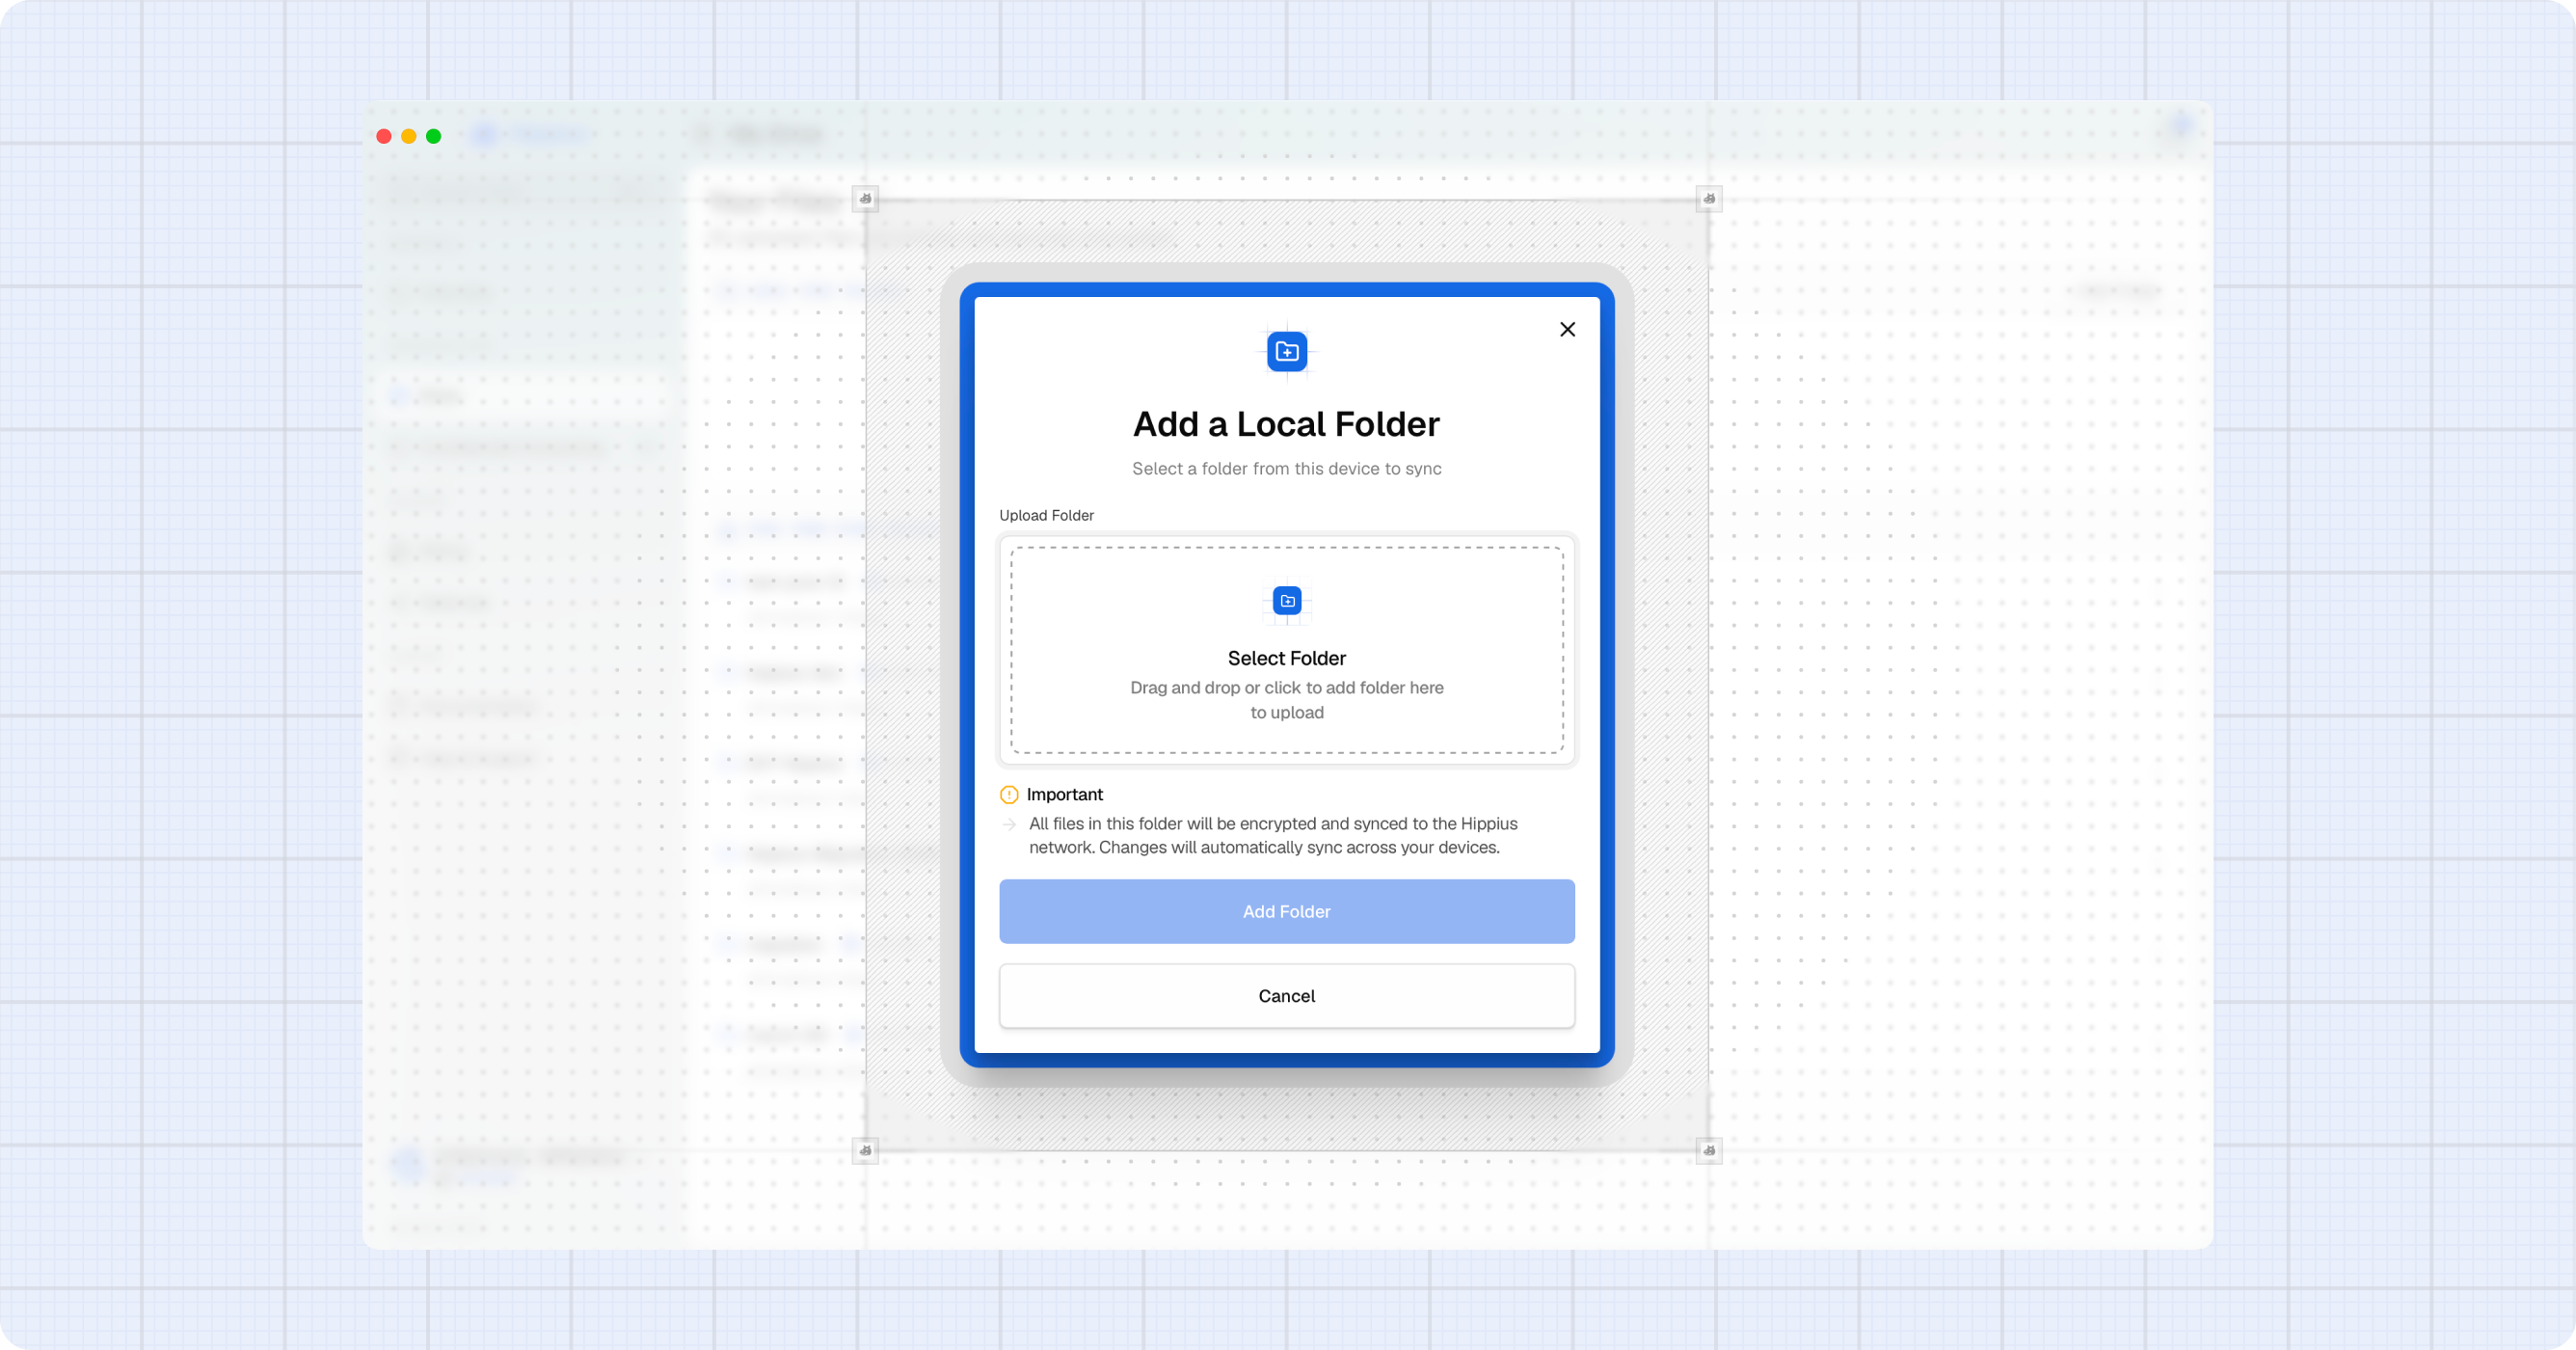
We support syncing multiple folders simultaneously. You can add additional folders at any time from either the Drive page or the Settings page — both open the same Add Local Folder dialog:
- From the Drive page: click Local in the breadcrumb to open the Local view, then click Add Folder under Local Sync Folders.
- From Settings: click Settingsin the sidebar, then click Add Folder in the Sync & Storage section.
In the Add Local Folder dialog:
- Click Select Folder and choose the folder you want to sync from your device.
- Click Add Folder to confirm. Syncing starts automatically.
Each folder syncs independently and shows its own status (Syncing, Paused, or Error).
You can manage all your synced folders from either the Drive page (via the Local breadcrumb) or the Settings → Sync & Storage page. See the App Settings guide for full details on pausing, resuming, removing folders, and syncing from other devices.
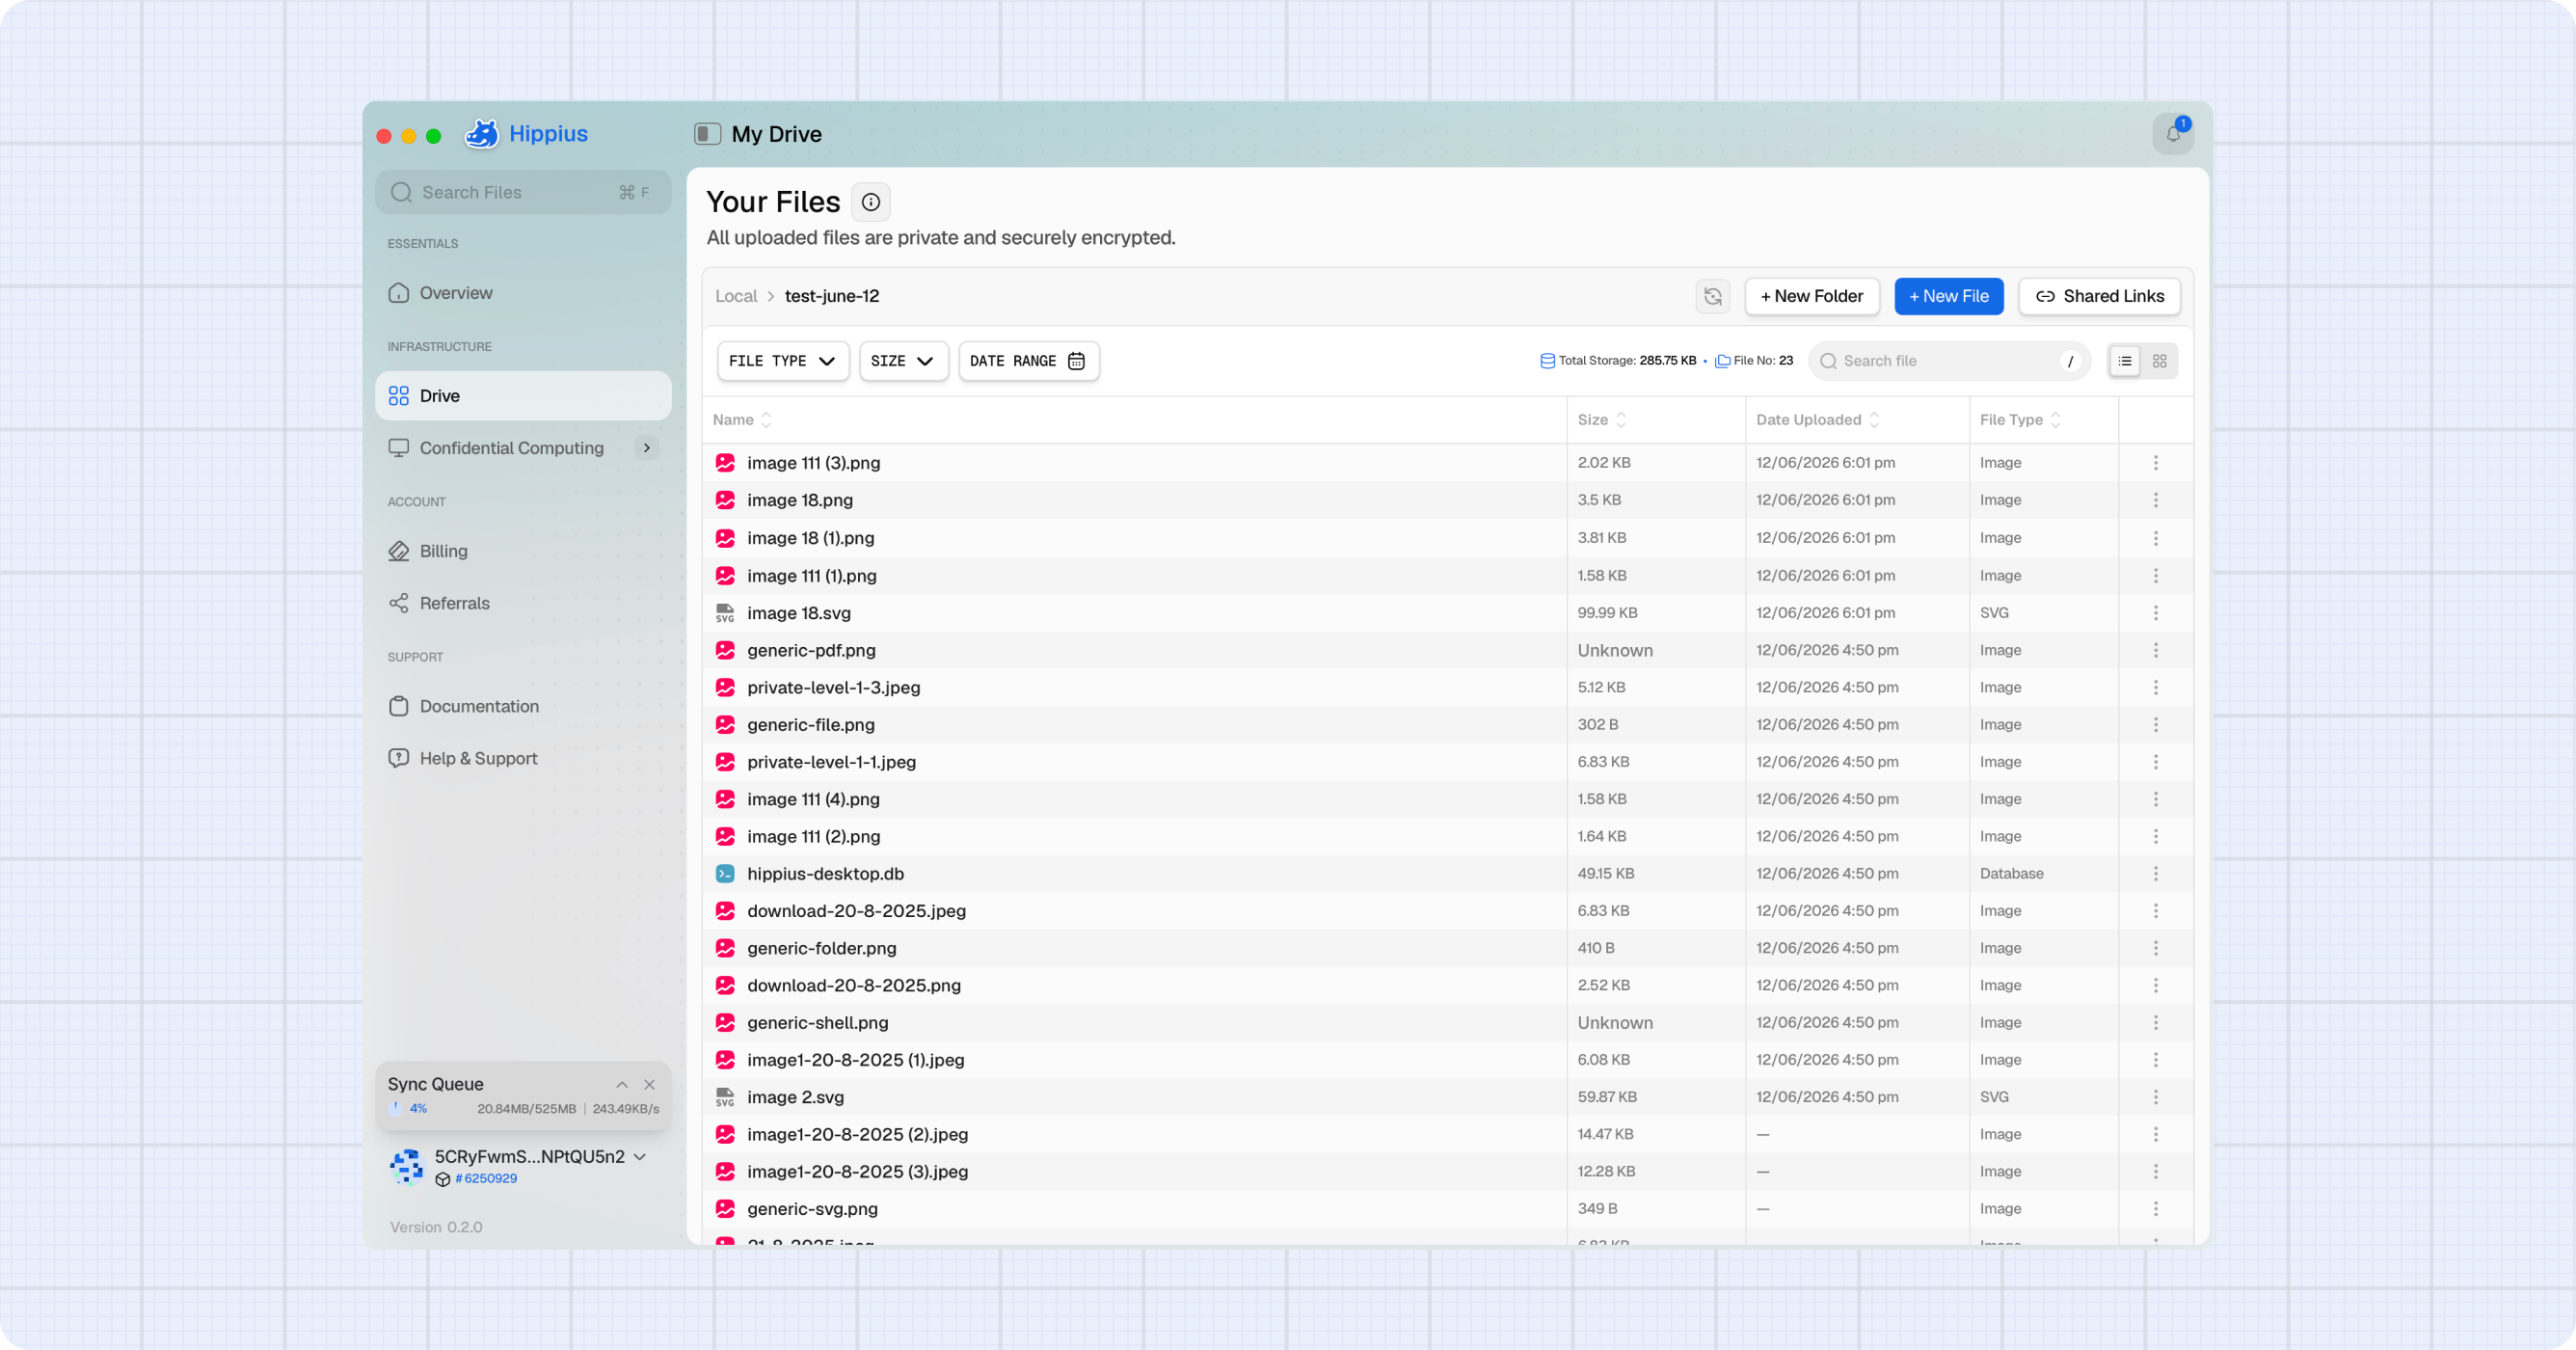
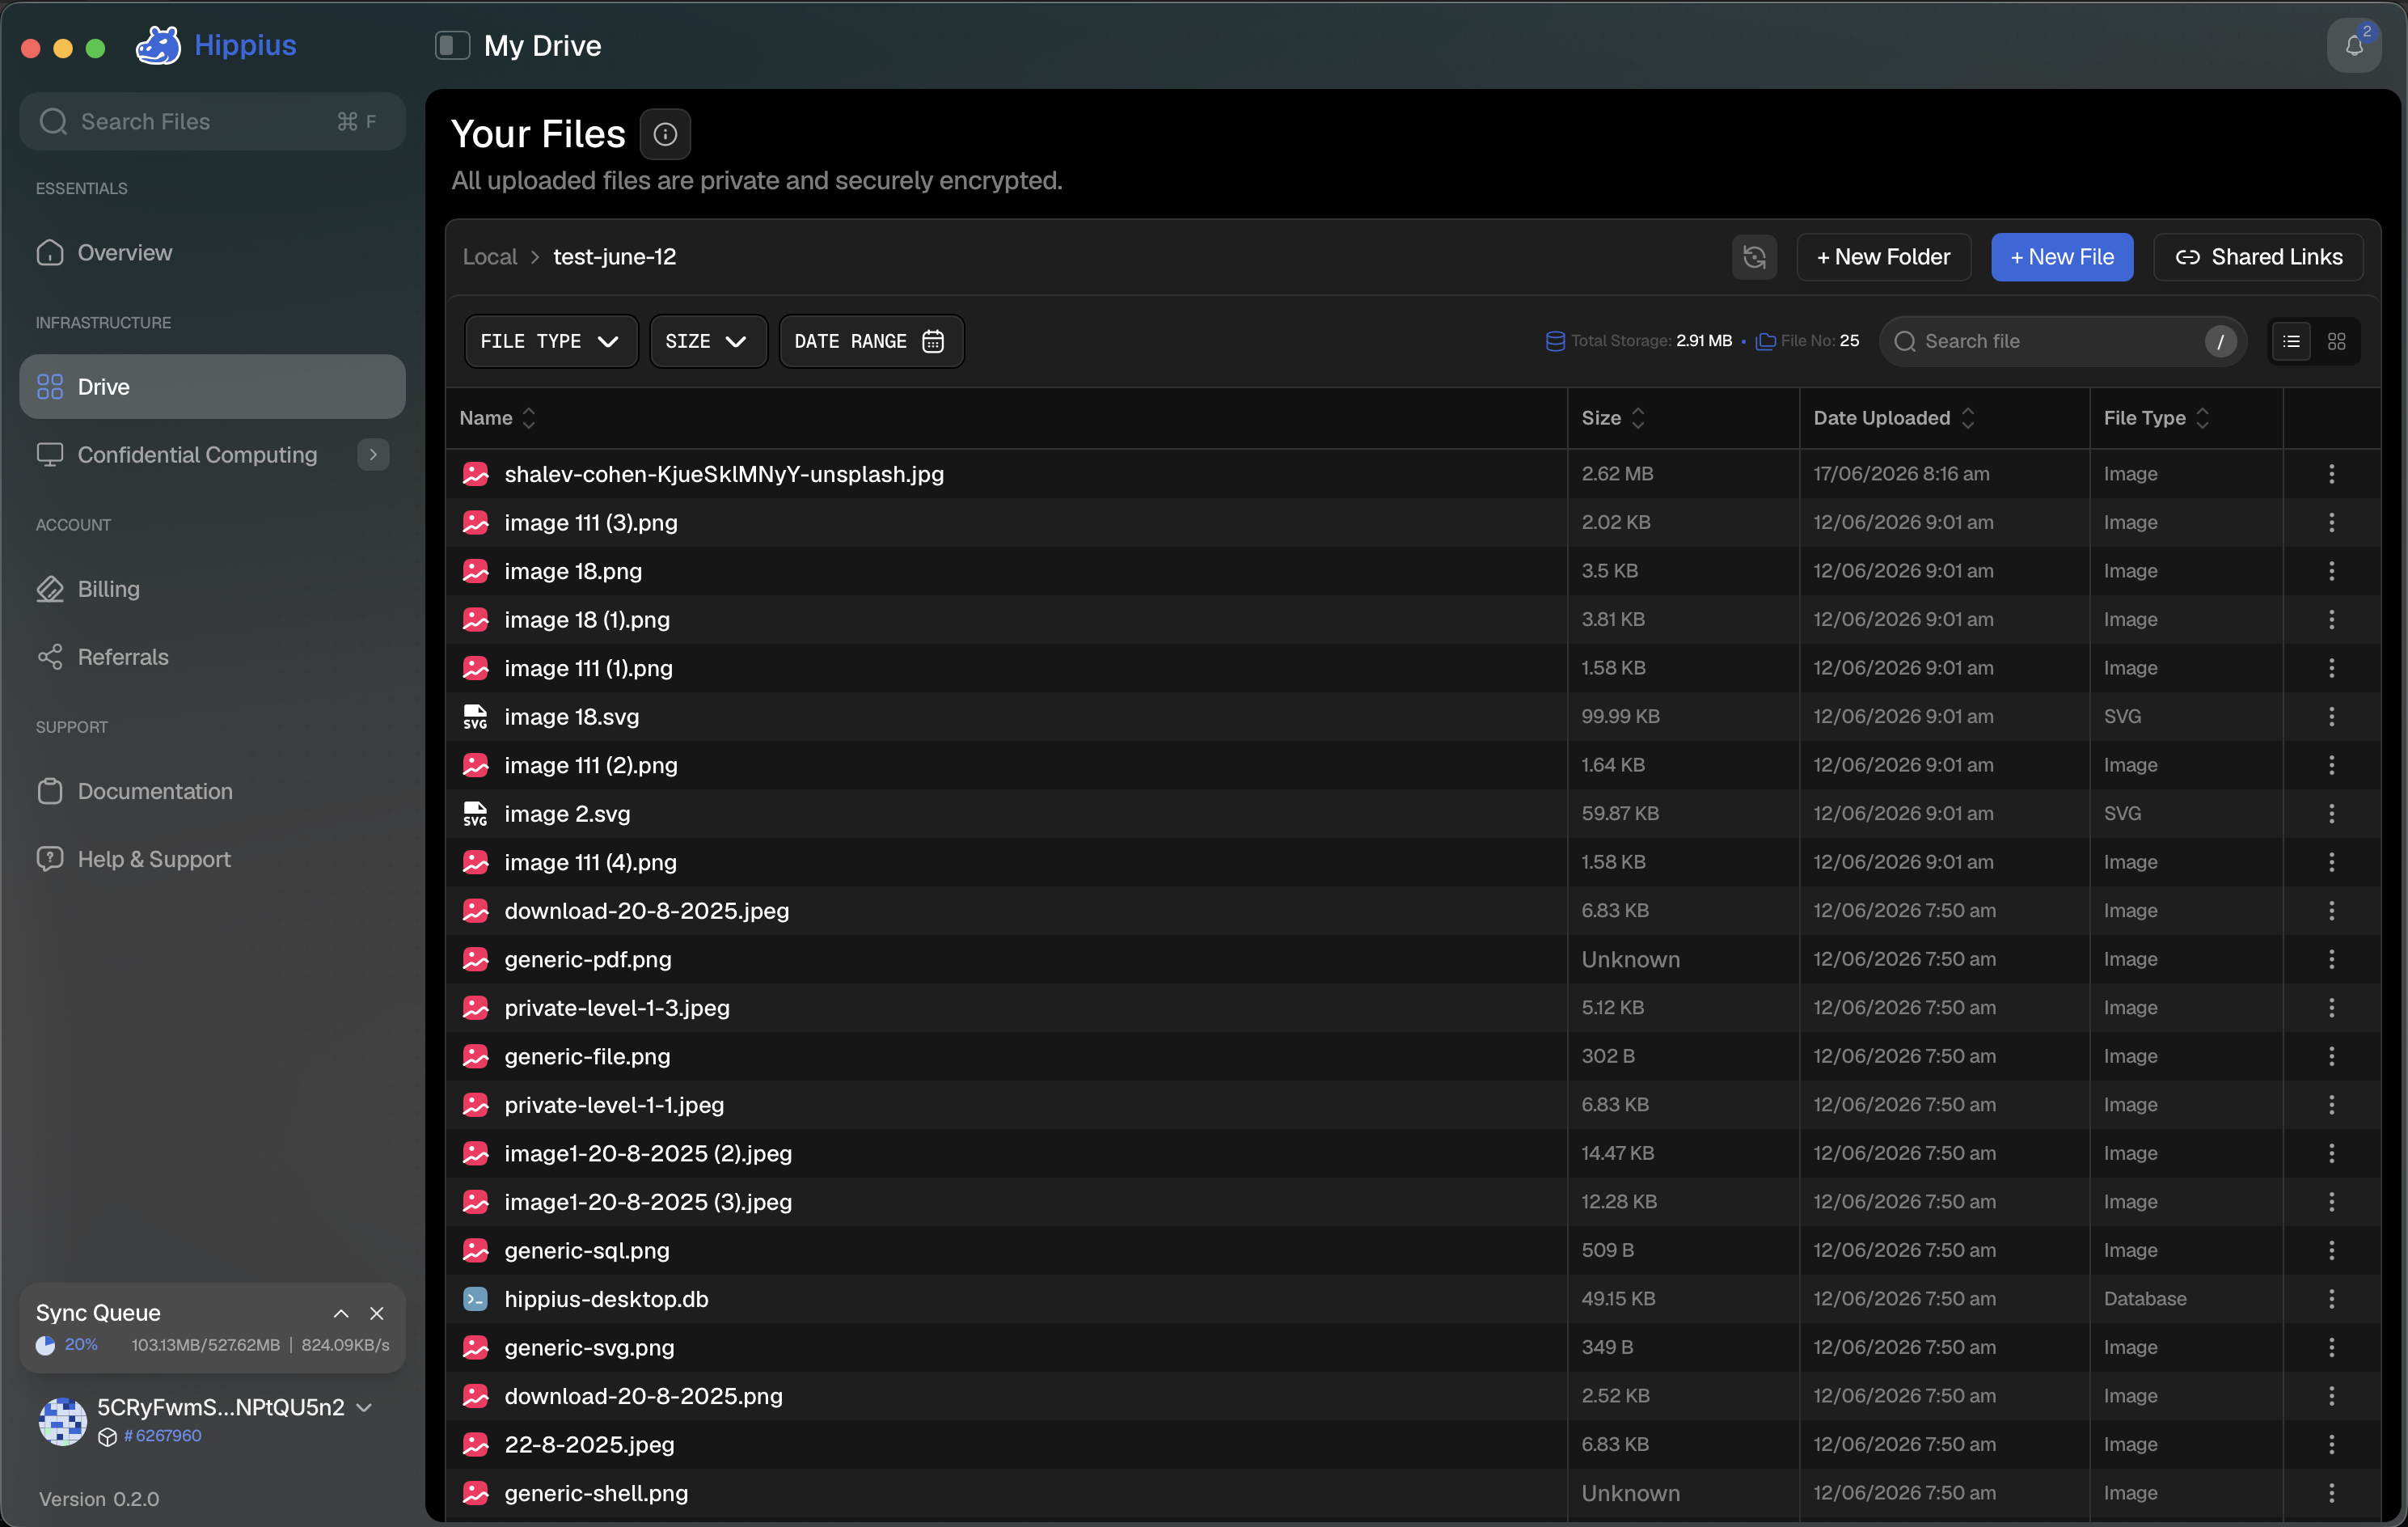
Uploading Files
- Click the icon to open the app.
- Click on Drivein the sidebar.
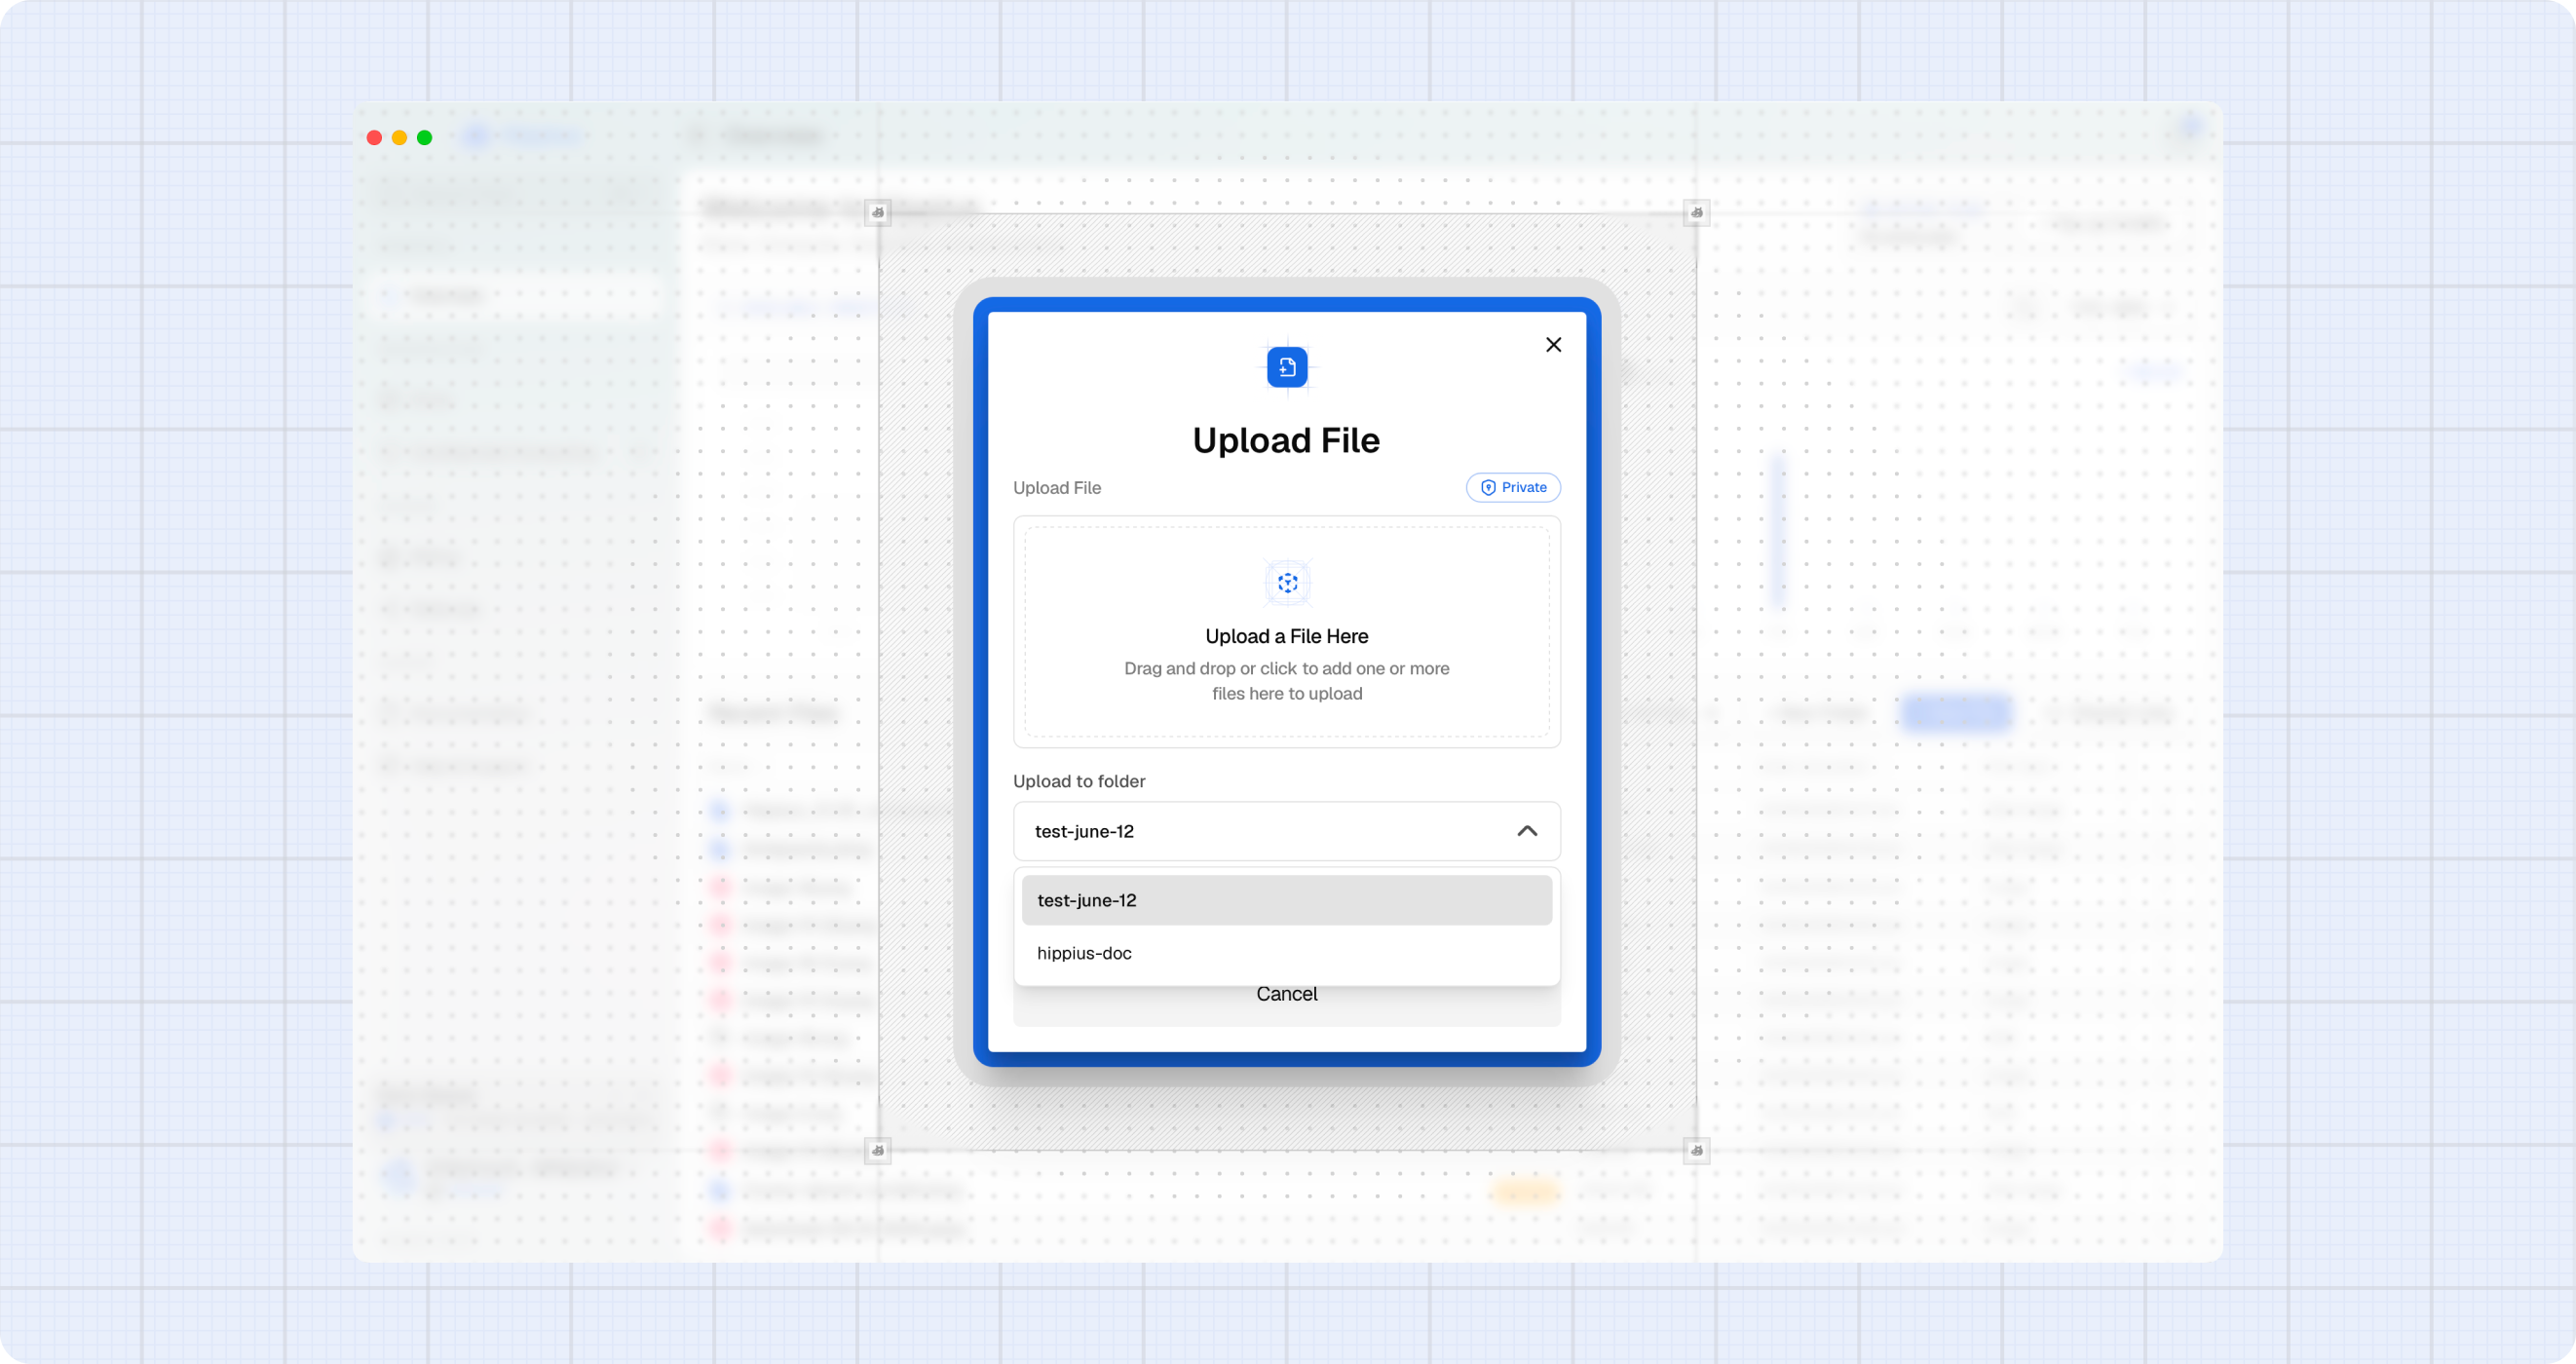
- Click the + New File button.
- If you have multiple sync folders, select the destination folder from the dropdown.
- Drag and drop or click to select one or more files to upload.
- Click Upload File in the modal to start the upload.
If syncing is stopped for a folder, you will see an alert prompting you to resume syncing before files can be uploaded.
Uploading Folders
- Click on Drivein the sidebar.
- Click the + New Folder button.
- If you have multiple sync folders, select the destination folder from the dropdown.
- Click Select Folder and choose the folder you want to upload from your device.
- Click Upload Folder in the modal to start the upload.
Monitoring Sync Progress
The Sync Queue widget lives in the sidebar footer, at the bottom-left of the app. It appears automatically whenever files are being synced and shows real-time progress.
Its header always displays the overall progress — a percentage and progress bar with a live status, such as the current transfer speed while syncing or Complete when finished. Hover the progress bar for more detail, including the estimated time remaining and a count of files synced.
The widget has three forms:
- Collapsed (default): Shows only the Sync Queue header with the overall progress bar and status.
- Expanded: Click the header (or the chevron) to reveal the full file list. Each row shows the file name, its size or byte-level transfer progress, and a status badge such as Pending, Encrypting, a live percentage, Synced, Downloaded, or Error.
- Minified: Click the ✕ to shrink the widget into a compact circular progress ring. The ring keeps tracking progress and shows a checkmark when complete; click it to restore the full widget.
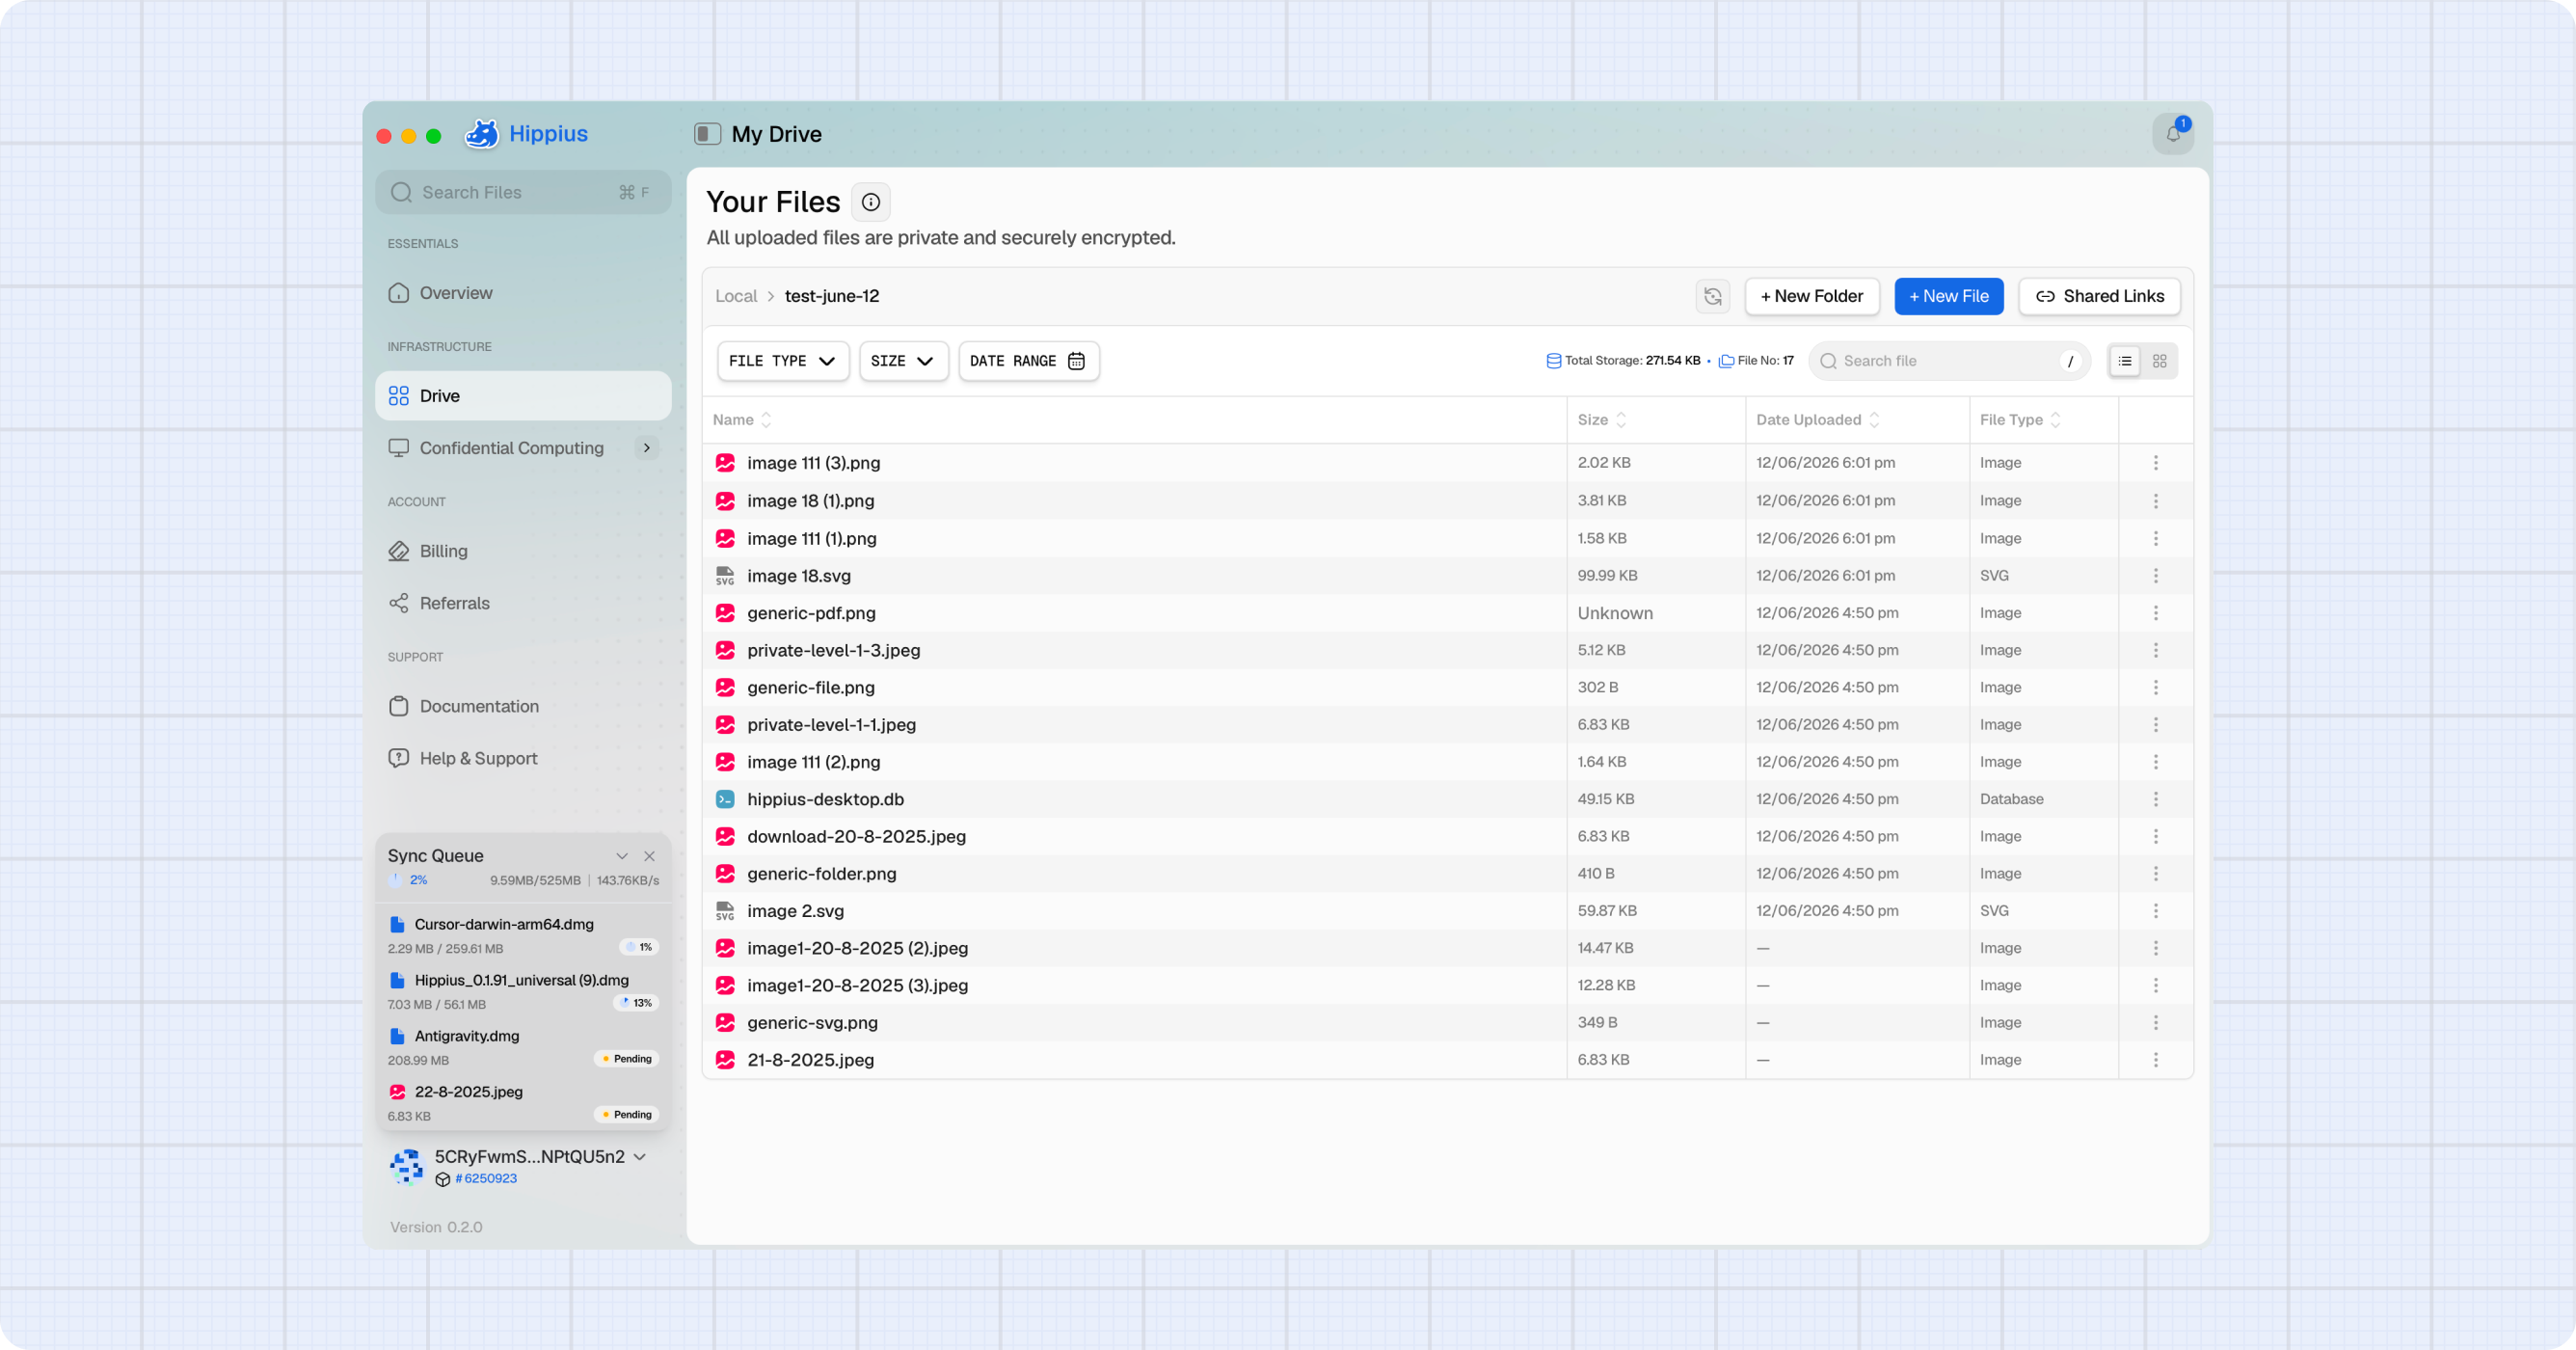
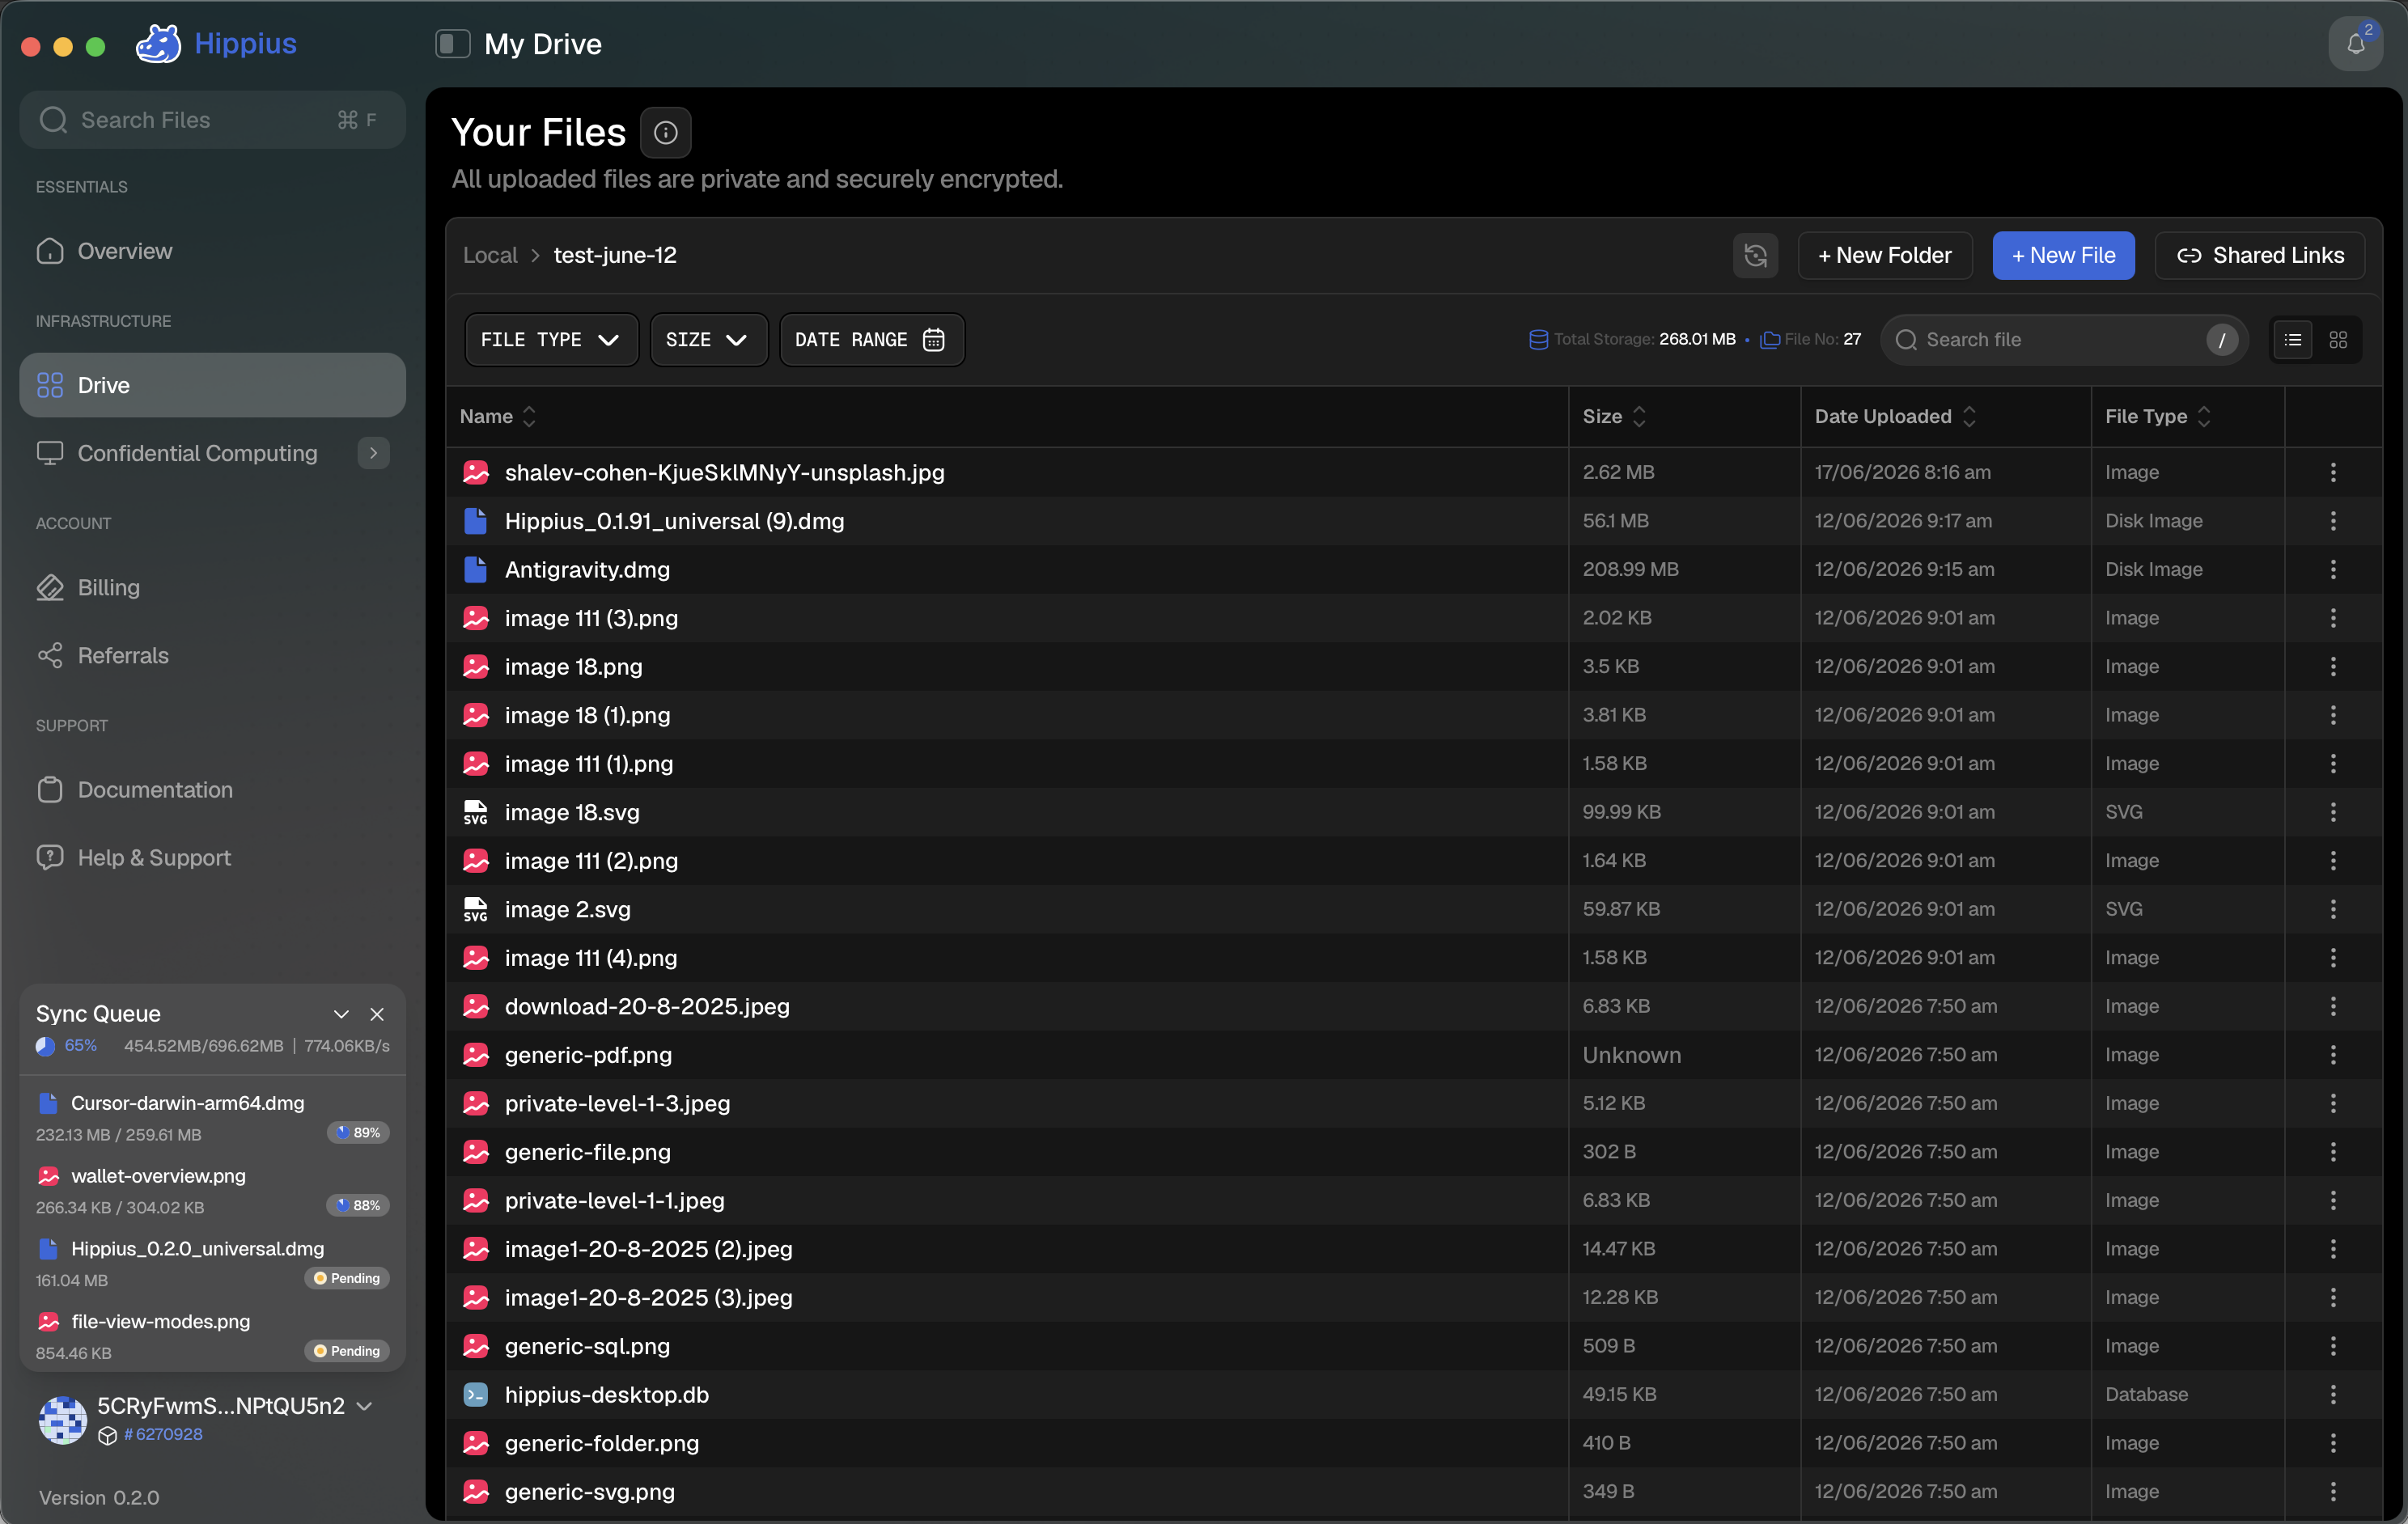
Dismissing the widget with ✕ does not stop syncing — it only minimizes the widget to the progress ring. The ring also appears whenever the sidebar is collapsed, and the full card reopens automatically when a new sync starts.
Drag and Drop
You can drag and drop files directly onto the Drive page to upload them. This works both in the root folder and inside subfolders.
- Navigate to the folder where you want to upload files.
- Drag files from your file manager (Finder on macOS, Explorer on Windows) onto the file list area.
- A drop zone overlay appears. Release to start the upload.
- If you have multiple sync folders, you will be prompted to select the destination folder.
Zoom Controls
Hippius Desktop supports keyboard-driven zoom to adjust the interface size. The entire UI scales proportionally, including text, buttons, charts, and spacing.
| Shortcut | Action |
|---|---|
| Cmd/Ctrl + = (or +) | Zoom in (increase by 10%) |
| Cmd/Ctrl + - | Zoom out (decrease by 10%) |
| Cmd/Ctrl + 0 | Reset to 100% |
The zoom range is 50% to 200%. Your zoom preference is saved and restored across sessions. A brief percentage indicator appears on screen when you change the zoom level.
If the app feels too large or too small for your display, use zoom controls to find your ideal size. The layout adapts gracefully at any zoom level.
Switching Between Sync Folders
Hippius Desktop shows one sync folder at a time. The folder you are currently viewing appears in the breadcrumb at the top of the Drive page (for example, Local › my-folder), and your selection is remembered the next time you open the app.
When you have more than one sync folder, switch between them from the Local view:
- Click Local in the breadcrumb to open the Local view.
- Under Local Sync Folders, click the folder you want to view.
- The Drive page opens that folder, and the breadcrumb updates to show your location.
To narrow down the files within the folder you are viewing, use the File Type, Size, and Date Range filters or the search box at the top of the Drive page.
Menu Bar Window
Hippius Desktop keeps a compact menu bar window in your system tray (the menu bar on macOS, the notification area on Windows). Click the Hippius tray icon to open it for a quick glance at your account without bringing the full app to the front.

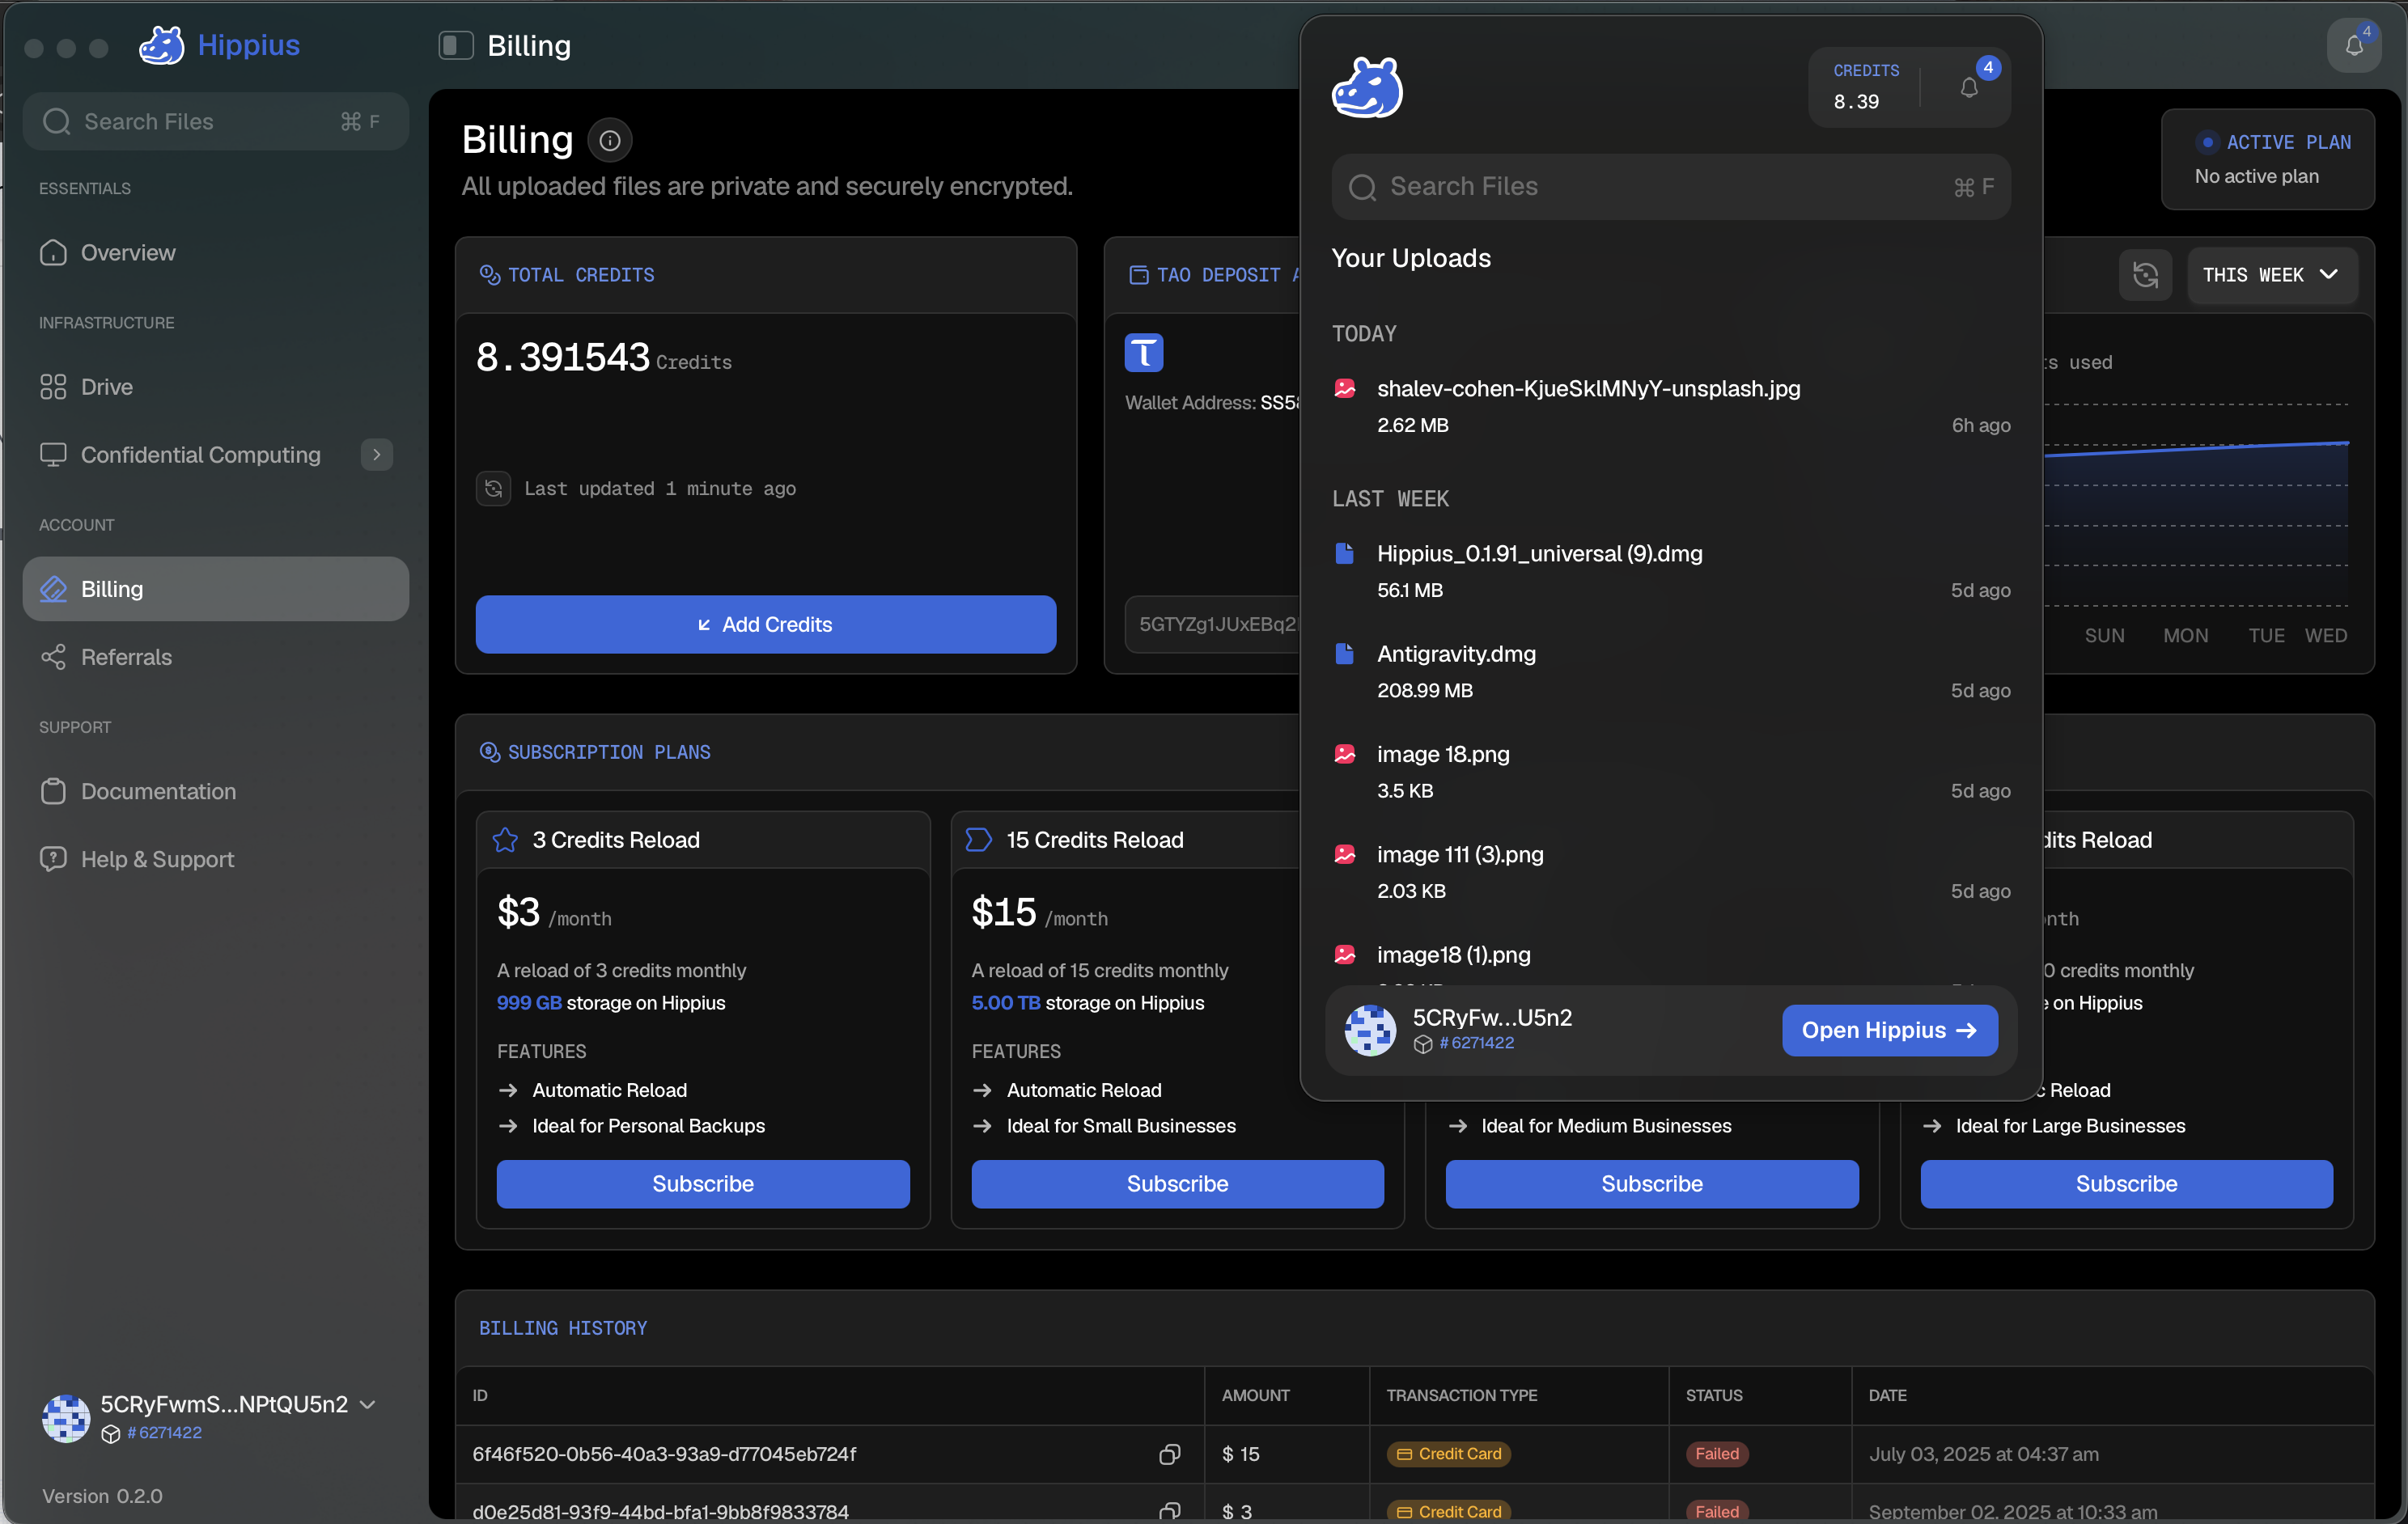
The window has four parts:
- Credits: your current credit balance, shown in the top left so you can keep an eye on it at any time.
- Notification bell: in the top right, with a badge for the number of unread notifications.
- Search Files: a search box with the ⌘F shortcut.
- Your Uploads: your most recently uploaded files, grouped by when they were added (for example Today, Yesterday, Last 7 Days, and Older). Each row shows the file name, size, and upload date.
Each control is a shortcut into the full app:
- Click the Search Files box to open Hippius Desktop with the search bar focused, ready for you to find a file.
- Click the notification bell to open your Notifications in the app.
- Click Open Hippius → at the bottom to bring the full Hippius Desktop window to the front.