Get Your Hippius Credentials
Before you set up the plugin, you'll need a Hippius account, a pair of S3 access keys and a bucket for your media. Everything here happens in the Hippius Console and takes a few minutes.
Step 1: Create your Hippius account
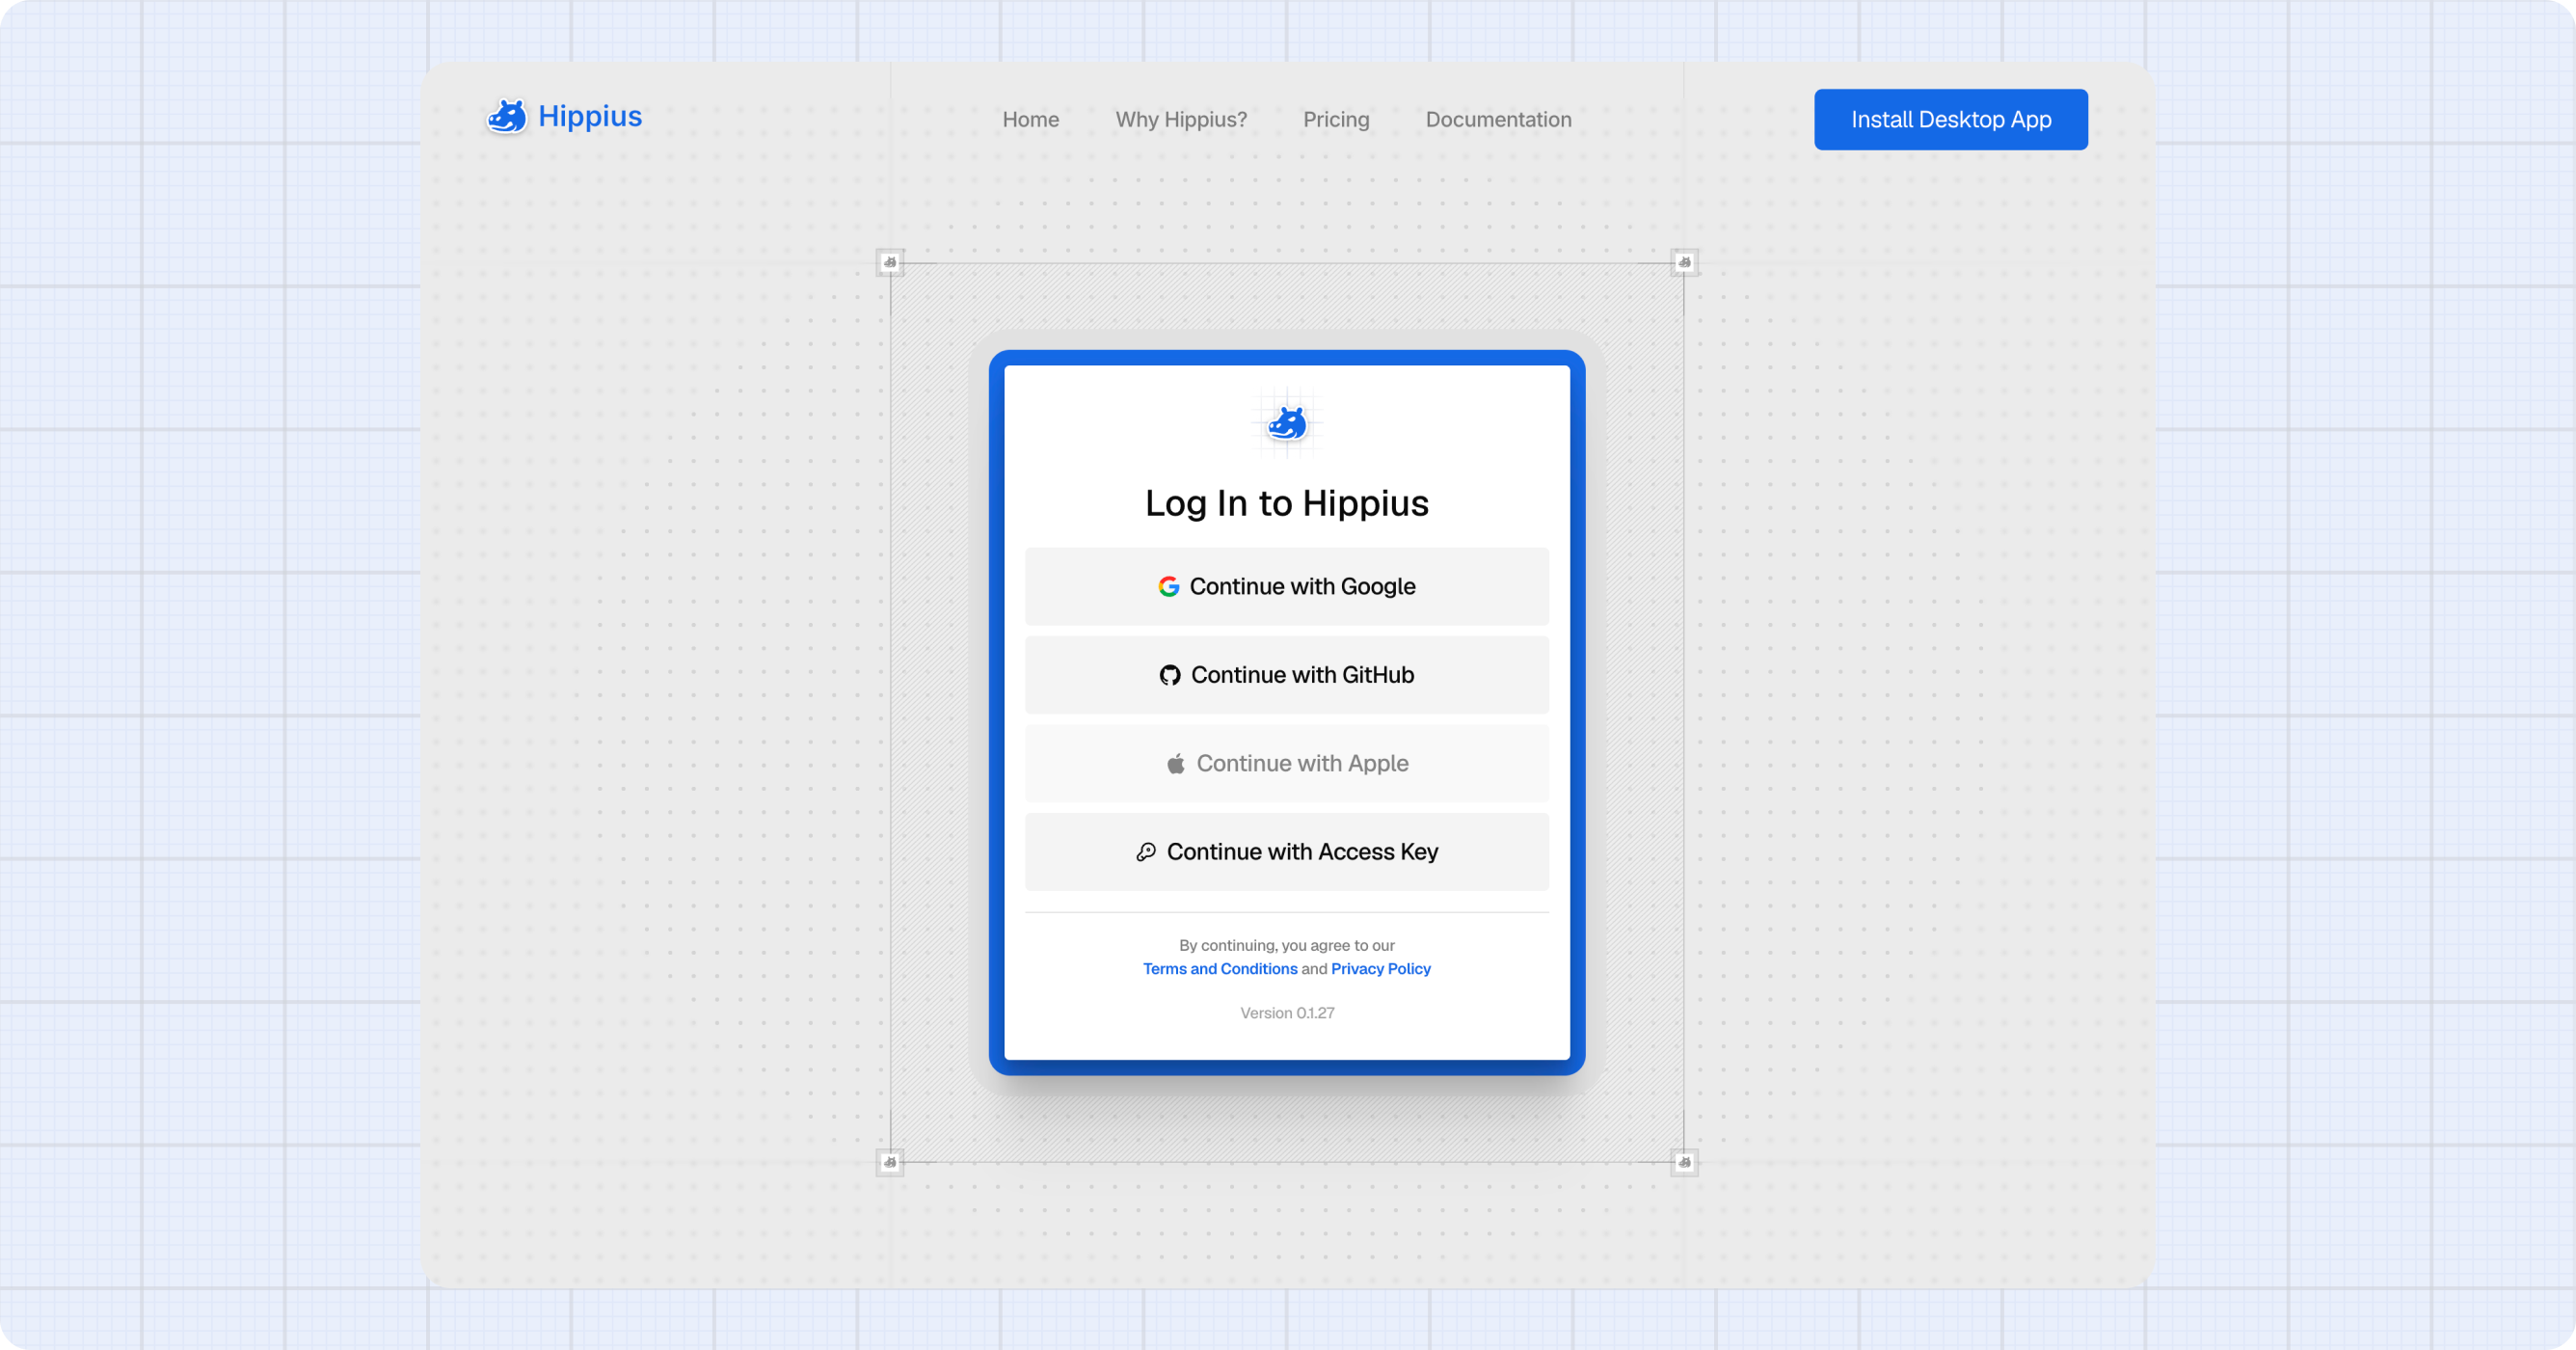
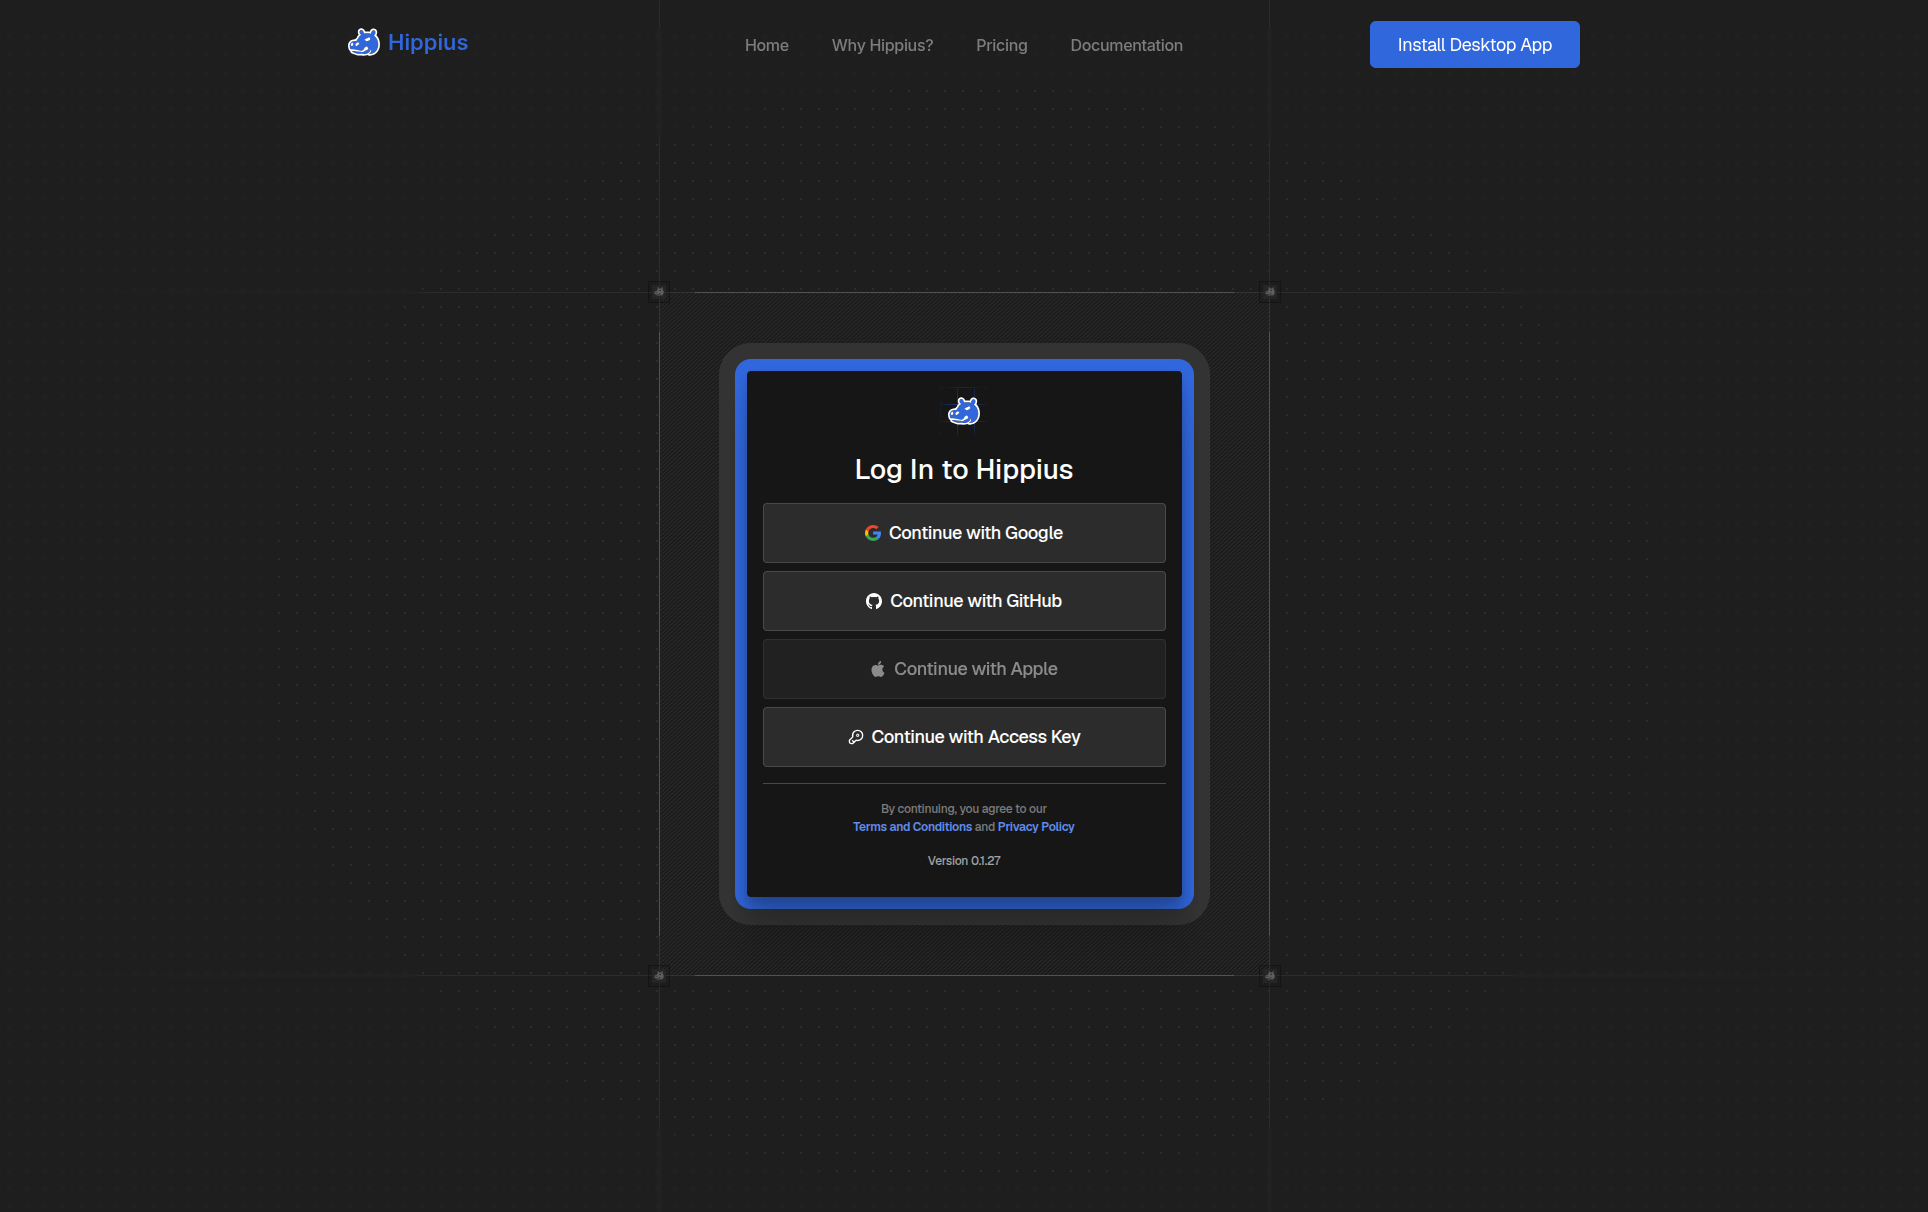
- Head to console.hippius.com.
- Sign in with Google, GitHub or Apple.
The plugin's settings page also has a Create Account link that takes you to the same place.
No wallet, no seed phrase, no browser extension.
Step 2: Add funds to your account balance
Your storage is paid from your account balance, or with an S3 plan. Downloads are free, only storage is billed, so visitors loading your images never add to the bill.
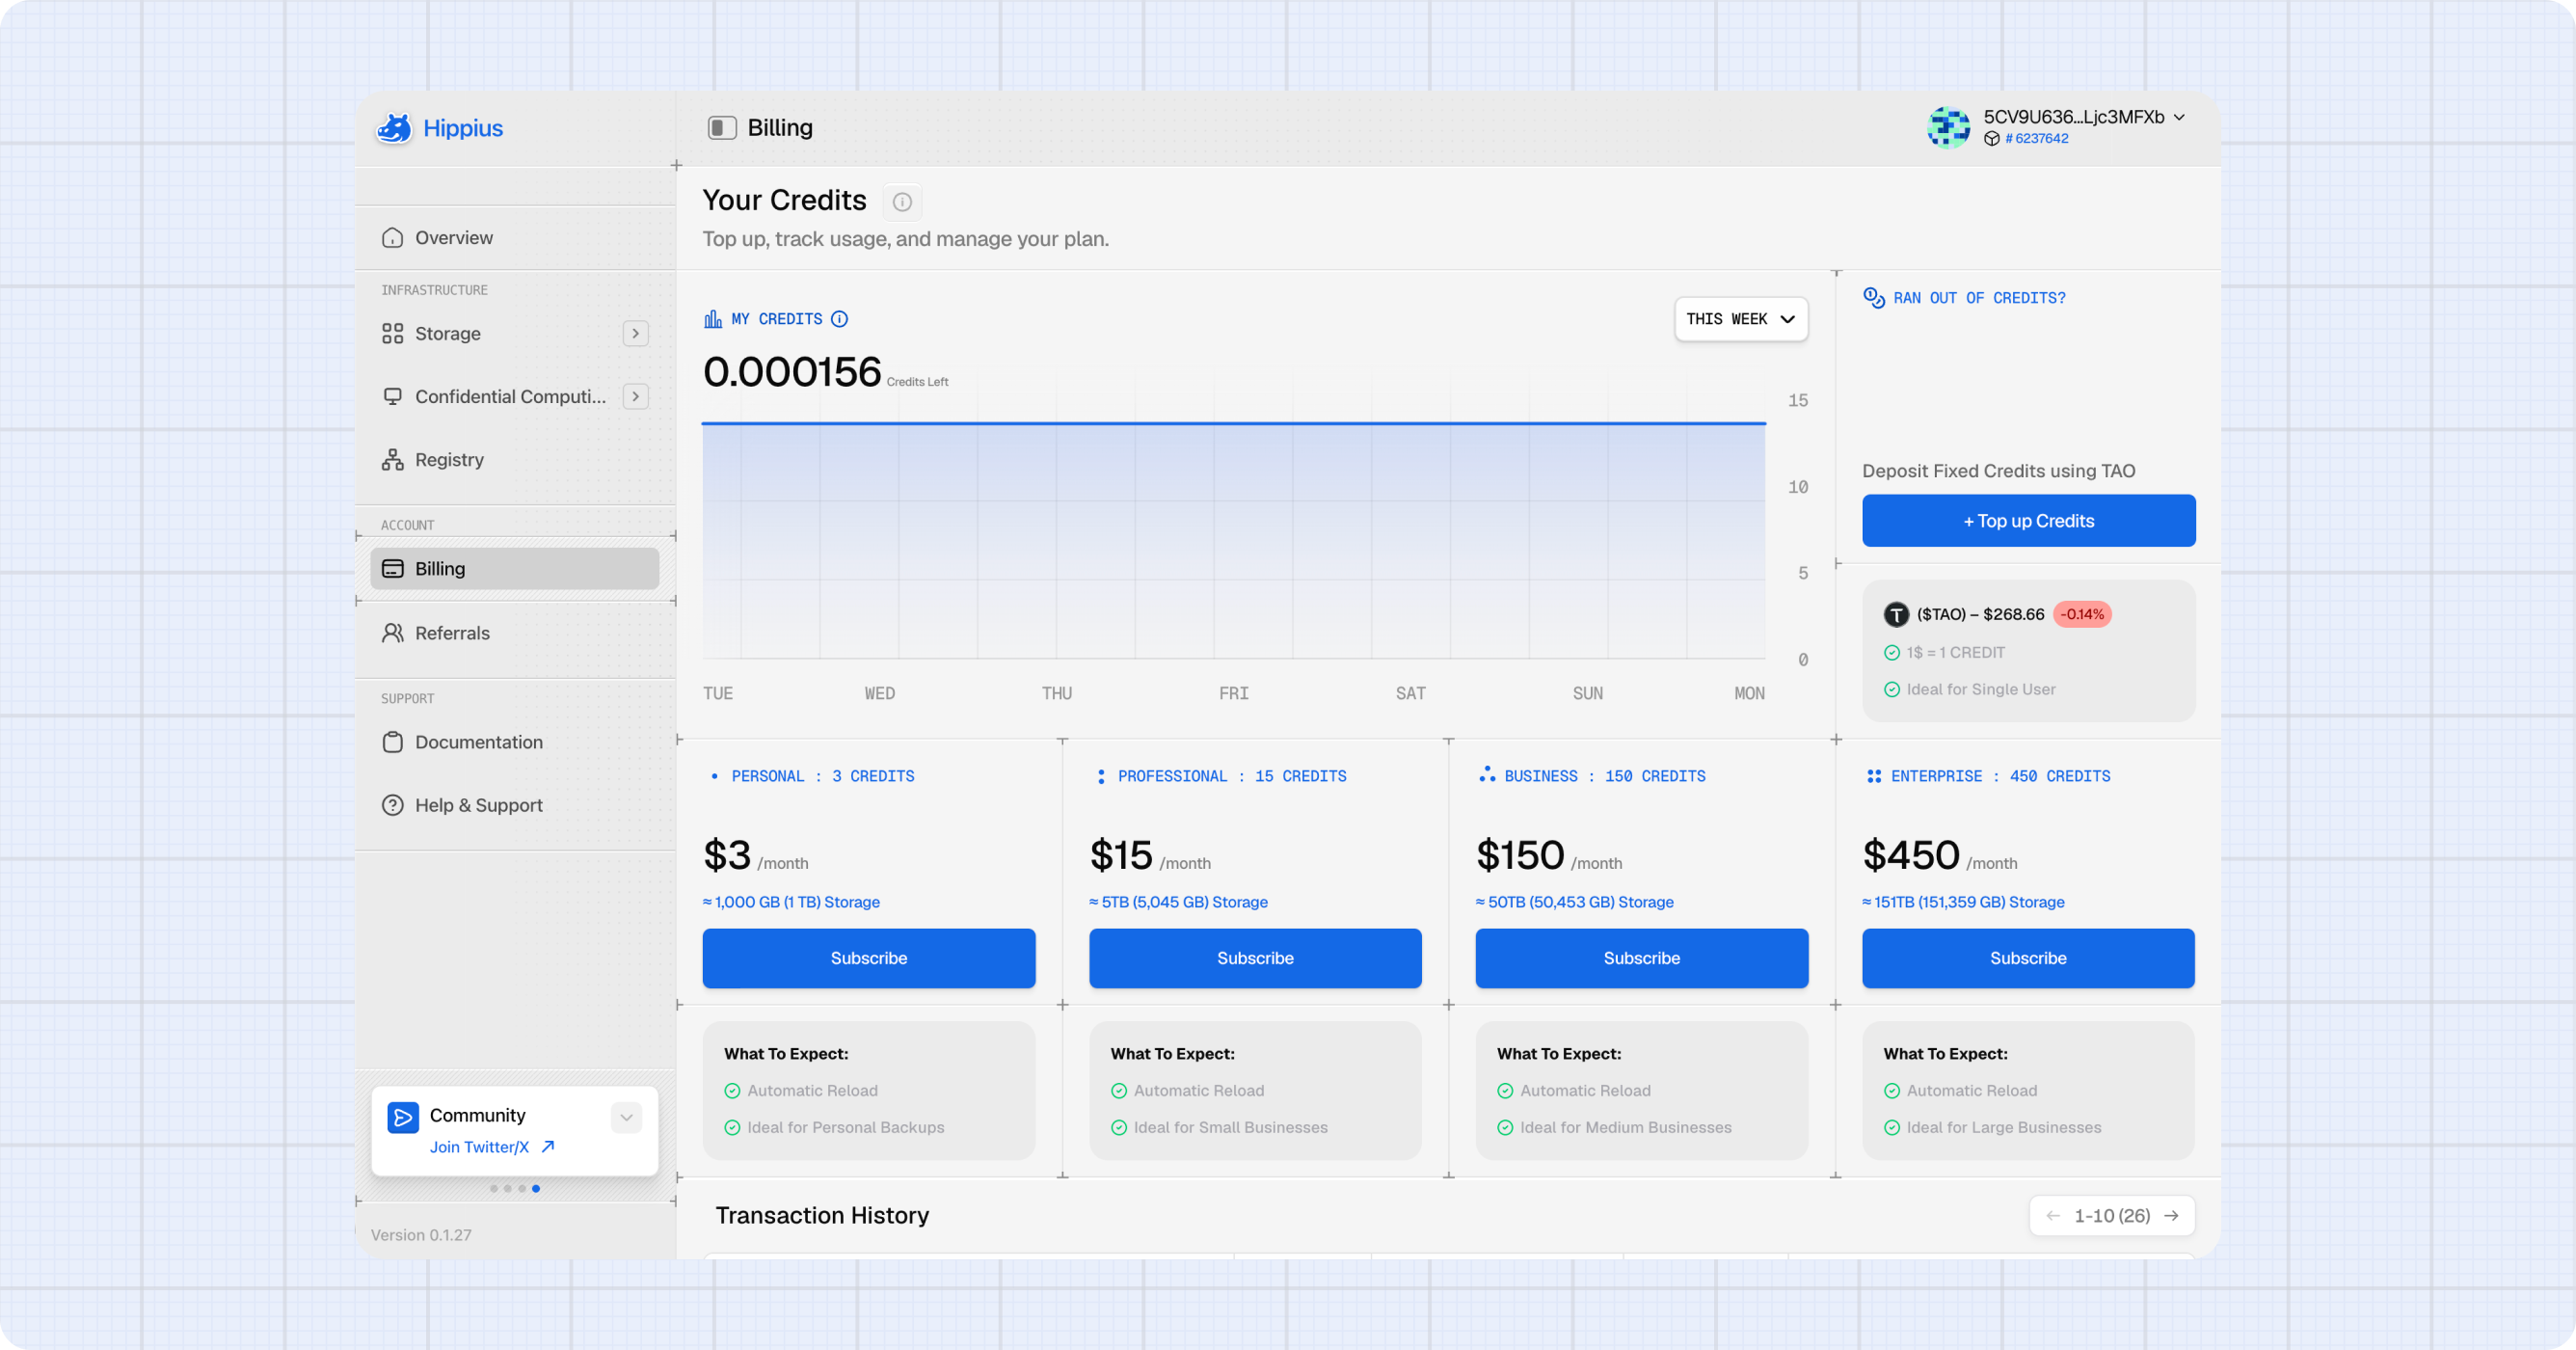
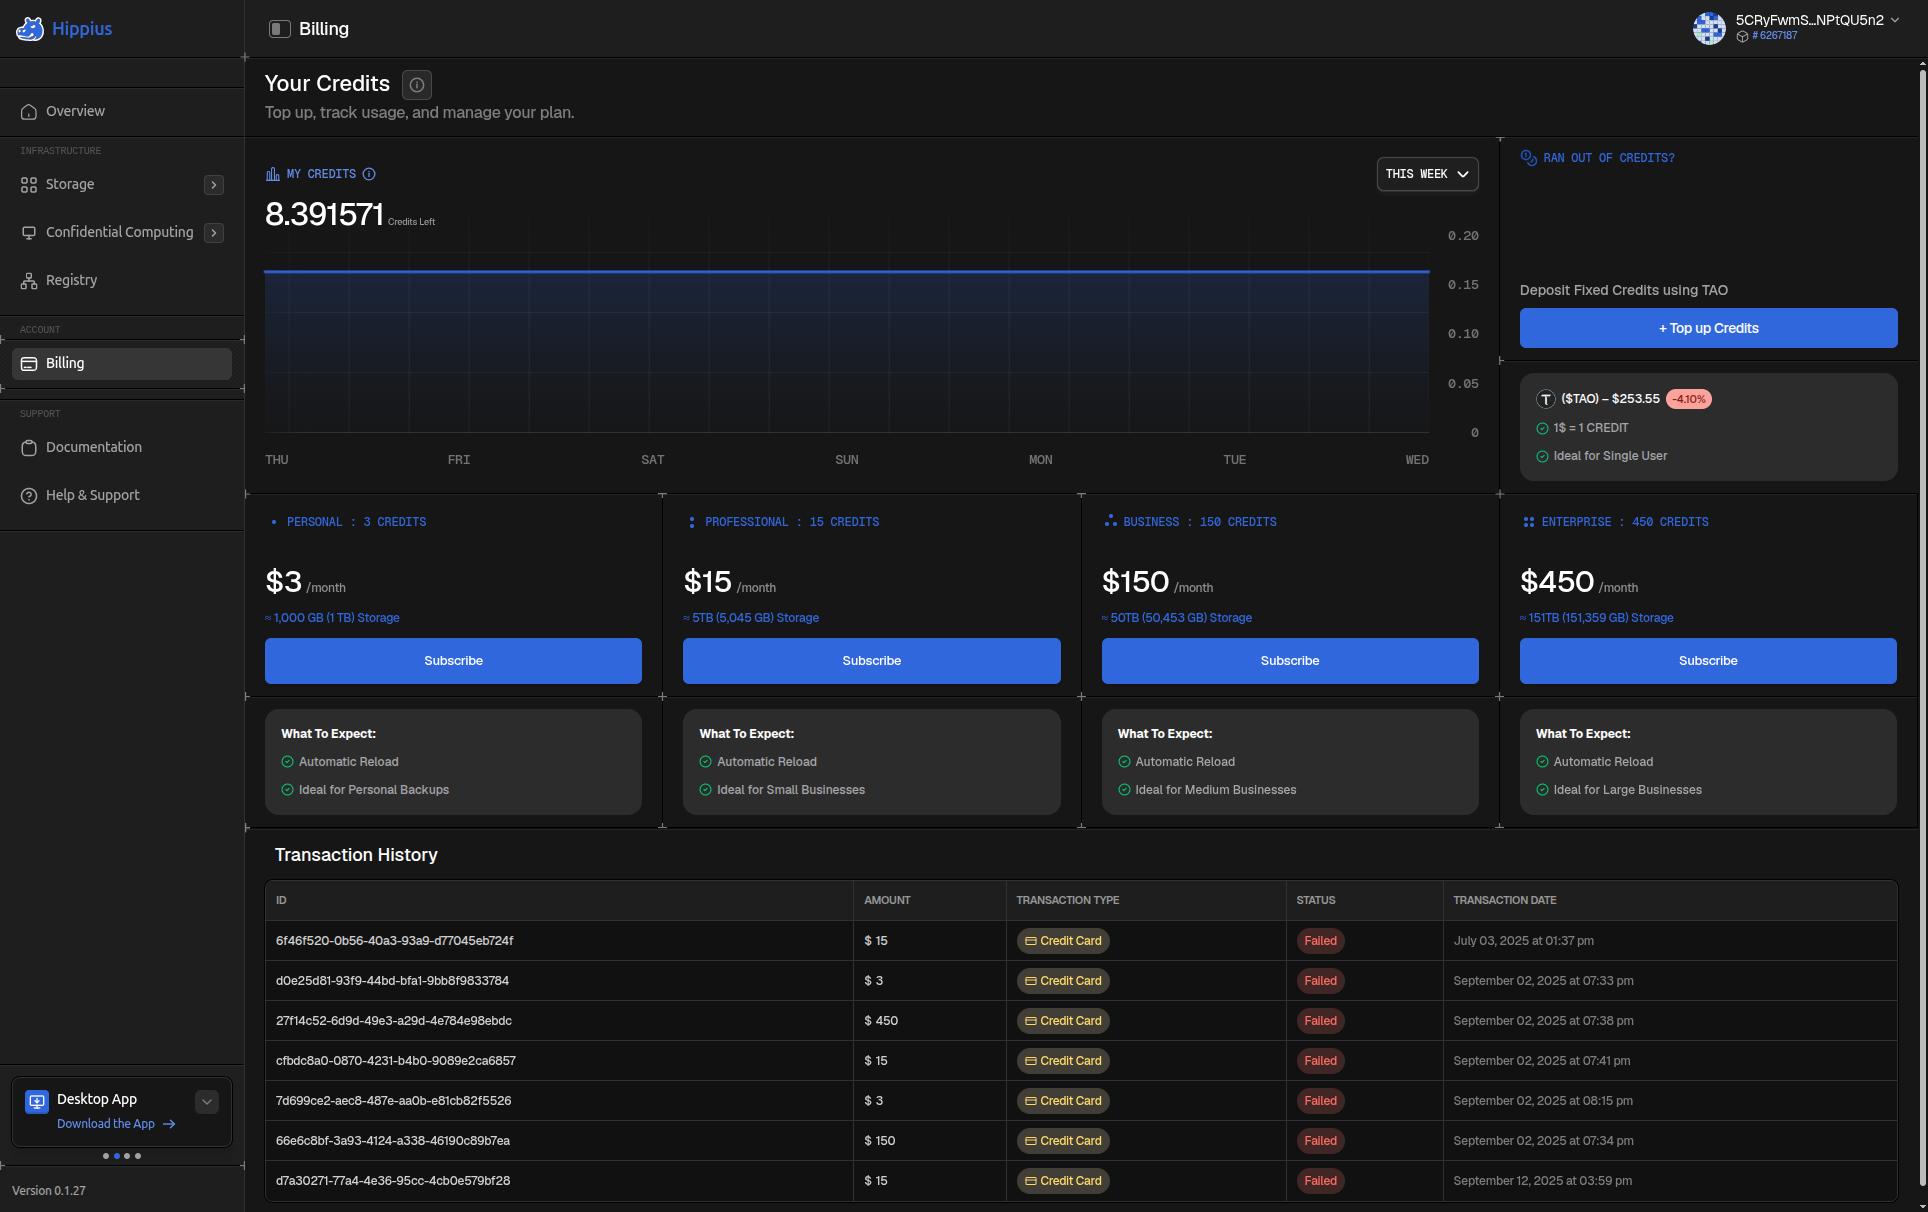
- Open Billing in the console.
- Click + Top up.
- Top up your account balance by card, Bitcoin, USDC, TAO or Hippius tokens (hAlpha). A card payment runs through Stripe. The others land on your account balance once the payment confirms.
Storing several terabytes? A monthly S3 plan costs less than pay as you go. See S3 plans, and Console Billing for the full walkthrough.
Step 3: Create your S3 access keys
The plugin uses a pair of S3 access keys to upload your media, the same kind any S3 tool uses.
- In the console, open S3 → S3 Buckets.
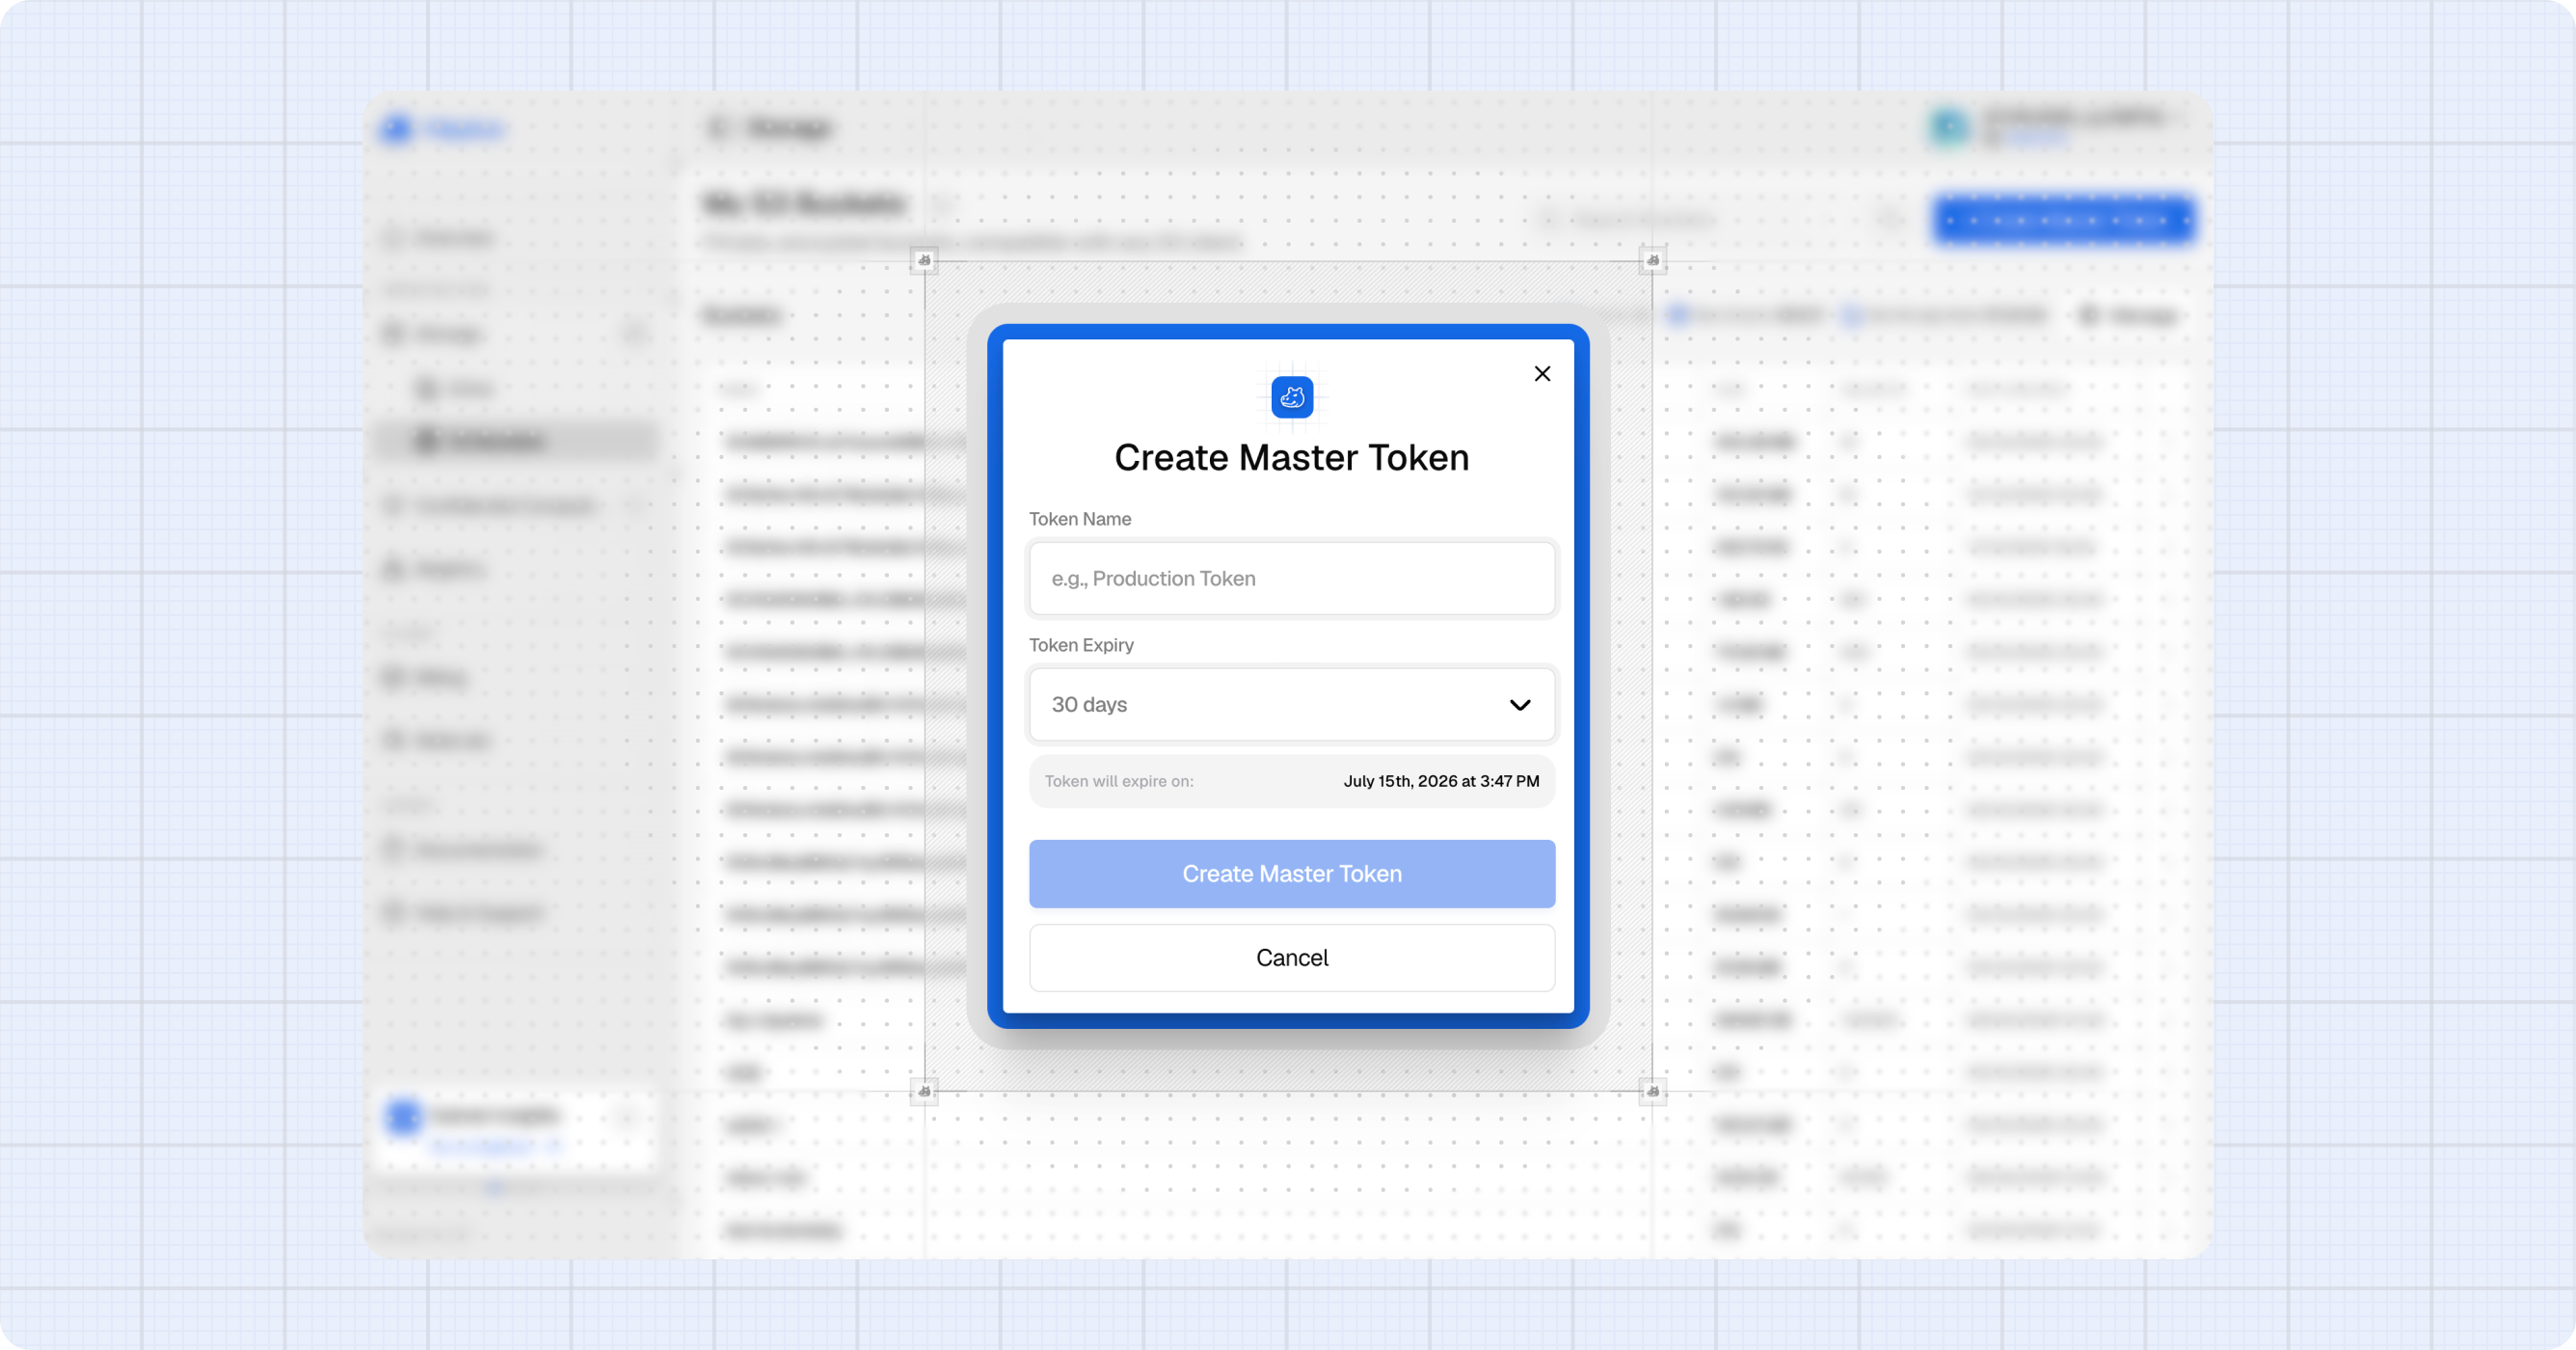
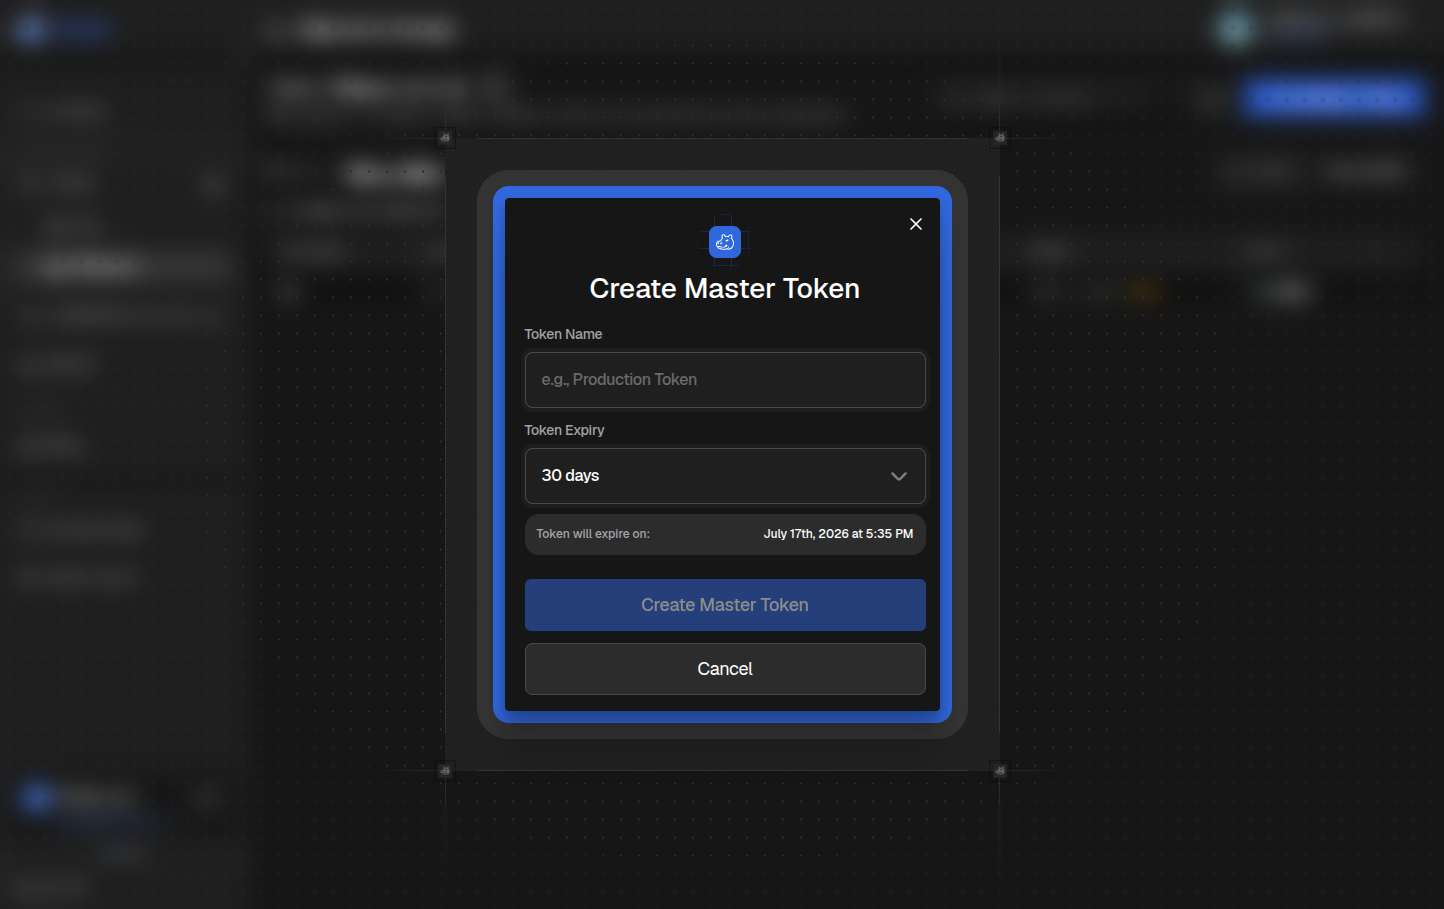
- Click + Create Master Token.
- Give the token a name you'll recognise later, such as WordPress, and pick how long it lasts.
- Click Create Master Token, then save your Access Key ID (it starts with
hip_) and your Secret Key somewhere safe.
Your website uses these keys every time it uploads, so a short expiry means uploads stop when the token runs out. Choose 1 year or a custom date, and set yourself a reminder: when the time comes, create a new token in the console and save its keys in the plugin.
Copy it into a password manager right away. There's no way to recover it later, so if you lose it you'll have to generate a new key pair.
If you want a fuller walkthrough of tokens and scopes, see S3 Token Management.
Step 4: Create your bucket
The plugin doesn't create a bucket for you yet, so create your bucket in the console first.
Bucket names on Hippius are globally unique, like on AWS: once anyone has taken a name, nobody else can use it. The settings page suggests wordpress-media, but that name is almost certainly taken, so pick your own. Including your site's name works well, for example myshop-wordpress-media.
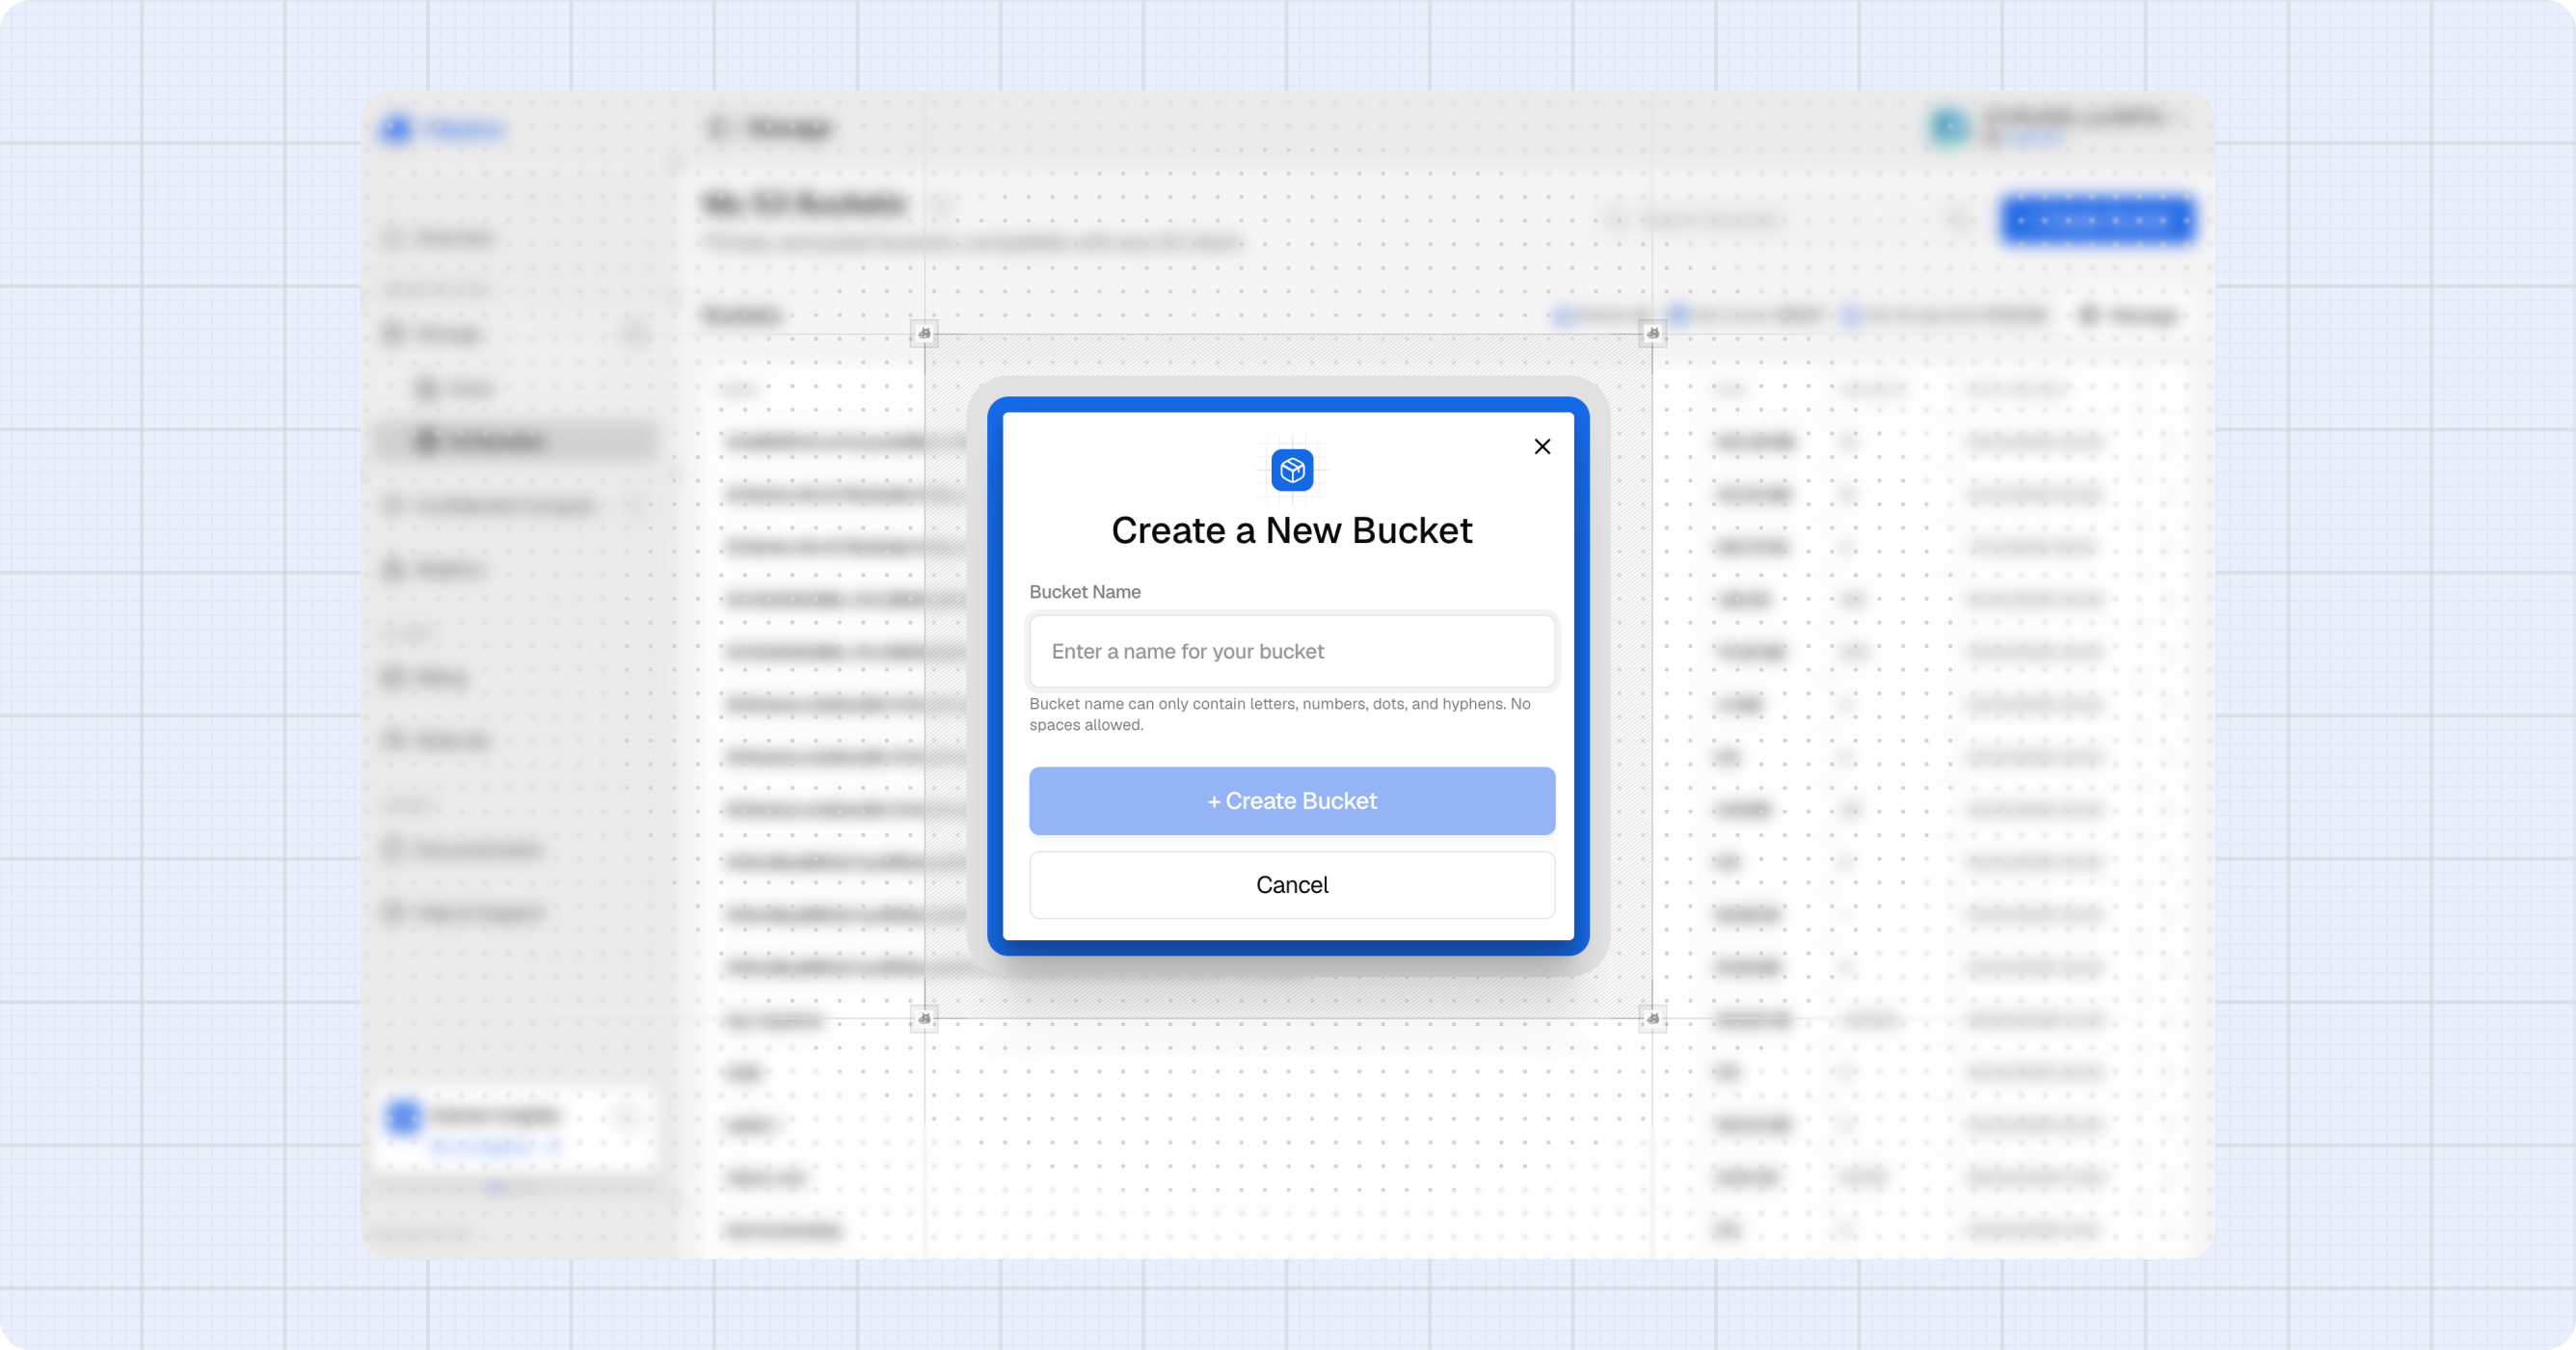
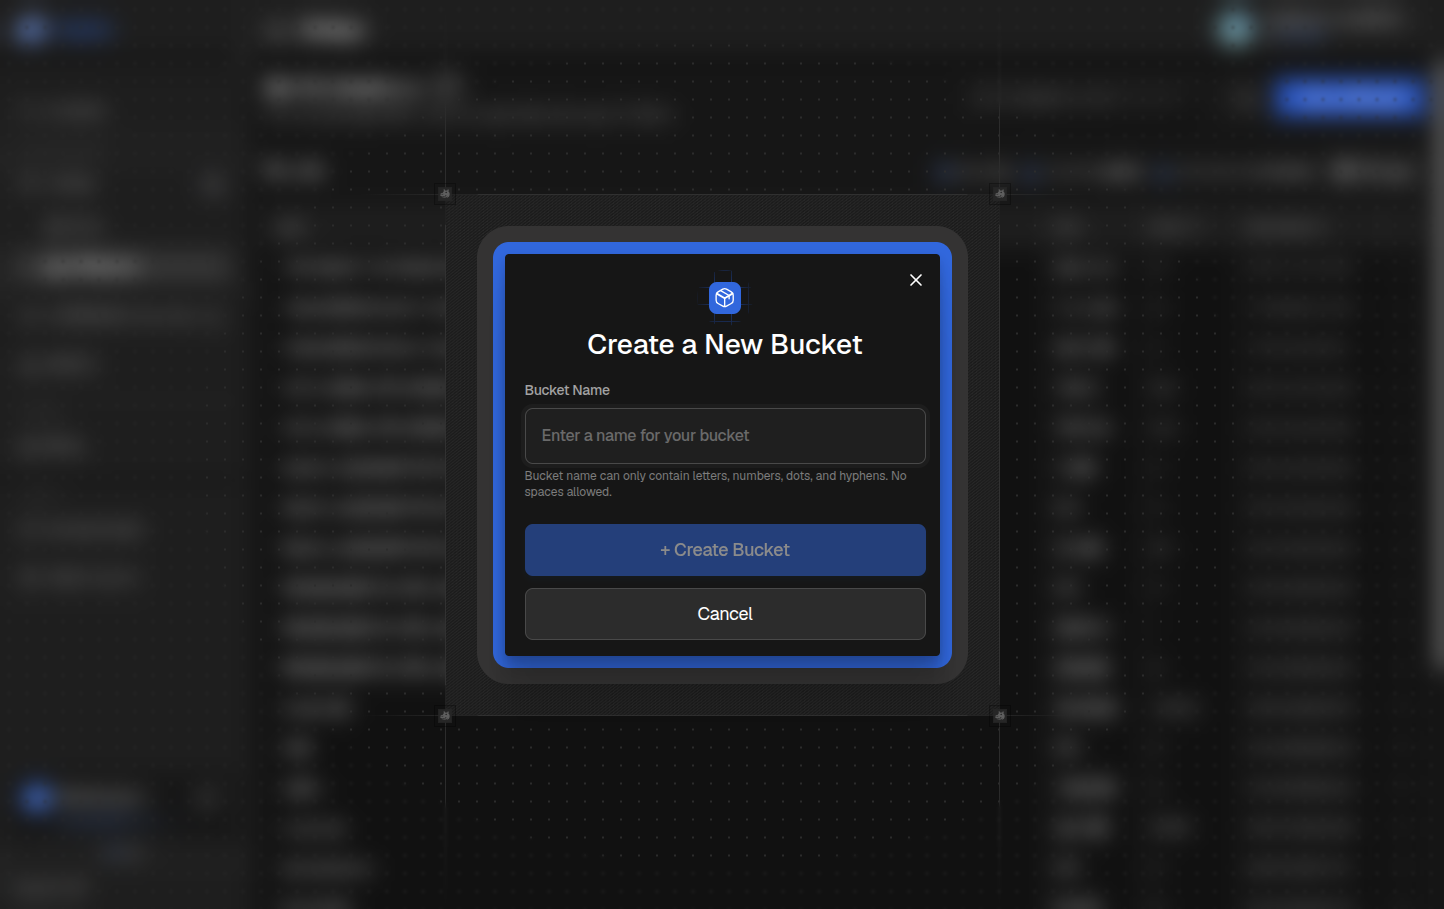
- In S3 Buckets, click + Create Bucket.
- Enter your bucket name. Use lowercase letters, numbers, dashes and dots, 3 to 63 characters, starting and ending with a letter or number. Two dots in a row, or a dot next to a dash, aren't allowed.
- Click Create Bucket, and note the exact name for the plugin settings.
Step 5: Make your bucket public
Buckets created in the Hippius Console are always private, and the console doesn't offer a public option. For a WordPress site, that matters: your pages load each image straight from its public Hippius URL, and your visitors' browsers can't sign in to a private bucket. So for your media to show up on your site, the bucket needs to be public.
It's your choice, and there are two ways to do it:
- From the plugin (easiest). Once you've entered your keys and bucket, the plugin checks whether the bucket is public. If it isn't, click Make Bucket Public and the plugin applies the public-read policy for you. You'll do this on the next page.
- With any S3 client. Set a public-read ACL (PutBucketAcl) or the public-read bucket policy (PutBucketPolicy). For example, with the AWS CLI:
aws s3api put-bucket-acl --bucket your-bucket-name --acl public-read \
  --endpoint-url https://s3.hippius.com
See Make a bucket or object public for the policy version and how to make a bucket private again.
A public bucket lets anyone with a file's URL download it, which is exactly what a website needs. The files are still encrypted at rest on Hippius. Keep anything private out of this bucket.
Step 6: Copy your API token (optional)
If you'd like the plugin to show your account balance inside the WordPress dashboard, add your API token. The plugin works fine without it: the token is optional, only needed to show your account balance in the dashboard.
- In the Hippius console, open Settings and find the API Token section.
- Click the eye icon to reveal the token, then the copy icon to copy it.
The API Token section is shown when you signed in with Google, GitHub or Apple. Treat the token like a password: anyone who has it can act on your account. See Console Settings for more.
Once you've got your Access Key ID, Secret Access Key, bucket name and (optionally) an API token, head to Configure the plugin.