Take a Screenshot
A Hippius screenshot can be your entire screen, one window, or an area you drag out. Whichever you pick, it is saved to your Hippius Captures drive and its link is copied for you. Screenshots are unlimited on every plan.
In the desktop app
The quickest way: the shortcut
Press ⌘ Shift 2 on a Mac, or Ctrl Shift 2 on Windows and Linux, from any app. The pointer turns into a crosshair:
- Drag over the part of the screen you want.
- Let go. That's it: the screenshot is saved and its link is copied.
While you drag, hold Space to move the whole area, or press Esc to cancel. You can change the shortcut, or turn it off, in Settings, under Screenshots & Recording.
With the capture bar
For a window or the whole screen, or when you want a timer, use the capture bar. You can open it from three places:
- The menu bar (the notification area on Windows): click the Hippius icon, then the Screenshot tile. The small arrow in the tile's corner lets you go straight to an area, a window or the entire screen.
- Drive and Captures: the Screenshot button in the page header.
- Inside any drive, including drives shared with you, from the same button.
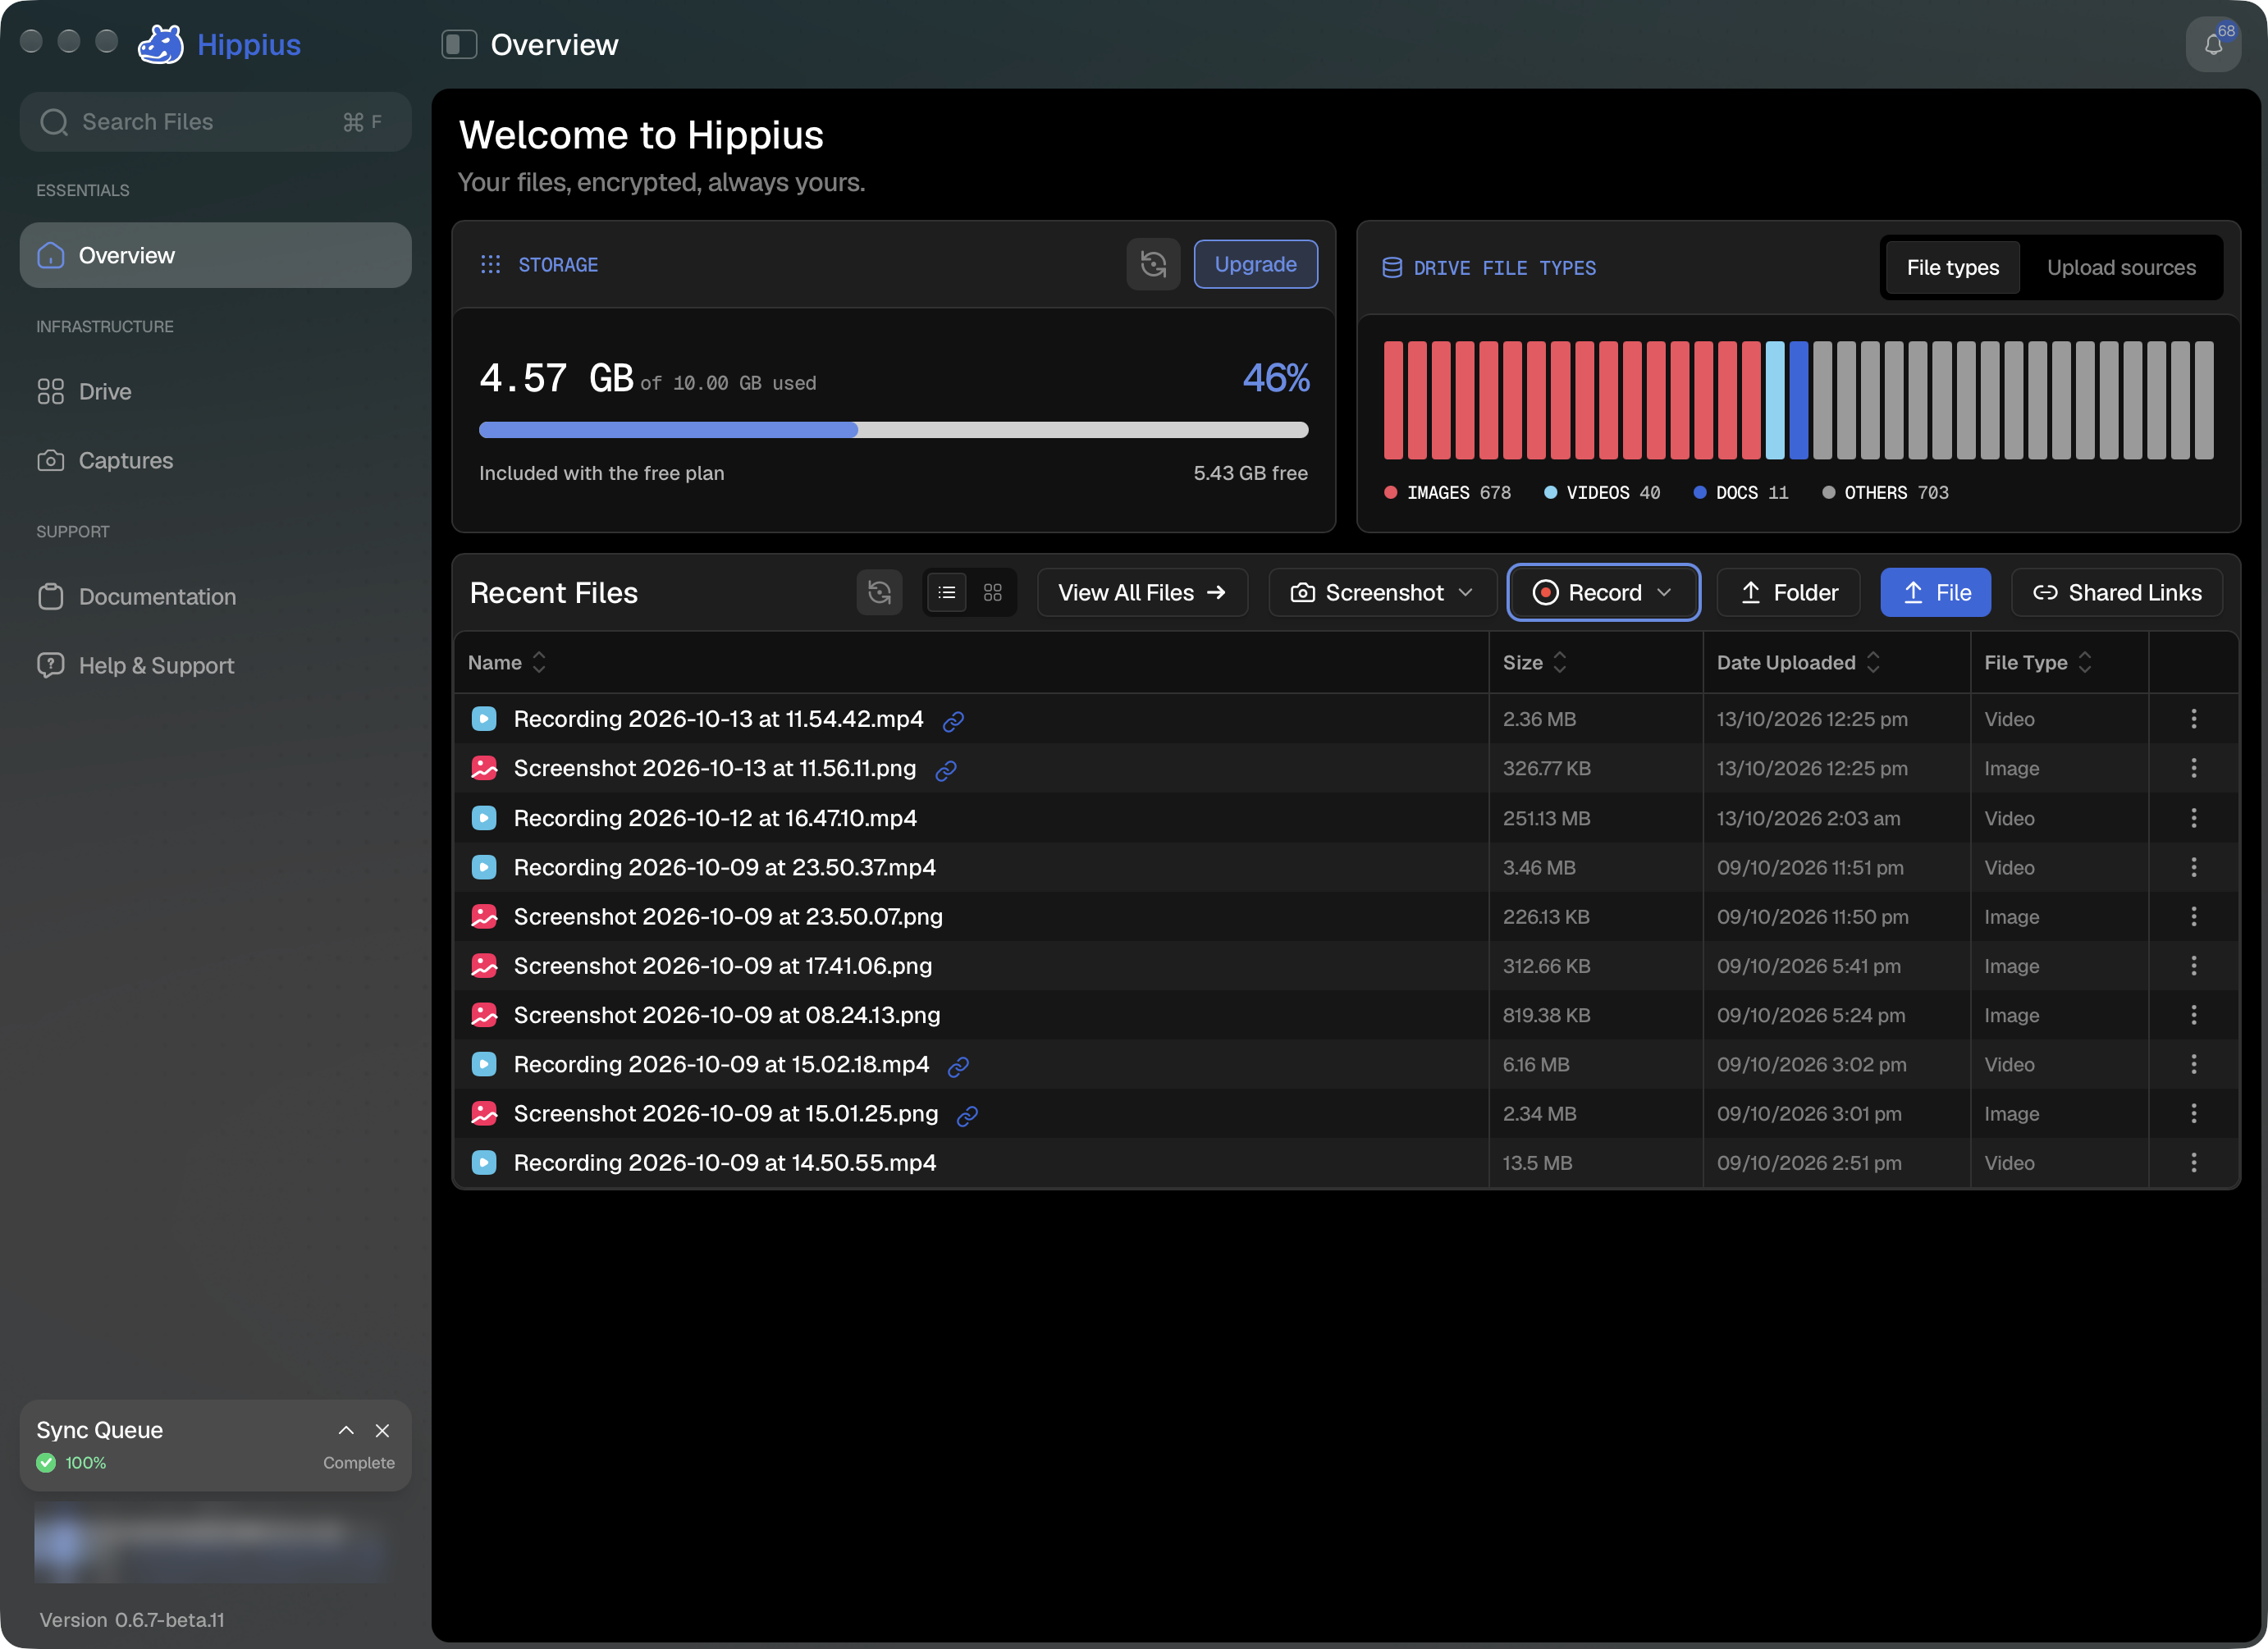
The bar sits at the bottom of your screen. Pick a mode, then:
- Entire screen: click the screen you want, or press Enter.
- Window: the window under the pointer lights up with its name. Click it to take it. Press Space to switch to dragging an area instead.
- Area: drag out the area, adjust it by dragging or with the arrow keys, then double-click or press Enter.
Options on the bar has a Timer (none, 5 seconds or 10 seconds) so you can open a menu or hover over something before the picture is taken, and two choices for what happens afterwards: Copy a share link after capture and Open the link in your browser. Both are on unless you turn them off, and they are also in Settings.
macOS asks you to allow Hippius to record your screen before the first capture. Hippius explains what to do and opens the right page in System Settings. Turn Hippius on there, then relaunch Hippius: macOS only applies the change after a restart.
On Linux with Wayland
On most recent Linux desktops (GNOME and KDE on Wayland), apps aren't allowed to look at the screen on their own. Hippius hands over to your desktop's own screenshot tool, where you choose what to capture, and takes it from there: the screenshot is saved to Hippius Captures and its link is copied, just as on any other computer.
The keyboard shortcut works there too. On desktops that support it, Hippius asks your desktop to set it up. On others, Settings shows a short command to add in your desktop's own keyboard settings, and the shortcut then works even when Hippius is closed.
In the console
The console works in Chrome, Edge, Safari and Firefox on a computer. There's nothing to install.
- Click Screenshot at the top of the Drive page or the Captures page. The capture bar opens at the bottom of the page.
- Pick Entire screen, Window or Area, and a timer under Options if you want one.
- Press Capture (or Enter). Your browser asks what you want to share: choose the screen or the window.
- For an area, choose the screen it is on. A still picture of that screen fills the page: drag out the area, then double-click or press Enter.
The browser's sharing dialog is the browser's own, and it is the only way a website can see your screen. Hippius uses it for that one picture and stops sharing straight after.
In Chrome and Edge, a small floating window then says Go to what you want to capture, then click Take screenshot, so you can bring the right window to the front first. In browsers without that floating window you get a few seconds to switch before the picture is taken.
The first capture after you sign in asks for your unlock password, because the capture is encrypted with your Drive's keys before it is uploaded.
Once the link is ready, the console copies it and also opens it in a new tab so you can see what others will see. If your browser blocks that tab, the card says so. Allow pop-ups for Hippius, or just use Open on the card.
When it's done
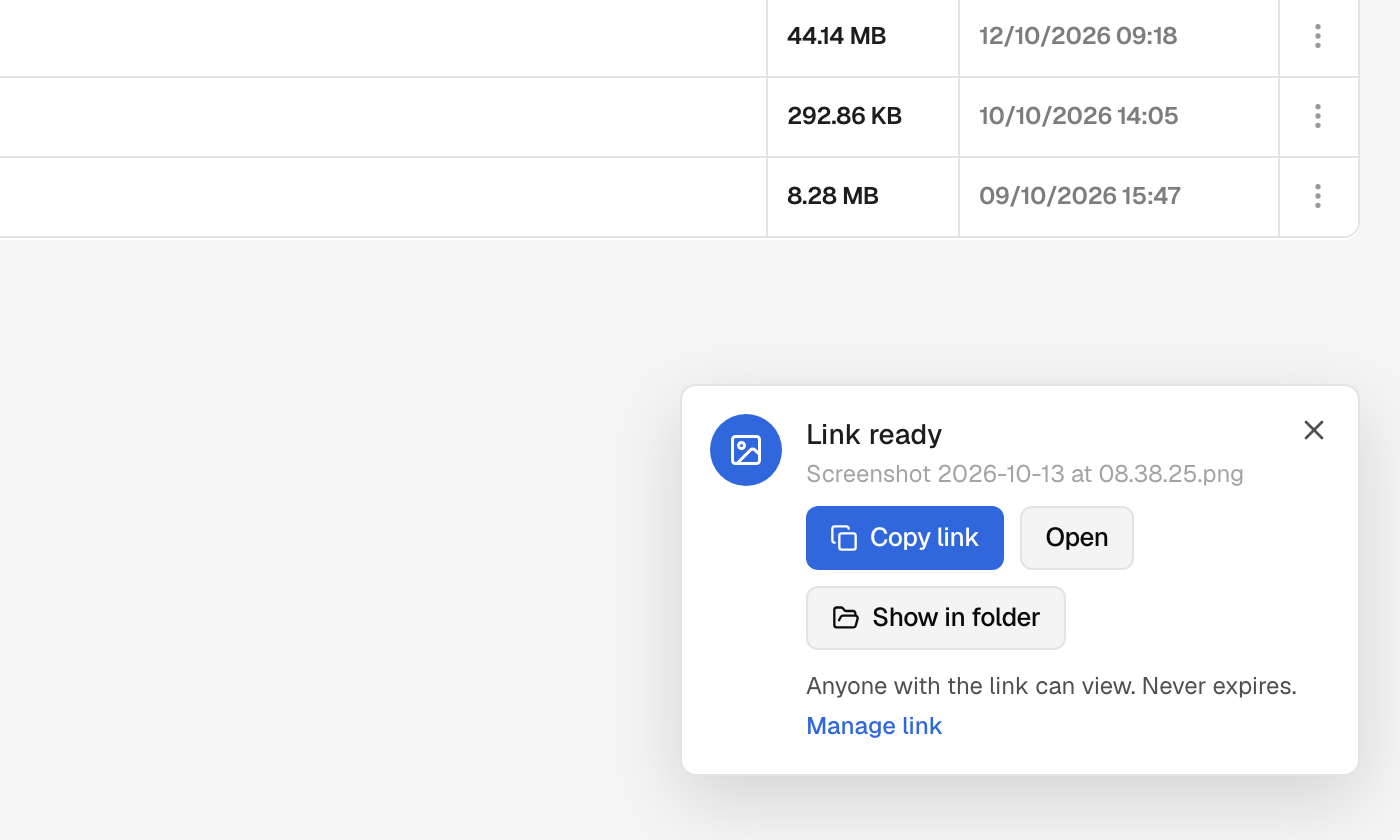
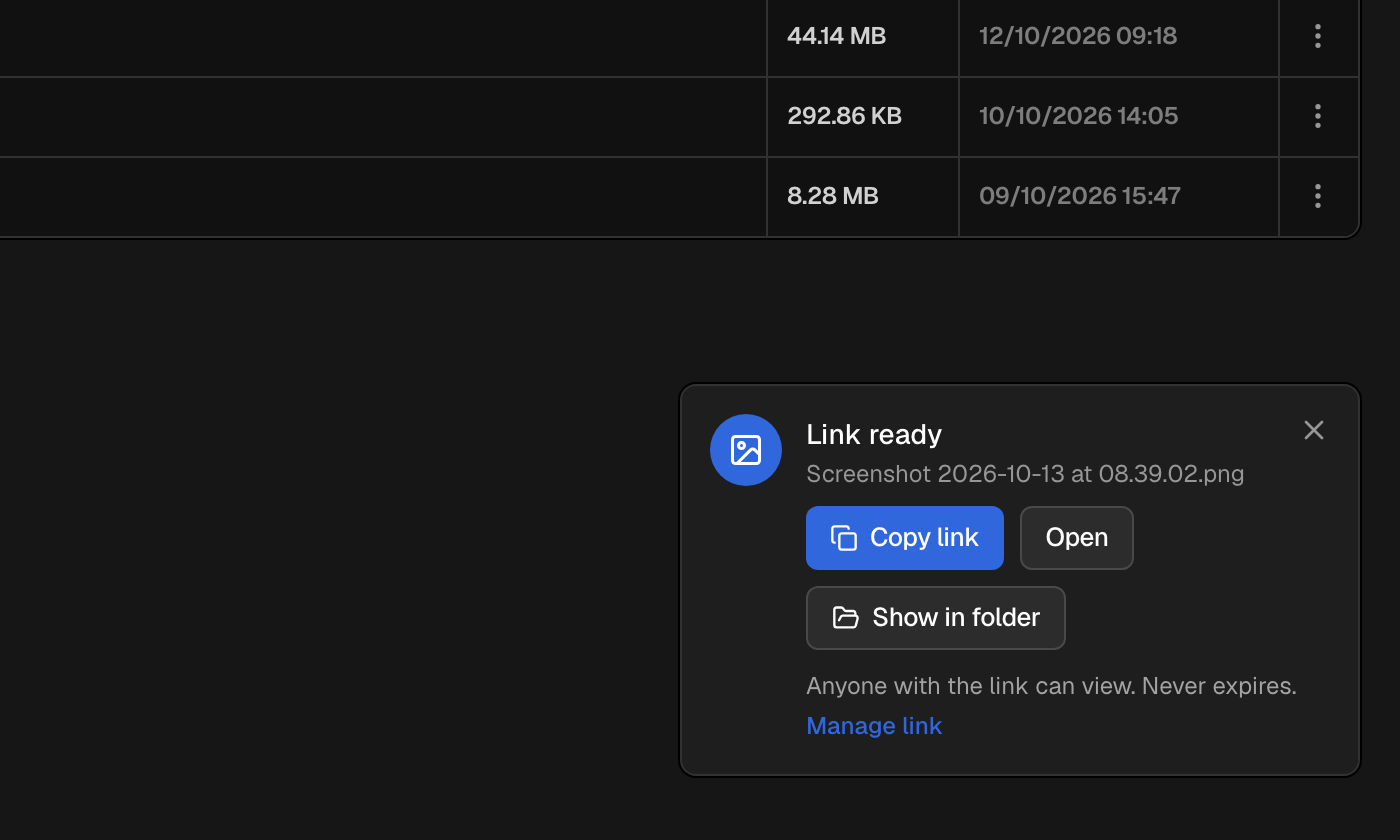
A small card shows how the upload is going and then says Link ready. From there you can:
- Copy link again, if something else has taken over your clipboard.
- Open the link to see the page the people you send it to will see.
- Show in folder to jump to the screenshot in your Captures.
- Manage link to open it in Shared Links. See Share links for captures. In the desktop app it is in the card's More menu.
- Edit, in the desktop app, to open the screenshot in the editor straight away.
Want to point at something or hide a password before you send it? Open the screenshot in the editor.